Showing posts with label vinyl. Show all posts

Friday, December 11, 2015

Snowflakes and Dishes

Hey everyone!  Happy Friday!  Guess what I have to share with you today.....yep, more Christmas projects, this time with ClearScraps and my Cricut.

 I had this 6x6 circle mini album lying around in my stash for ages and thought how fun to turn it into a banner.
 
I simply cut some snowflakes and my sentiment from vinyl and attached it to the circles.  A bit of glitter thread and voila...a snowflake banner.  Of course I had to bling it up a bit with rhinestones in the centers of the snowflakes and beaded drops in between.
Wondering where the dishes come in?  Well, I decided to hang my banner over the kitchen sink.  I don't know about you, but it seems I am spending quite a bit of time hanging out over my kitchen sink these days and seeing this sparkle in the sunshine really helps the time go by much more quickly.
Thanks for dropping by.
Hugs.

Tuesday, December 8, 2015

Holiday Happenings

Hey everyone!  Back today to share with you some more Christmas Decor I have been working on.  Today I want to share some fun pillow covers.  These are great because I can just slide them over existing pillows, making storage of the pillows over the holidays easier, and not taking much space when I pack all the decorations away.
These were so quick and easy to make.  I had plenty of holiday files available in my Cricut Design Space to choose from, and had purchased some Cricut Glitter Heat Transfer Vinyl at Joann when they had a sale.  Lucky me.
My original plan was to sew some pillows, but I found some 20 inch pillow covers with zippers at Ikea for $4 each...there is no way I could have made these for that so...into my cart went a dozen or so.  hee hee
It was so quick and easy to cut the vinyl, and after a bit of hesitation I went ahead and committed, following the directions for use with my iron and....voila.  I probably spent more time being nervous than I spent actually making the pillow covers.  lol
I may make a couple more for Christmas and then the wheels are turning for other holidays....Valentine's Day anyone?

Thanks for dropping by.  Hugs.

Monday, November 30, 2015

Busy Busy Busy

Hey everyone!  sorry...I think I may just let the blog go come the new year.  I have slowly been stepping back from my DT commitments and really just need to take time to focus on family.  That doesn't mean I won't be creating...and posting the occasional tutorial.  Just that I will probably be sharing my projects more on facebook, instagram and twitter.  So be sure to follow/like me on those platforms.

Well, today I wanted to share with you a little something I made with my Cricut and some glitter vinyl from The Buckle Boutique.

I found these fun pump dispensers on sale at my local Michaels and thought they would be perfect for the holidays.  The glitter vinyl was quick and easy to cut using my Cricut Explore and some files I had on hand.  And weeding the glitter vinyl was a breeze.
 Just a couple of sparkly fun layers and my soap dispenser was complete.    Love a little sparkle and shine during the holidays, don't you?
Well, thanks for dropping by.  And don't foreget that if you want to keep seeing everything I make follow me on Twitter, Facebook, and Instagram.

Hugs.

Tuesday, November 17, 2015

Holiday Ornaments With Clear Scraps

Hi everyone!  I warned you last week, Christmas is coming so today I want to share with you a trio of simple holiday ornaments you can create this season.  
Ornaments_clear scraps_nancy keslin
These ornaments are so easy to make with Clear Scraps Clear Craft Sheets and your favorite stickers, or in my case, printable vinyl I cut with my Cricut Explore.
Ornaments_cut
I began by cutting the Clear Scraps Clear Craft Sheet into a circle using my Sizzix Die Cut machine.  Clear Scraps Craft Sheets are simple to cut with steel rule die cut machines, scissors...or purchase some of the fun shapes that are pre cut for you.  Clear Scraps has many shapes to chose from, including pre cut ornaments.  I then designed and cut my images on the Cricut to fit and applied to the acrylic.
Ornaments_sand
To add extra interest, you can sand the back of your ornament for a frosted look.
Ornaments_stickle
Or maybe paint on some stickles, or alcohol inks.  The clear acrylic allows for so many fun options.
Ornaments_clear scraps_assembled
How will you embellish yours?

Hugs

Friday, October 16, 2015

Mason Jar Trick or Treat

Hey everyone!  Happy Friday.  Today I wanted to share with you a fun little mason jar I embellished with some Glitter Vinyl from The Buckle Boutique and my Cricut.

I began by covering the inside of my jar with a bit of mod podge mixed with some pigments from Marion Smith Designs.  There are tons of videos and instructions out there on the internet, so I won't bore you, but just mix it up, pour it in, swirl it around and let dry upside down...so simple.

From there, I simply cut a couple of designs from Cricut Design Space out of the Purple and Gold Glitzy Glitter from the Buckle Boutique.

The glitter cuts beautifully with the Cricut and comes in such great colors...and no flaking...cause you know what they say about glitter.  hee hee

I simply layered my cuts and added some LED lights I found at Target and voila....
Thanks for stopping by today.

Hugs.

Friday, October 9, 2015

Welcome Fall with a Little Bling

Hey everyone!  Happy Friday.  Hope you are having a great day.  I have been mad decorating for the fall, not so many spooky things now that my son is gone, really enjoying a bit more of a relaxed holiday.  lol

Anyway, today I wanted to share with you a quick and easy project I created with a pumpkin I found at Michaels, some scraps from a Rhinestone Sticker sheet from the Buckle Boutique (which is on sale now) and my Cricut.

So, I found this cute little pumpkin on sale at Michaels.  It already had some pretties on it, but you can never have too many beautiful things so...
I cut a few flourishes from the Cheetah print rhiniestone sheet (I just love the fall colors in it...and a little animal print is always good for the soul.  hee hee) with my Sizzix.  Be sure and use your cutting pad, die, rhinestone sheet and second cutting pad in that order for best results.
The Buckle Boutique Rhinestones cut so easily with the steel rule dies from Sizzix.  It is definitely one of my favorite ways to use the Rhinestone Sticker Sheets.  The die I used is super old, but there are plenty of gorgeous Sizzix flourish dies to choose from.
Then I simply placed my flourishes on the top of my pumpkin.  So easy, right?
I finished the pumpkin decorating off with a big sunflower I had lying on my desk and a "welcome" I cut from my Cricut from vinyl.
This project was super simple and took no time at all to complete.

Thanks for stopping by.
Hugs.

Wednesday, September 2, 2015

Adults at Play Yard Sign

Hey everyone!  Sorry I haven't been around much.  I have had some crazy family stuff happen.  If you are curious, you can check out my Facebook.

Anyway.....A few weeks ago I had a few friends over for a Tiki party in the backyard...anyway, a few of these so called friends said that I needed signs for the backyard.  um....ok.  Well, recently I have been trying my hand at vinyl and thought I ould make myself this sign.

I made this with Orcal 651 which should be permanent...but not sure of how it will hold up on this textured cutting board.  Oh well.....It looks ok for now (yes, I know the lines are a bit crooked, but you should try to get that vinyl onto a textured surface, ugh...no onoe warned me).  lol

You can find a free copy of the .svg file here.  And I already have a few more signs in the works.  These will be wood...not sure out of vinyl, may just make a stencil and paint....hmmmmmm Which do you think I should do?

Hugs.

Friday, August 21, 2015

Split Letter Monogram

Hi everyone!  Today I want to share with you another project I made using Clear Scraps, my electronic cutter and some vinyl. 
Split monogram_nancy keslin_clear scraps

I shared last week that I won a bunch of vinyl from Cricut.  Well, the vinyl bug has bitten and I have been cutting like crazy.  Wait till you see all the fun stuff I made.   If you know me tho, I can be a bit of a klutz, always in a hurry and maybe not taking enough time to get things done.   I have seen so many of these split letter monogram frames and people who have cut themselves trying to create them.  Clear Scraps to the rescue.

All I needed was a Clear Craft sheet, my vinyl, and an electronic cutter.  The Clear Craft sheet is perfectly clear and there is no chance I would put my hand through the glass.

Oh, did I mention that I am helping a friend of mine is making one for her son's upcoming wedding?  How fun is that?  These monograms make great wedding gifts.  I can't wait to make more.

I hope you enjoy this home decor project.

Hugs


Friday, August 14, 2015

Back to School with Clear Scraps and Cricut

Hey everyone!  Today I want to share with you some fun bookmarks I made using the Mini Card Album from Clear Scraps and my Cricut.  With school rapidly upon us I wanted to make something really special for the coming school year.
Bookmarks_nancy keslin_clear scraps
Recently I won a prize from Cricut that included a bunch of different vinyl sheets and was trying to decide what I should do with them.  I found these images for free in the Cricut Design Space library, sized them to fit the acrylic mini card album and cut them out of a few different colors of vinyl.  The vinyl sticks perfectly to the acrylic album pages making a quick and easy bookmark.  From there I simply punched an extra hole in the middle of the card to string some ribbon and lace.

These bookmarks were super easy and fun to create, and were an easy way to enter into the world of vinyl.  Hugs.
Thursday, August 15, 2013

Vintage Mint - Hydrangea Hippo

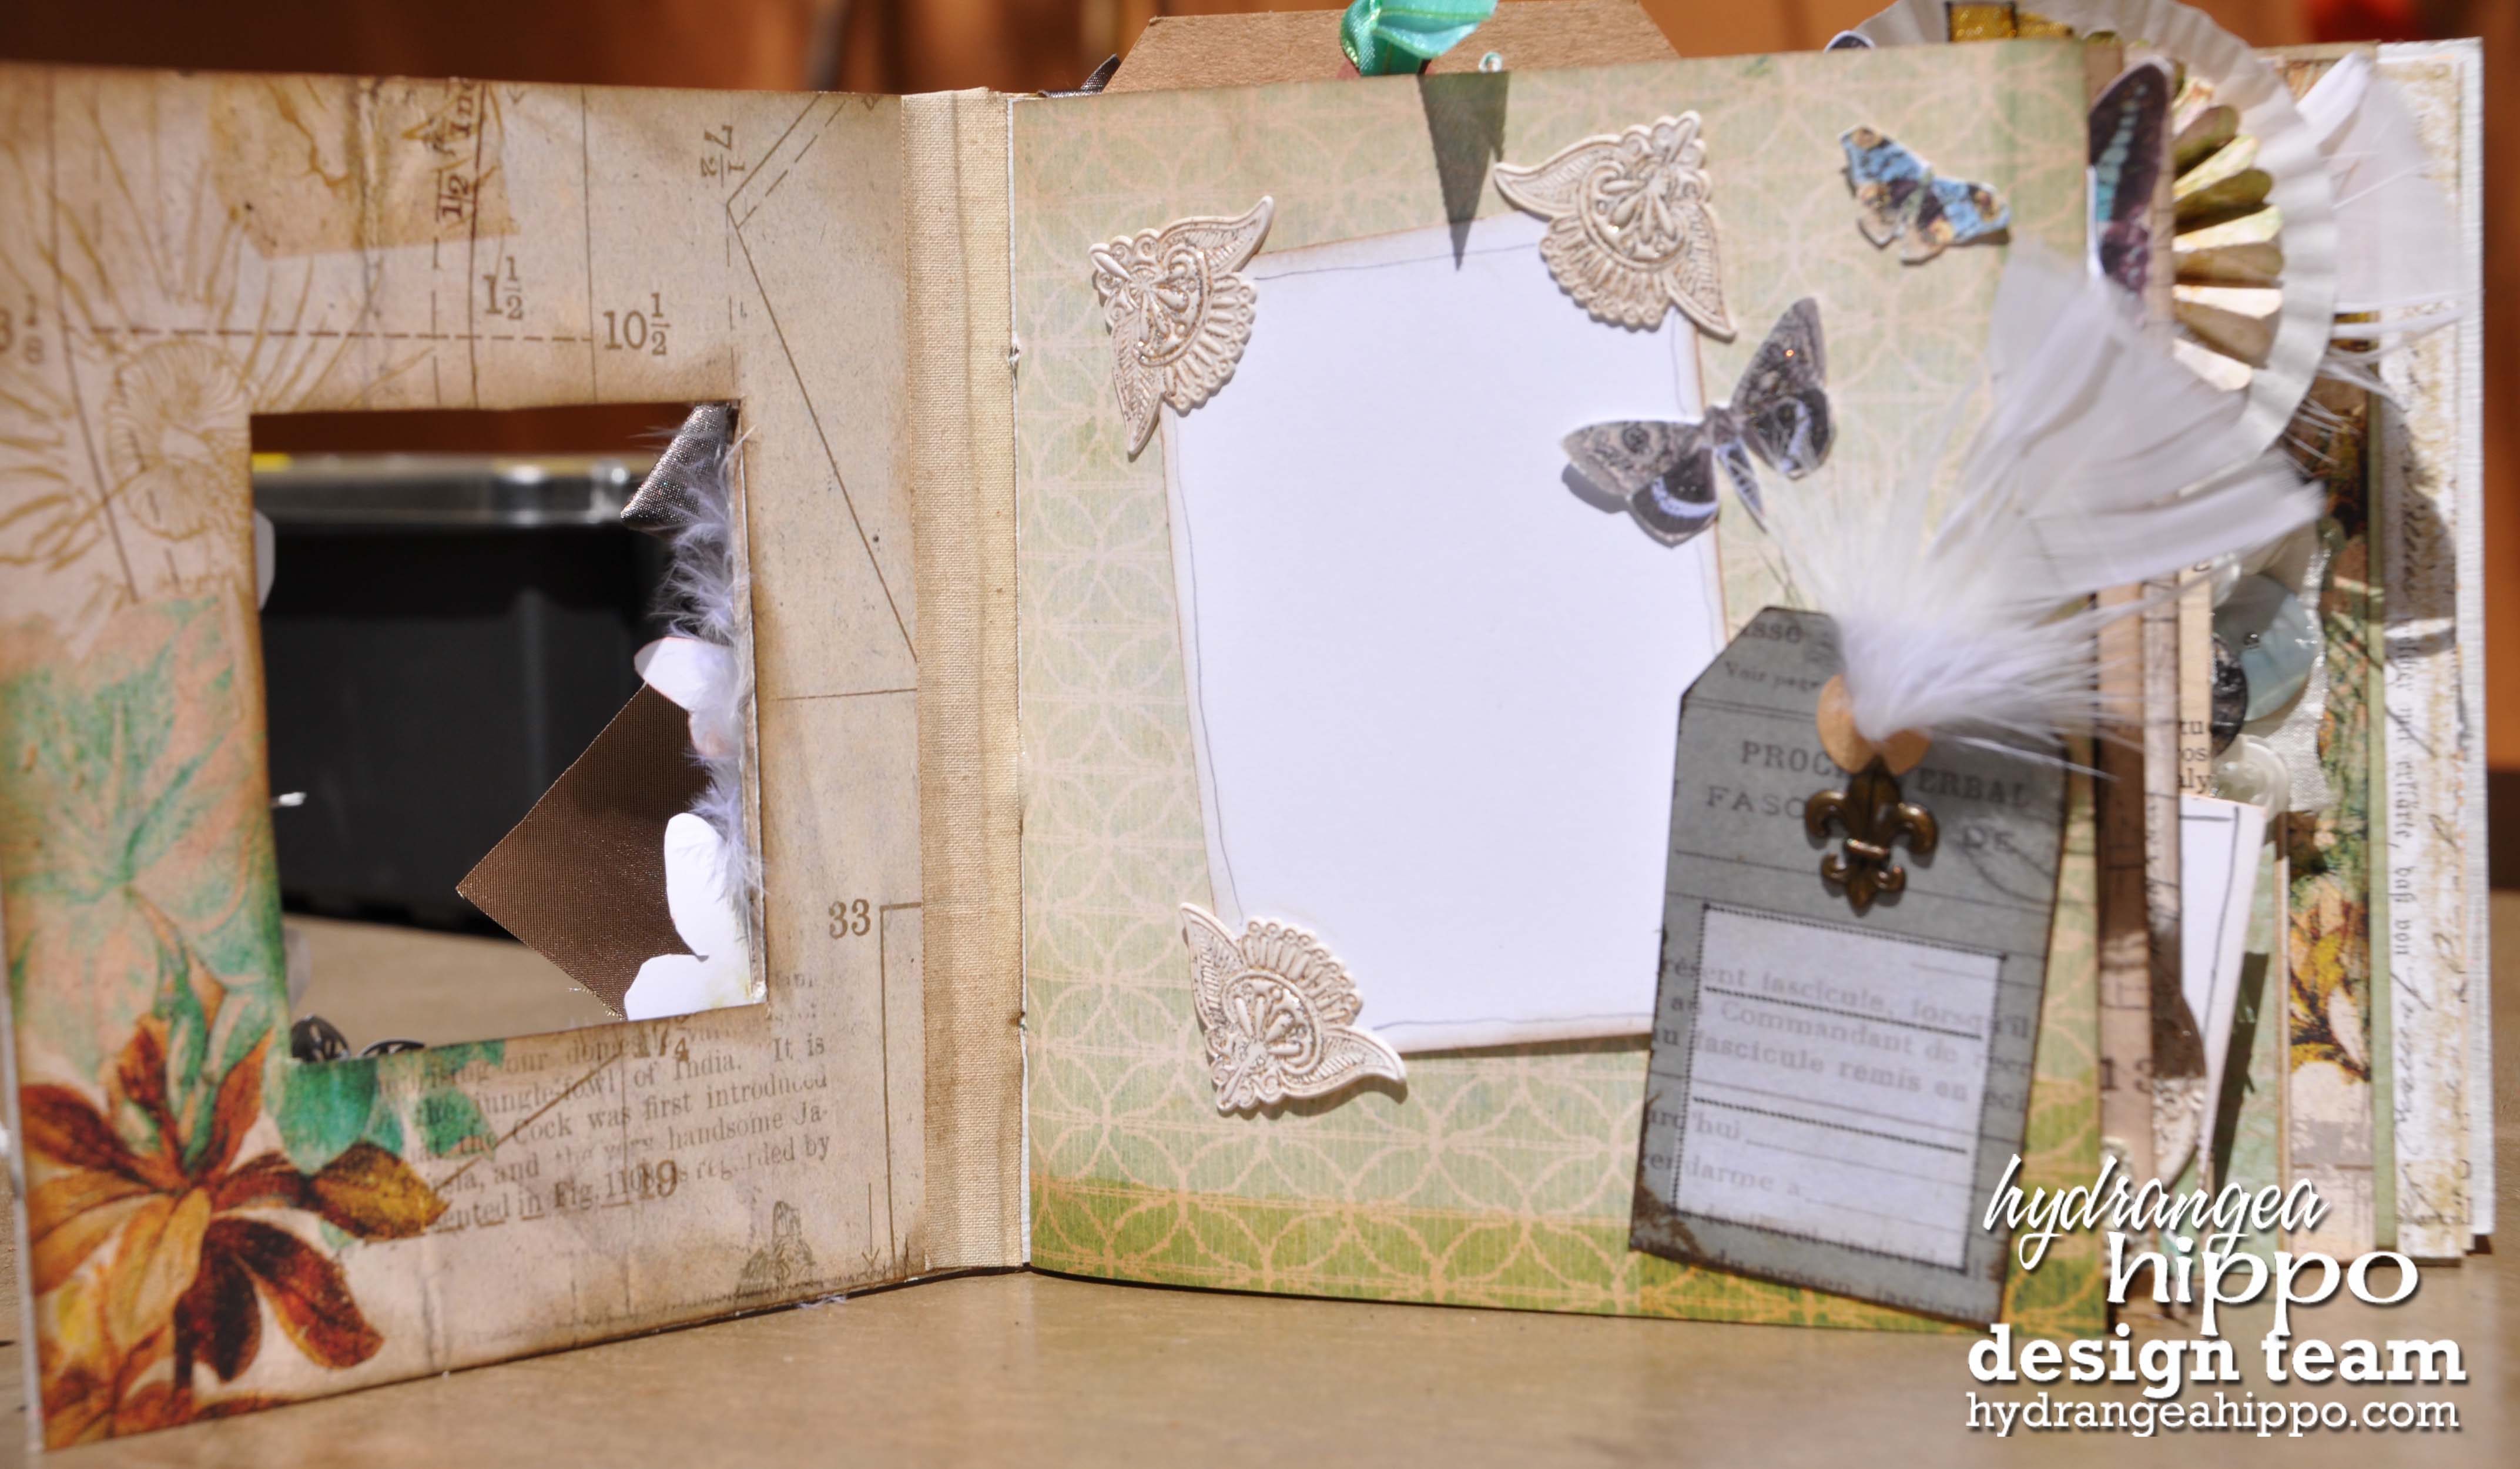
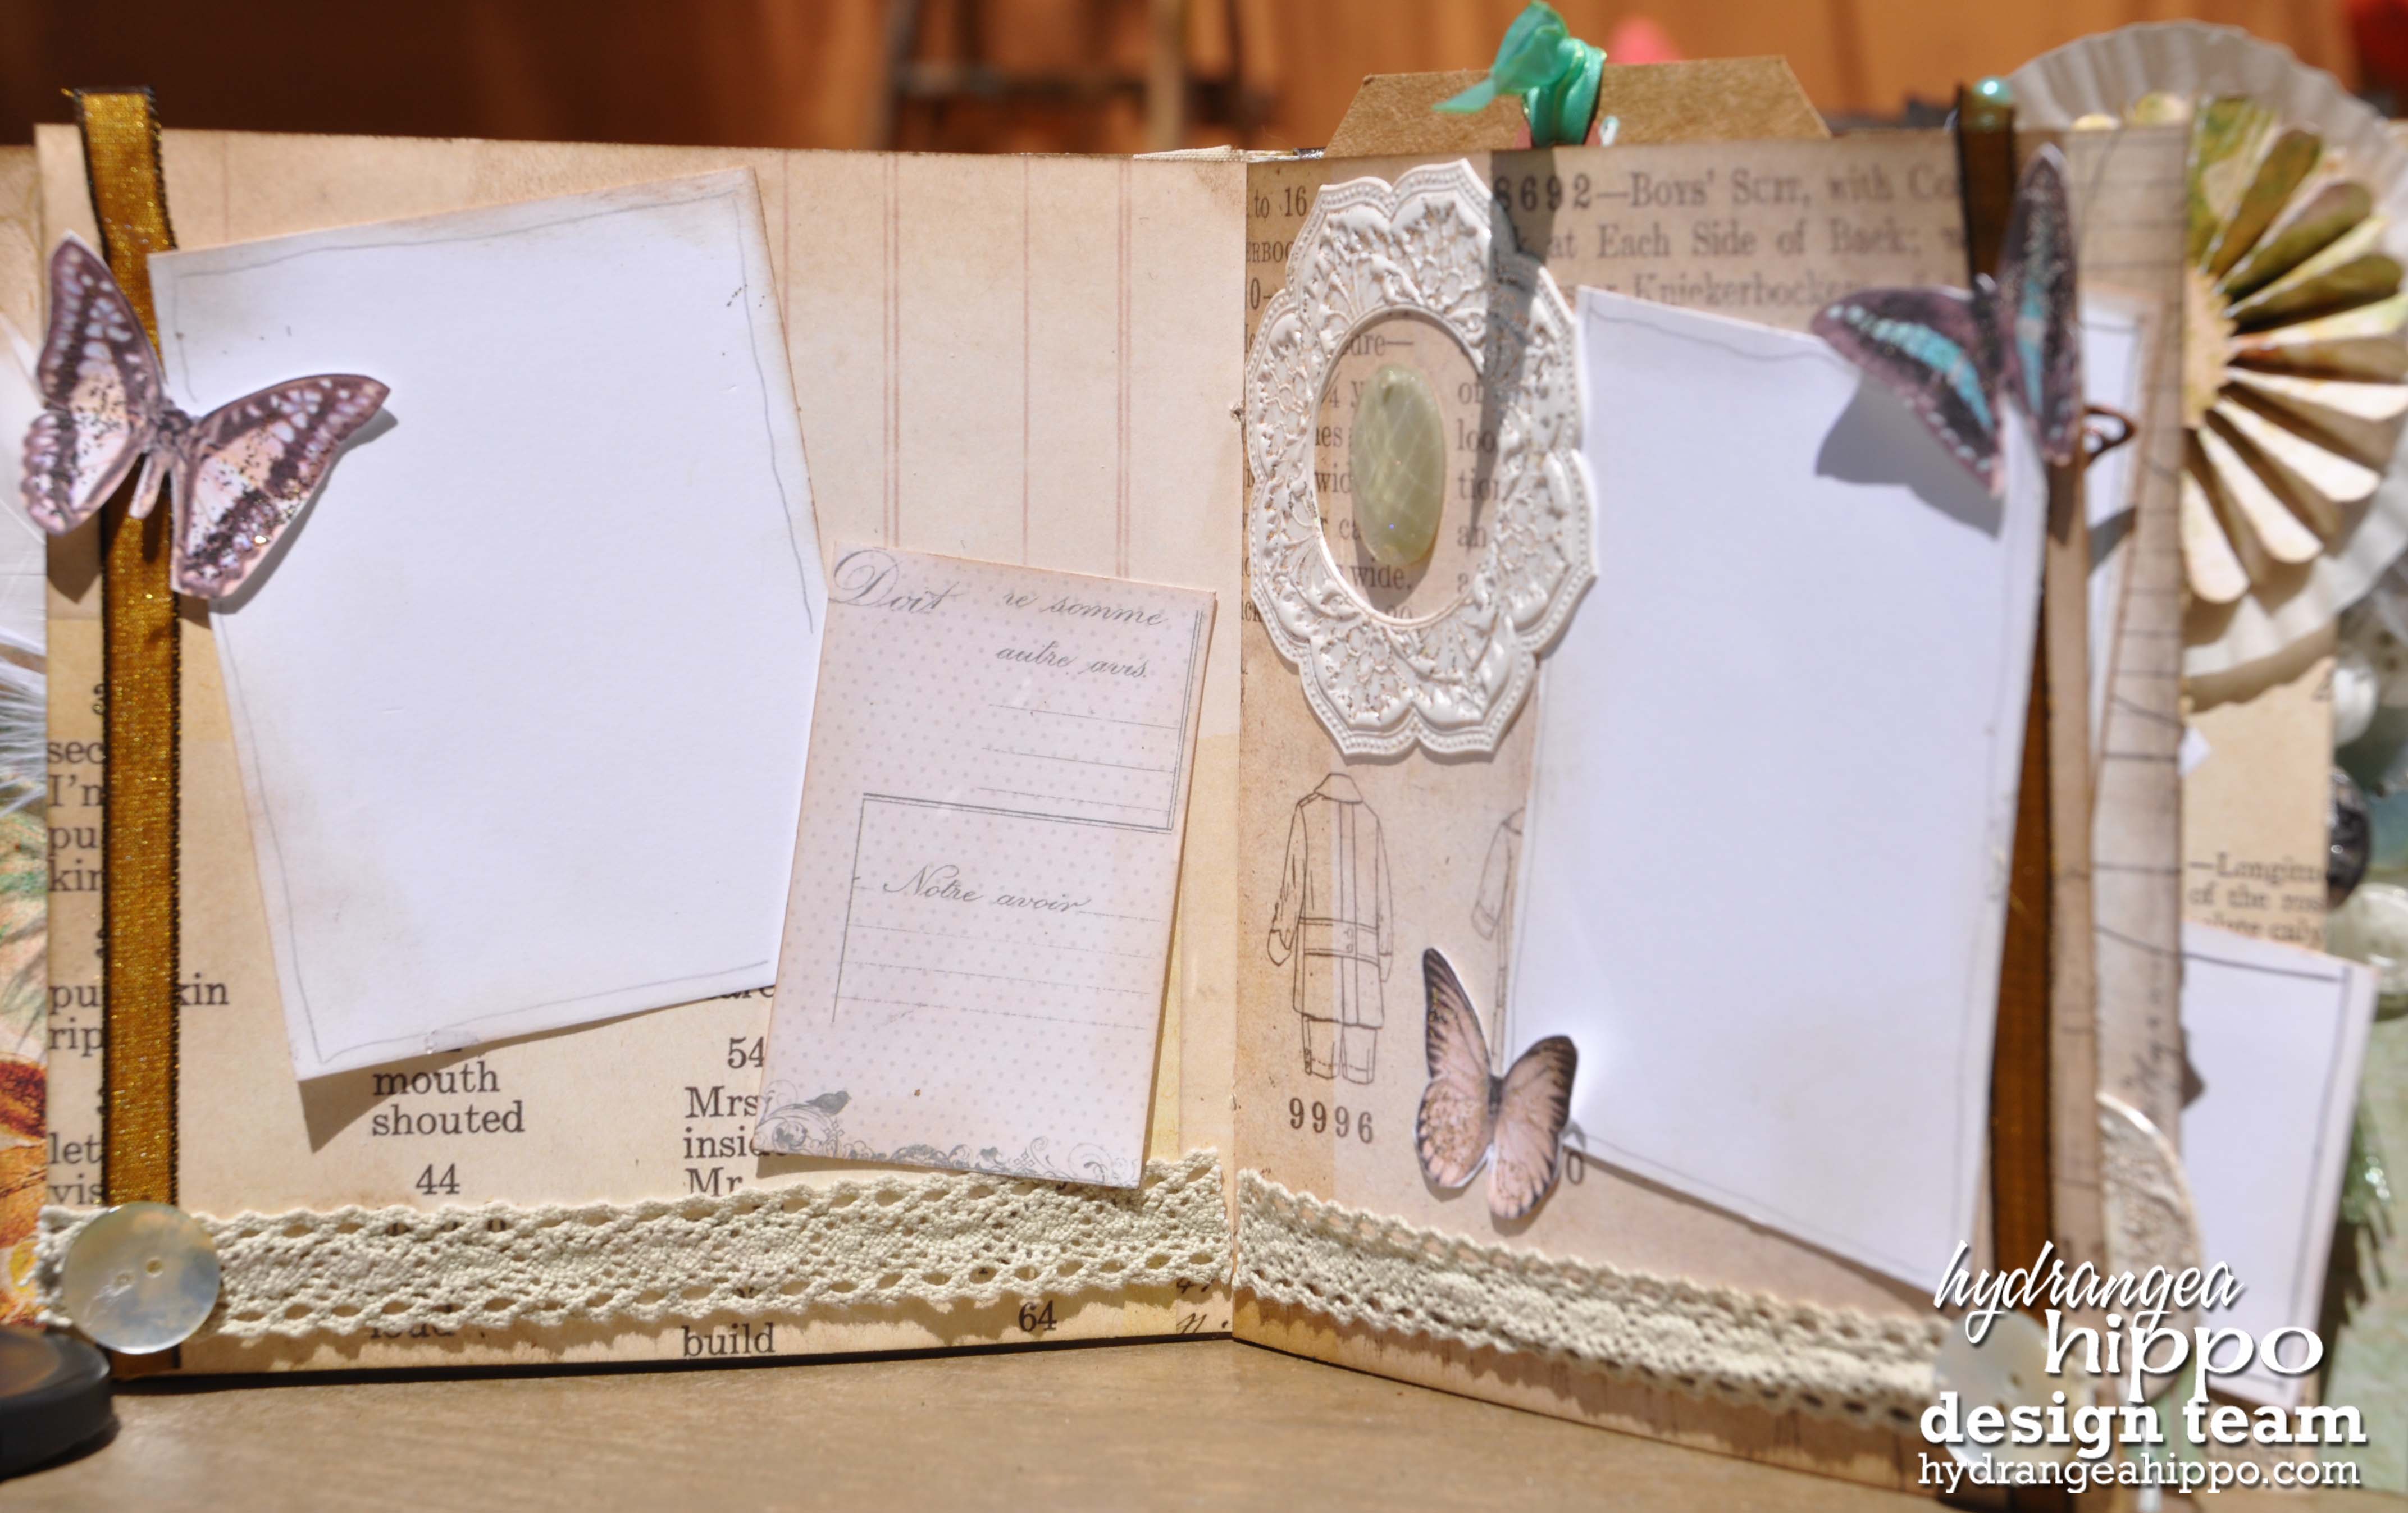
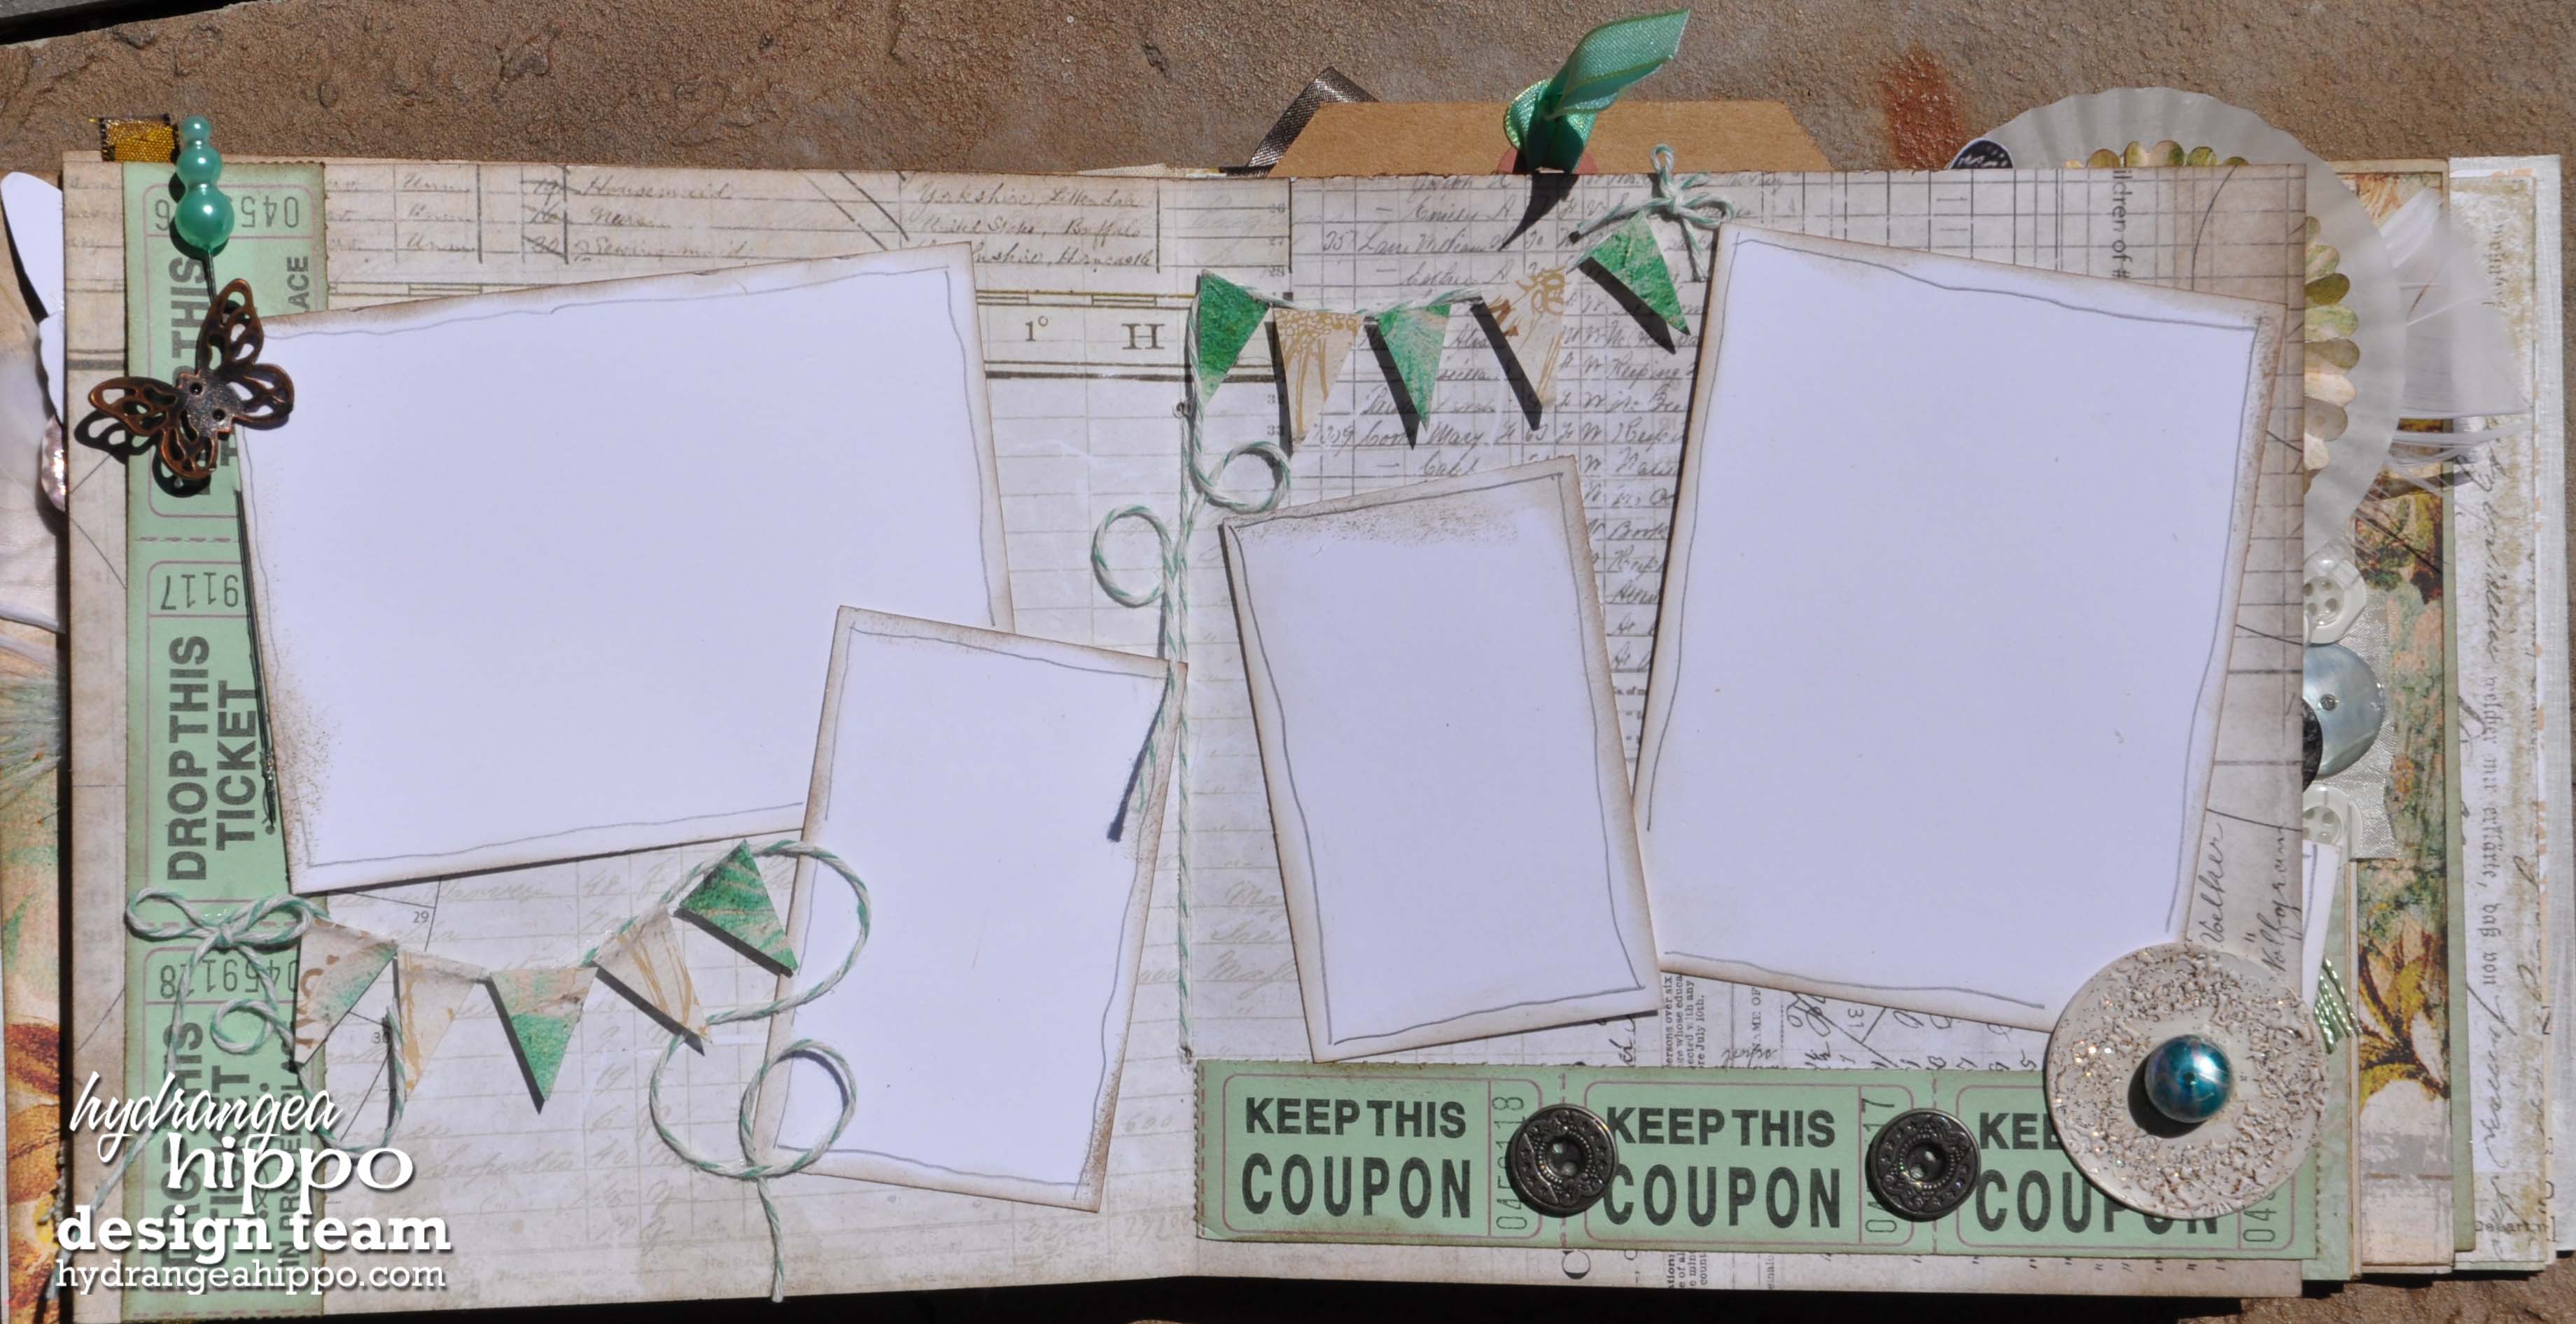
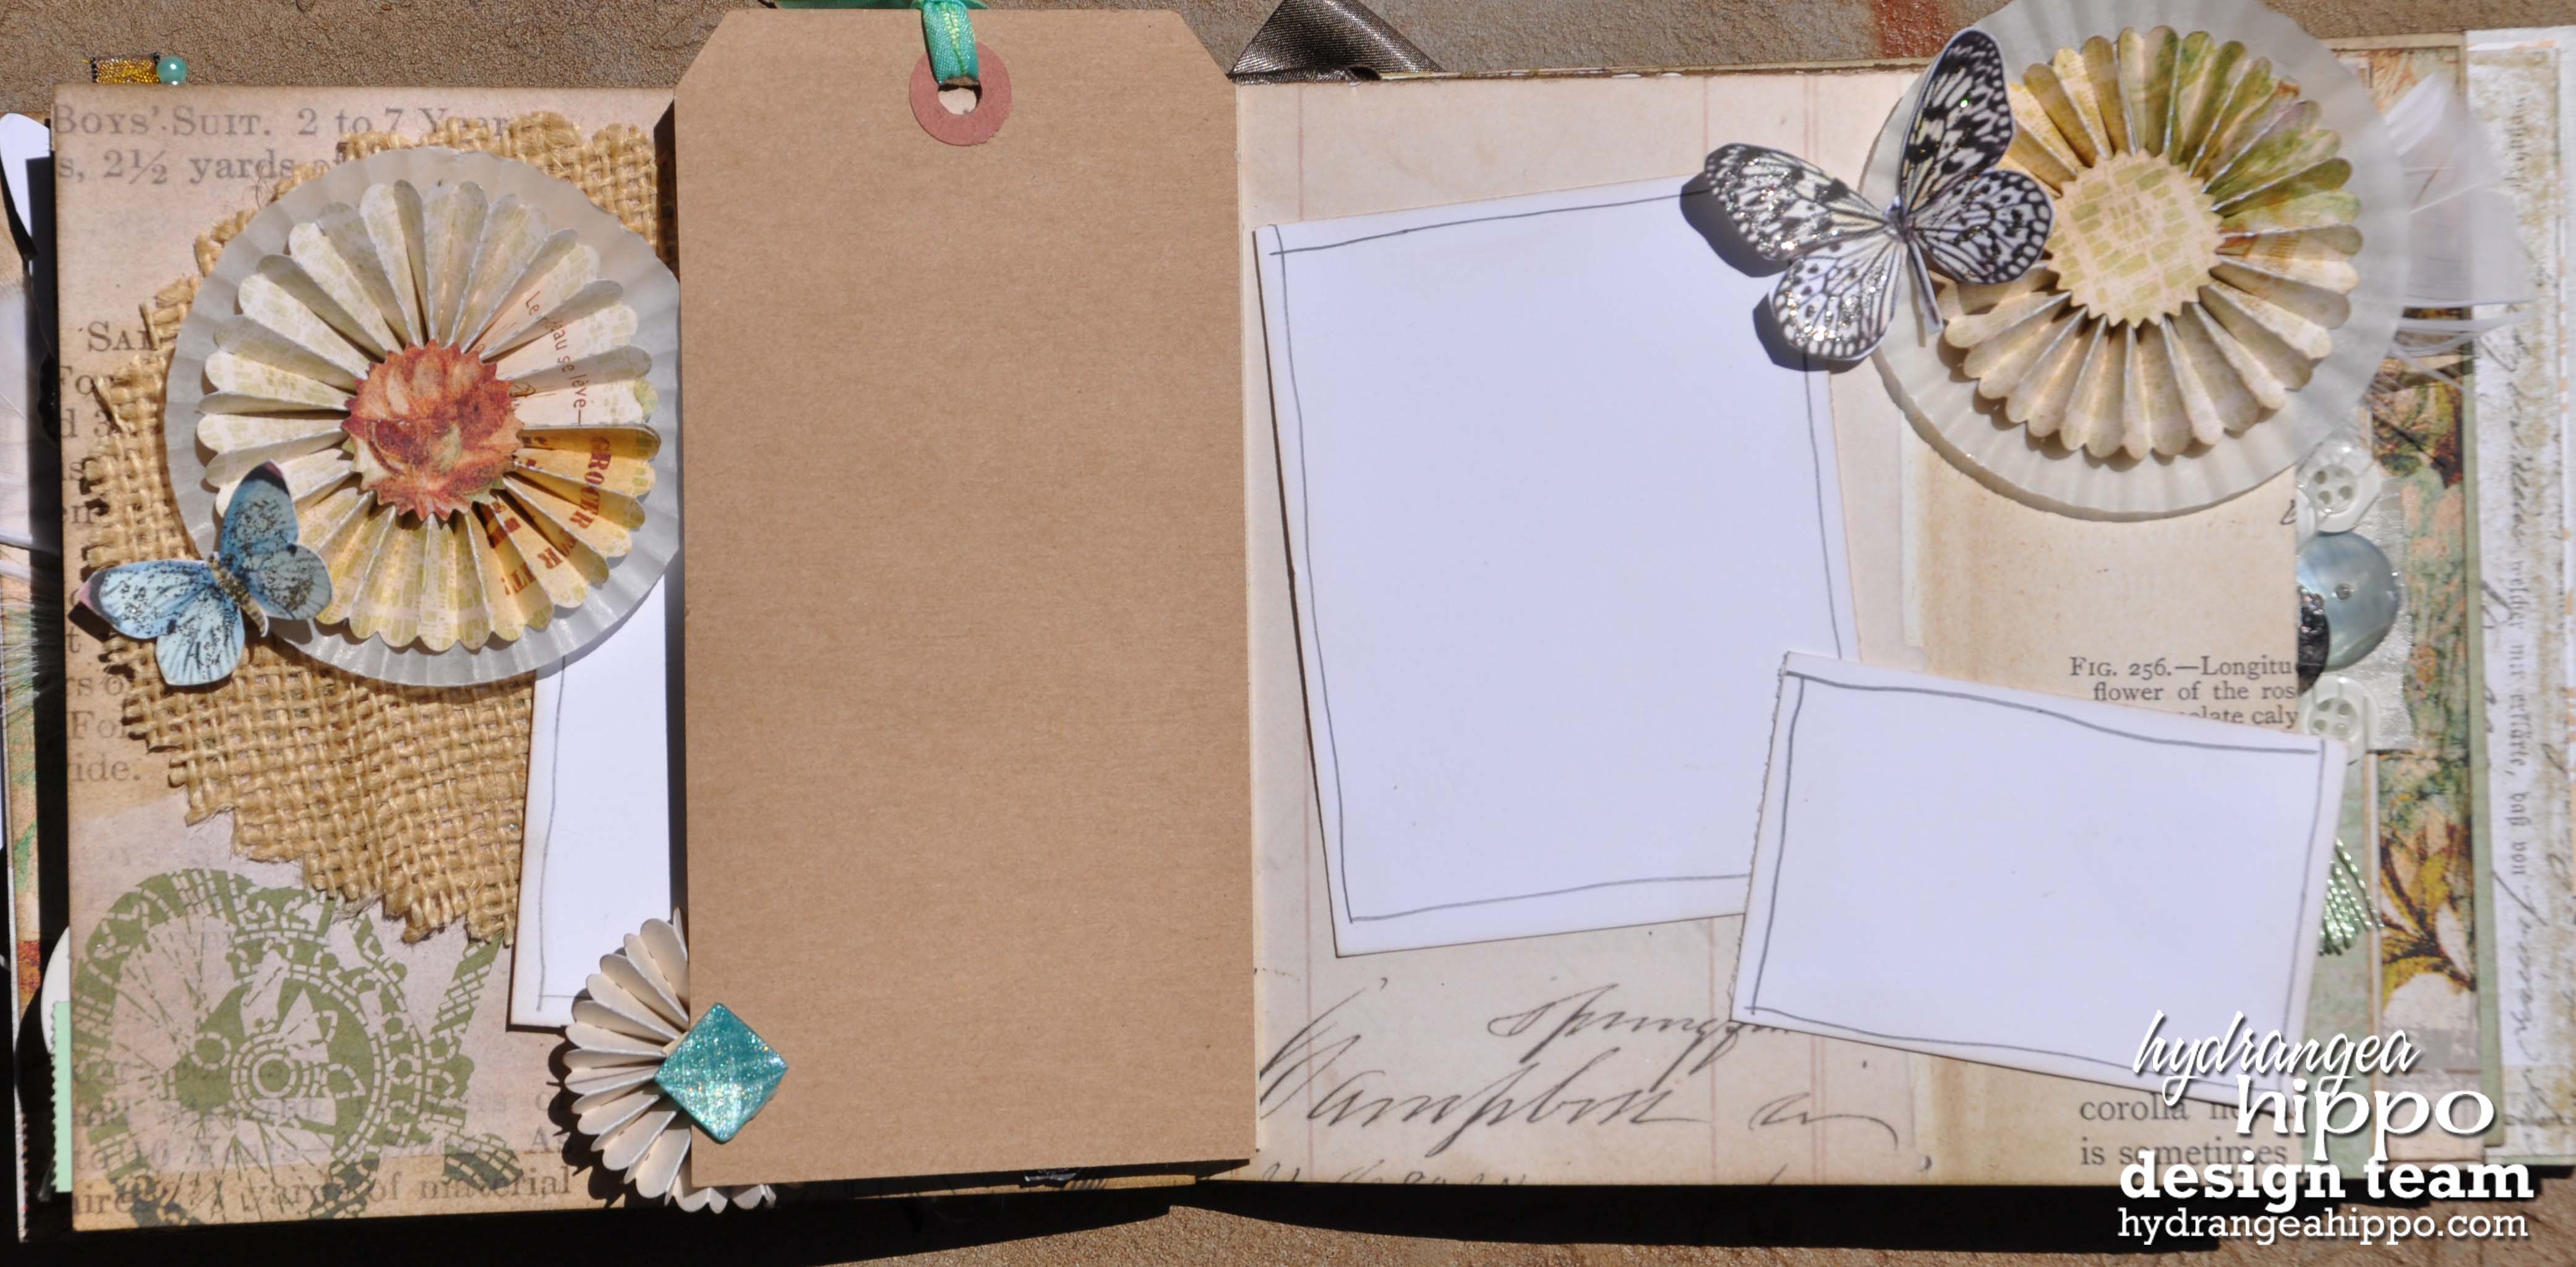
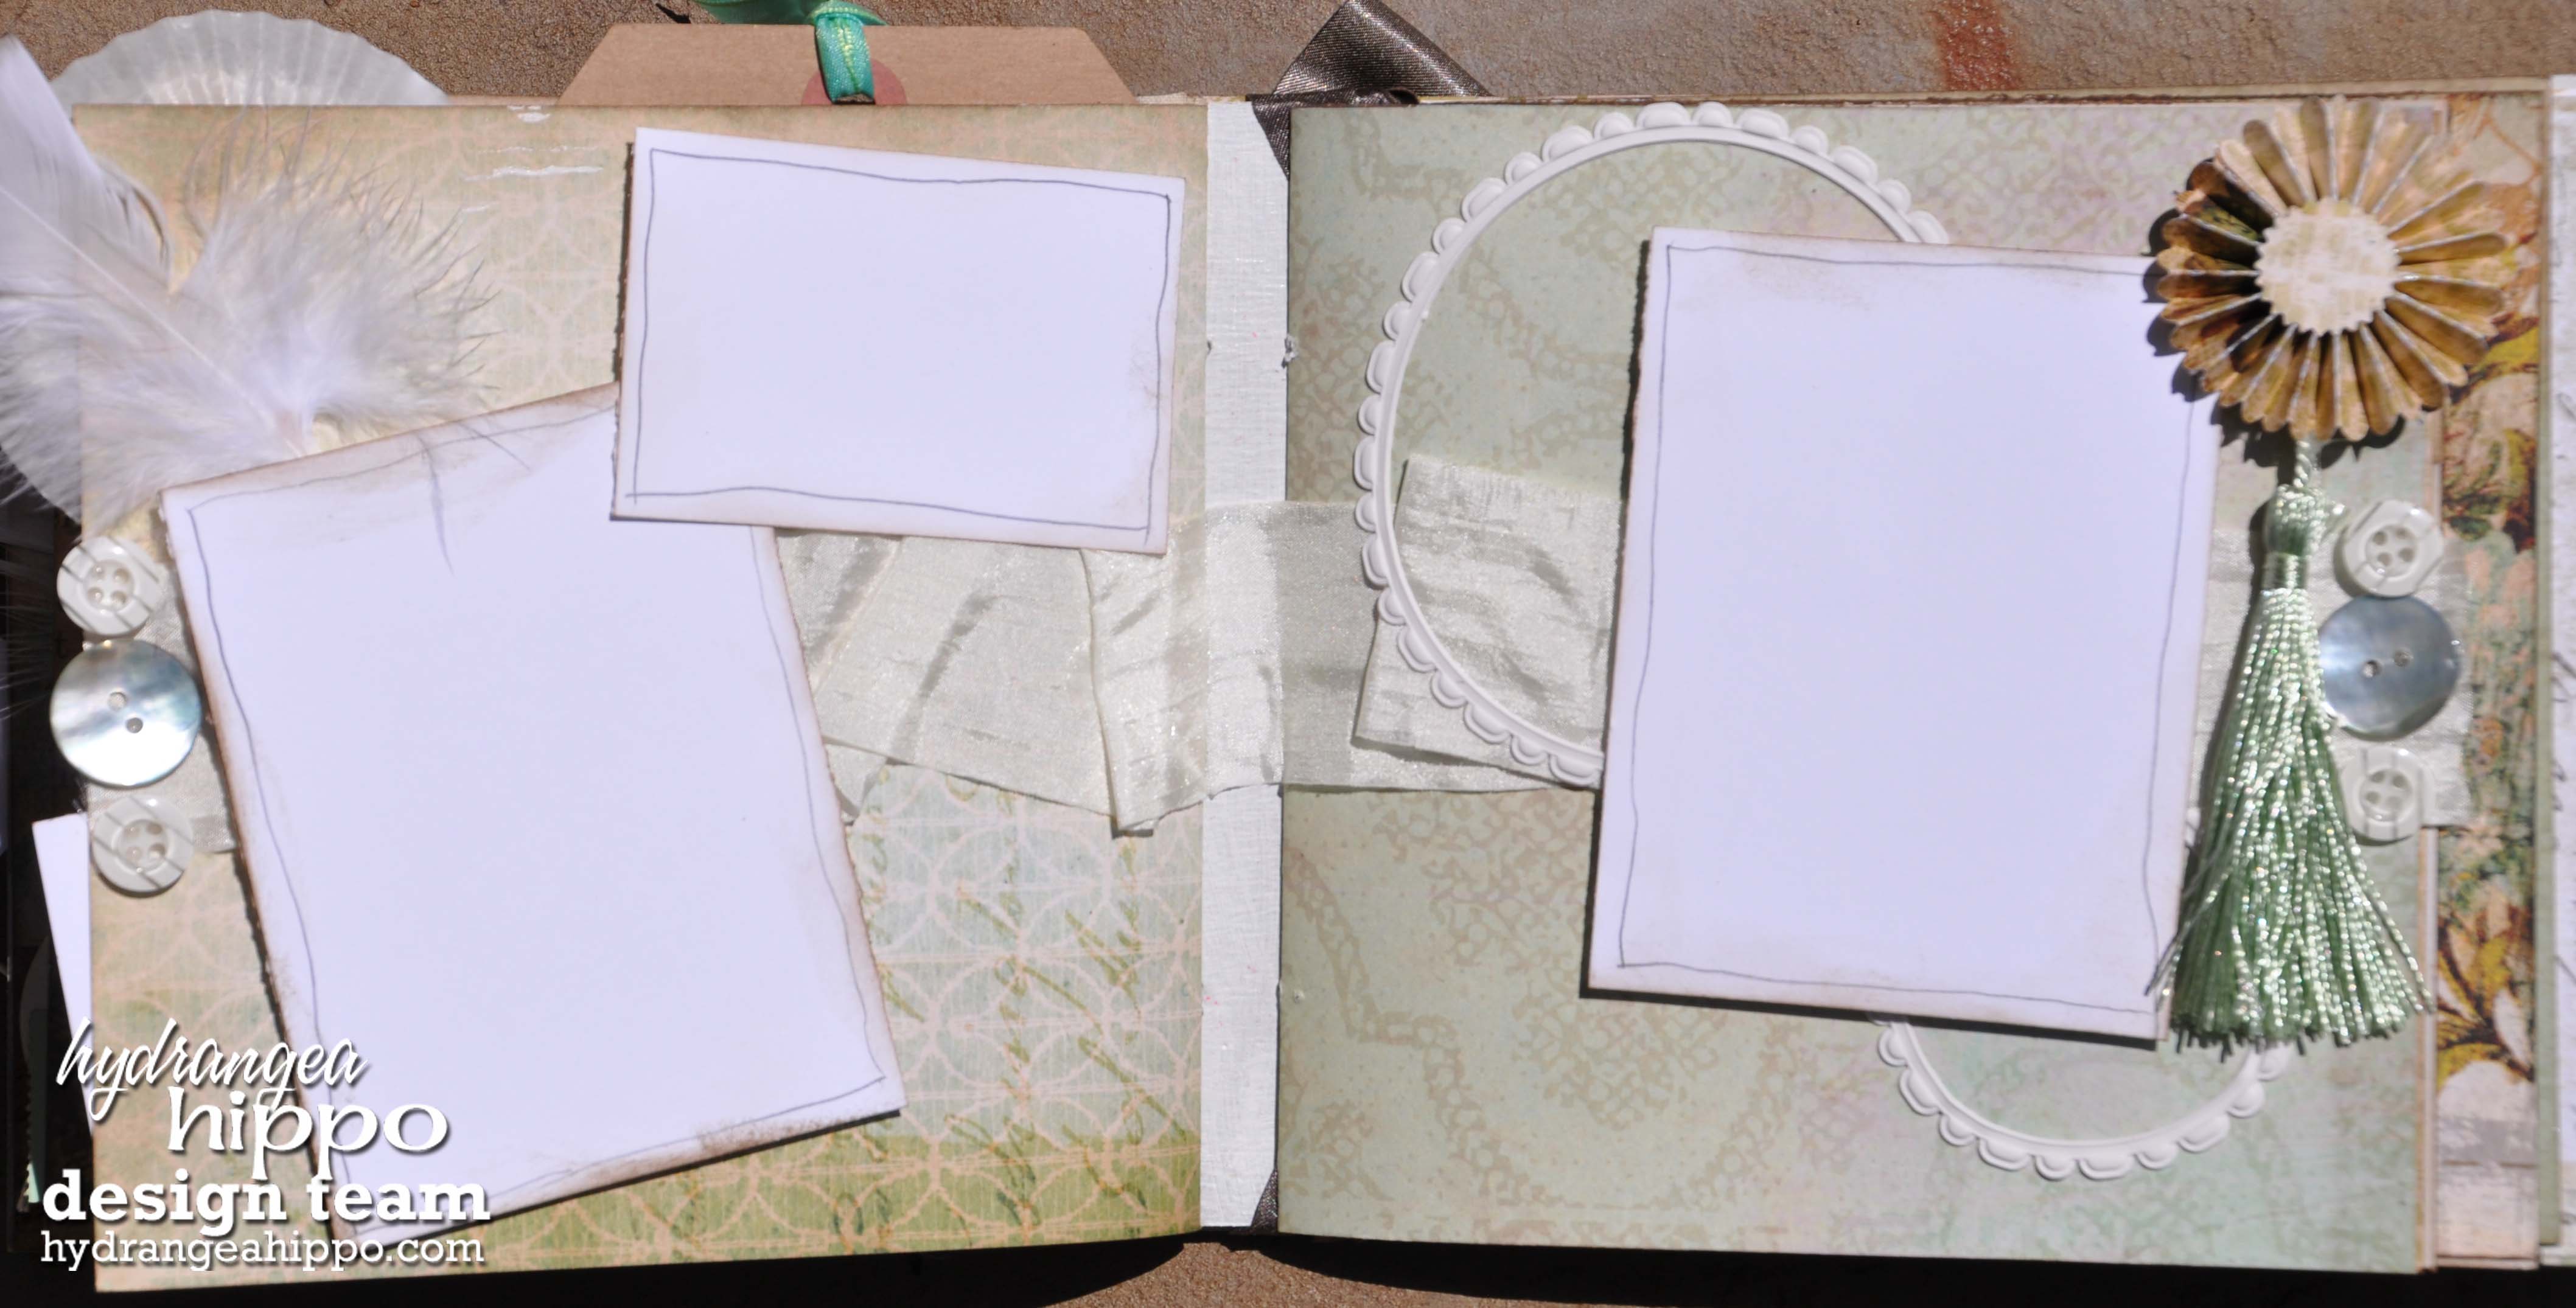
Hi everyone, today I want to share with you the inside pages of the mini album I shared a few weeks ago.  You can see that post here where I go step by step through the process of building the album.  But, as promised I am back today to share some of the inside pages.
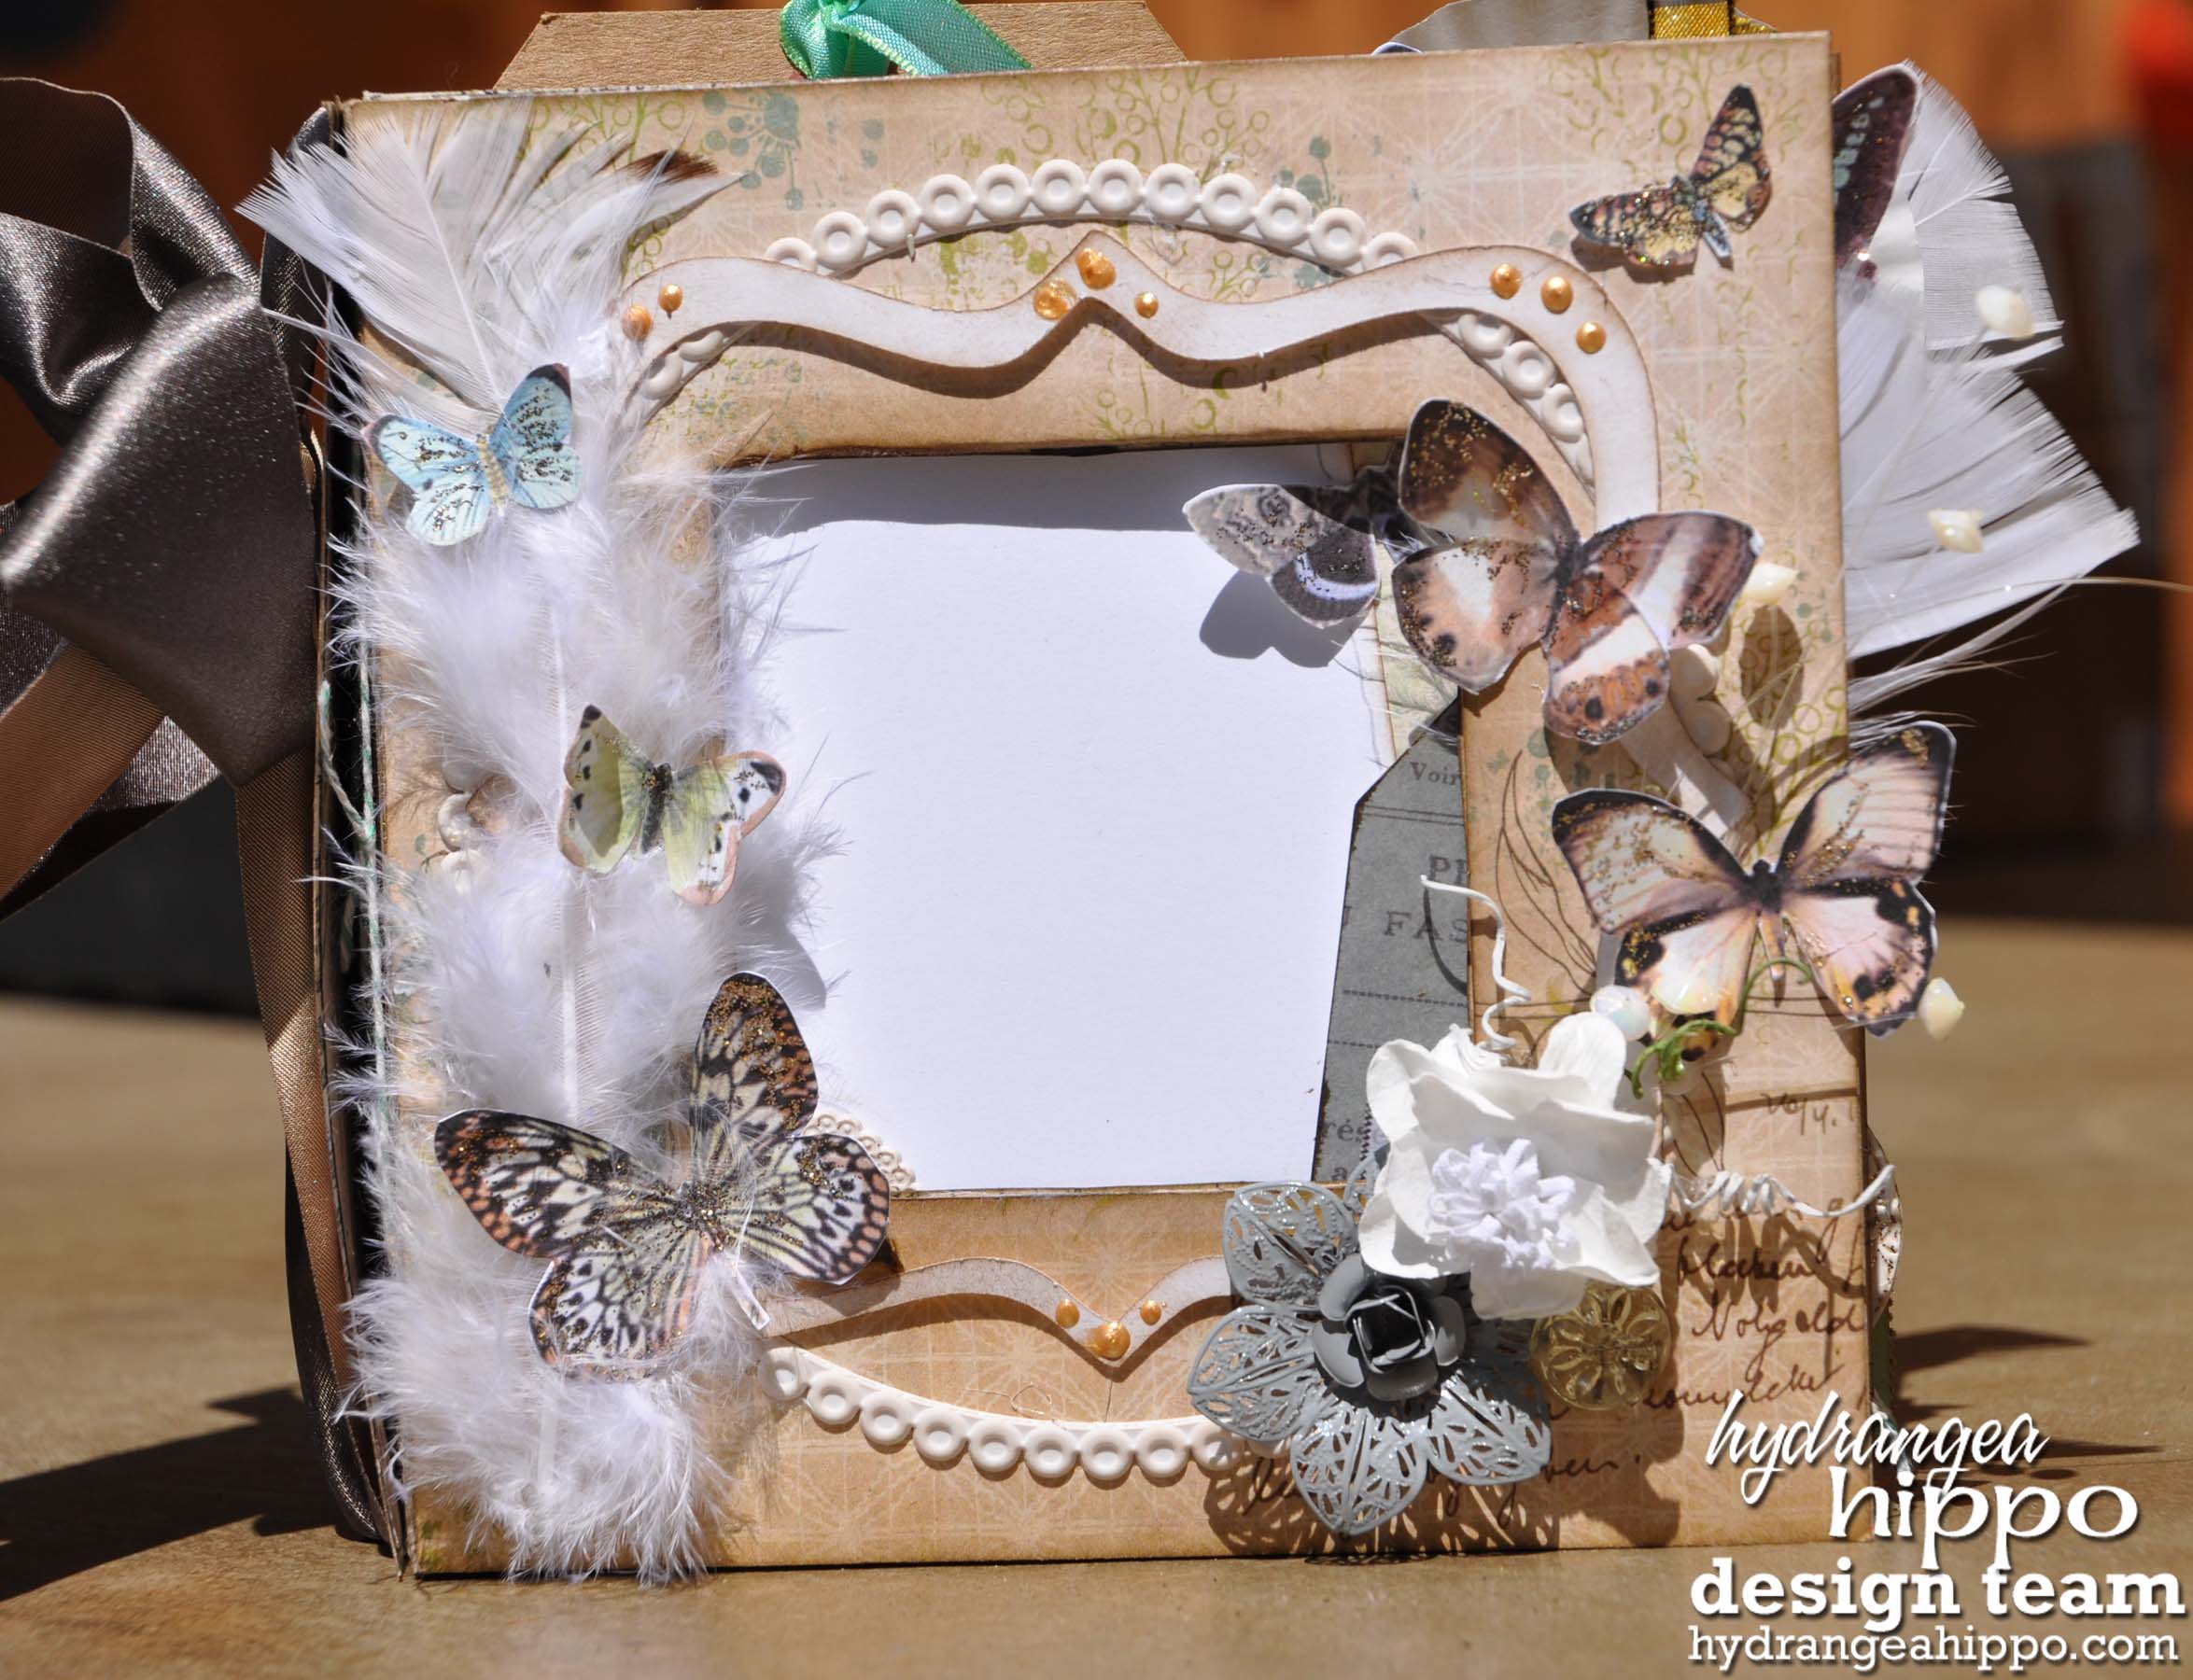
nancykeslin_hydrangea hippo_july kit_album cover
The Vintage Mint Creativity kit, is just full of so many beautiful items.  The gorgeous Pink Paislee papers, beautiful flowers, trims, buttons and doo dads….swoon.  I reallly do so love this book
nancykeslin_hydrangeahippo_vintagemint_min1
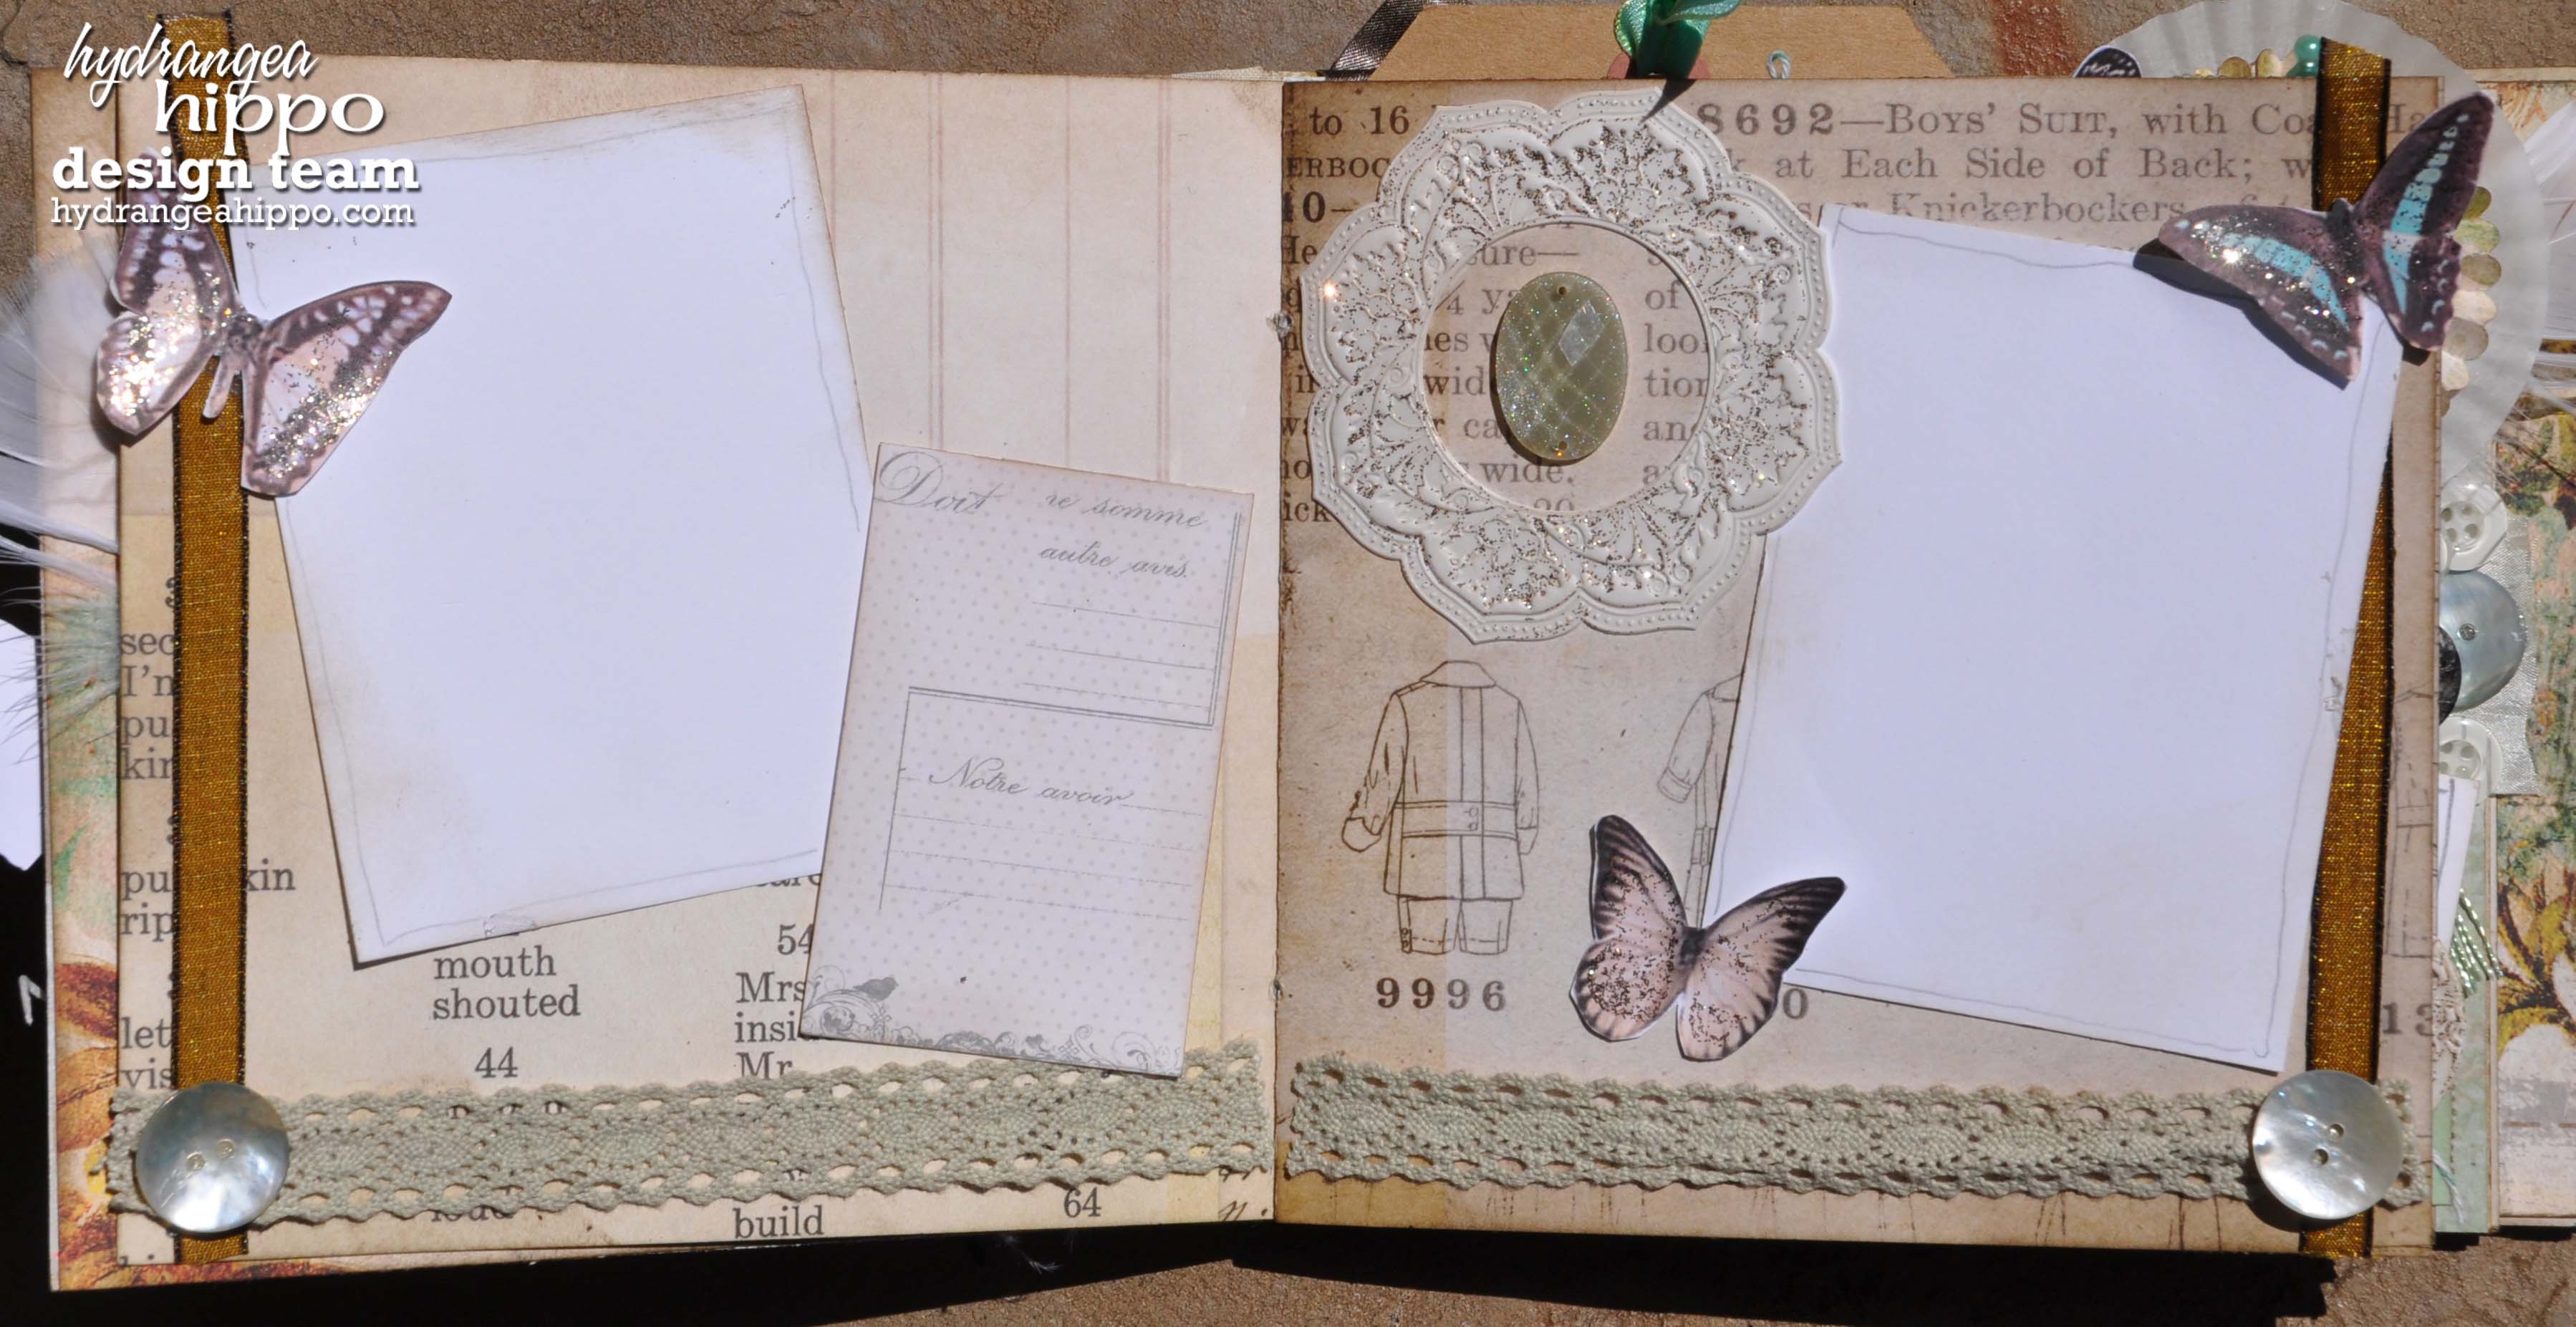
 I also printed and cut a number of butterflies from the internet.
nancykeslin_hydrangeahippo_vintagemint_mini6
 nancykeslin_hydrangeahippo_vintagemint_mini7
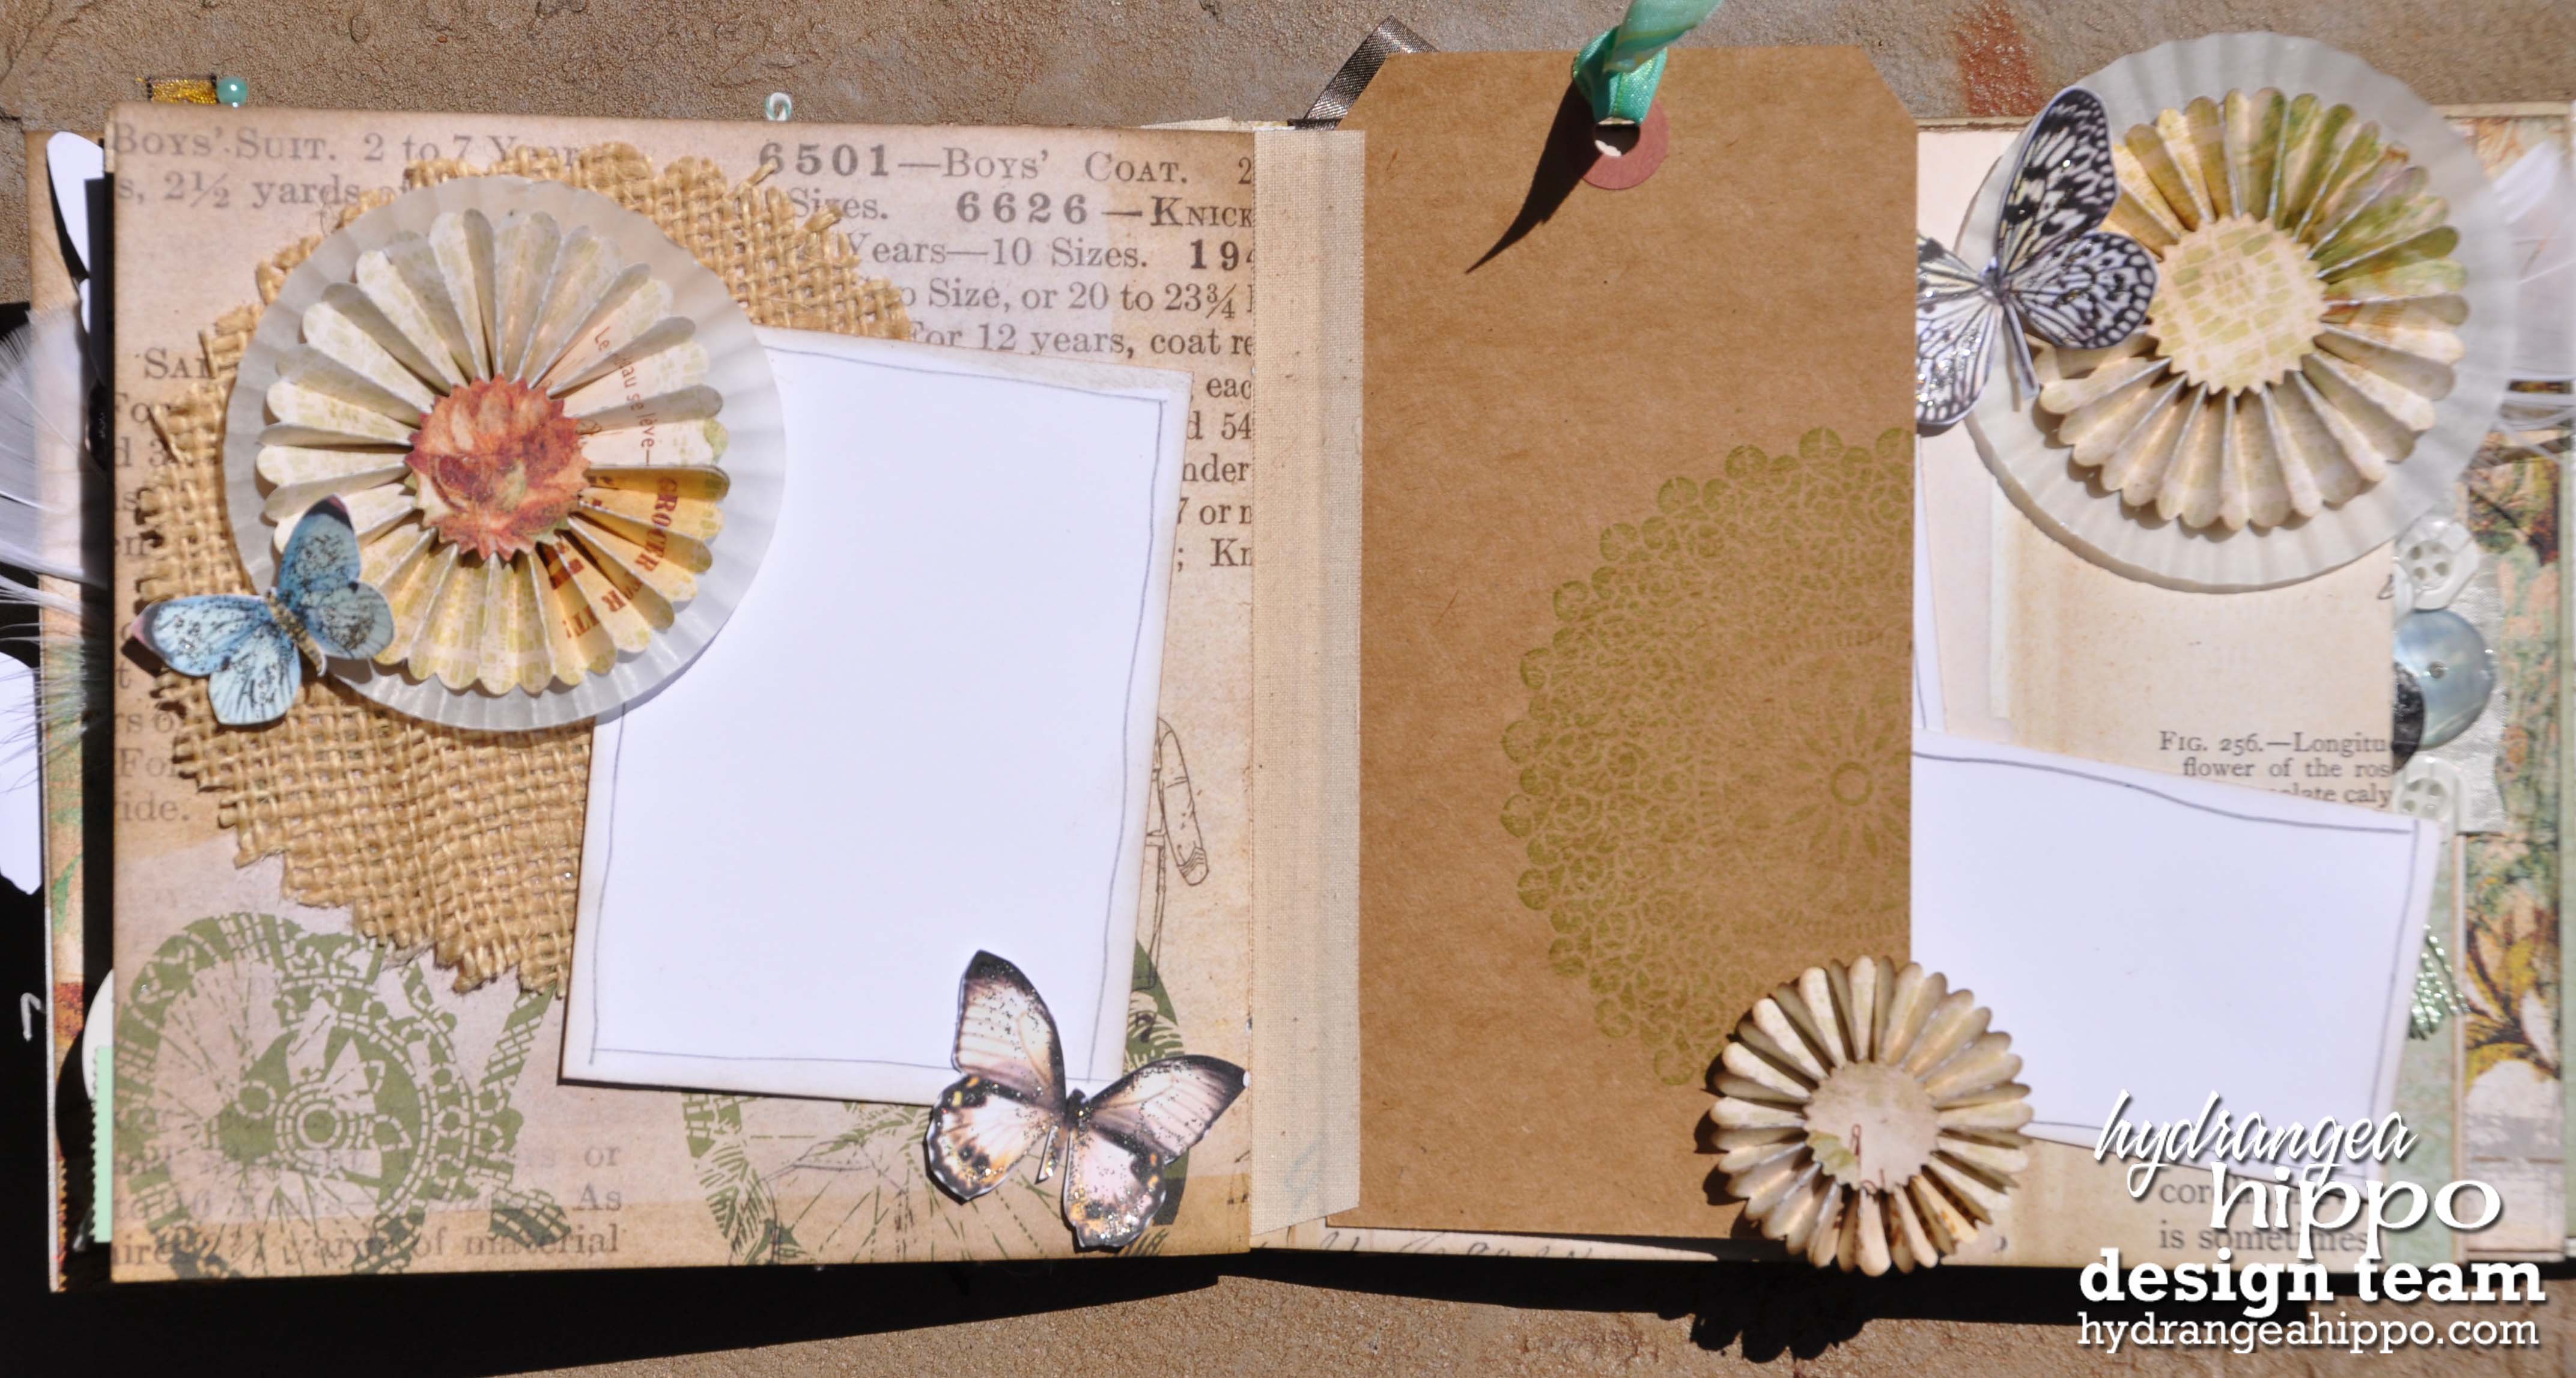
Super fun vinyl pieces mix beautifully with the gorgeous feathers and buttons….
nancykeslin_hydrangeahippo_vintagemint_min3
and of course the kit is full of some of the most gorgeous trims, tags and baubles.
nancykeslin_hydrangeahippo_vintagemint_min4
Cupcake wrappers make the perfect backdrop for my rosette flowers, and you know I couldn’t resist adding in a few banners.
nancykeslin_hydrangeahippo_vintagemint_min5
I love the little sparklers that Jennifer has added to this kit…they add just a bit of shine and add so much interest in contrast.
nancykeslin_hydrangeahippo_vintagemint_mini4
 Be sure and grab your Vintage Mint kit today.  Unfortunately, at this time, Jennifer has decided to close down her design team.   I have loved working with Jennifer and look forward to doing so again.  
Hugs.
Nancy

Tuesday, July 30, 2013

Vintage Mint Kit - Hydrangea Hippo


Hi everyone!  Today I want to share with you a mini album I made using the gorgeous Vintage Mint kit from Hydrangea Hippo featuring the Hope Chest collection from Pink Paislee.

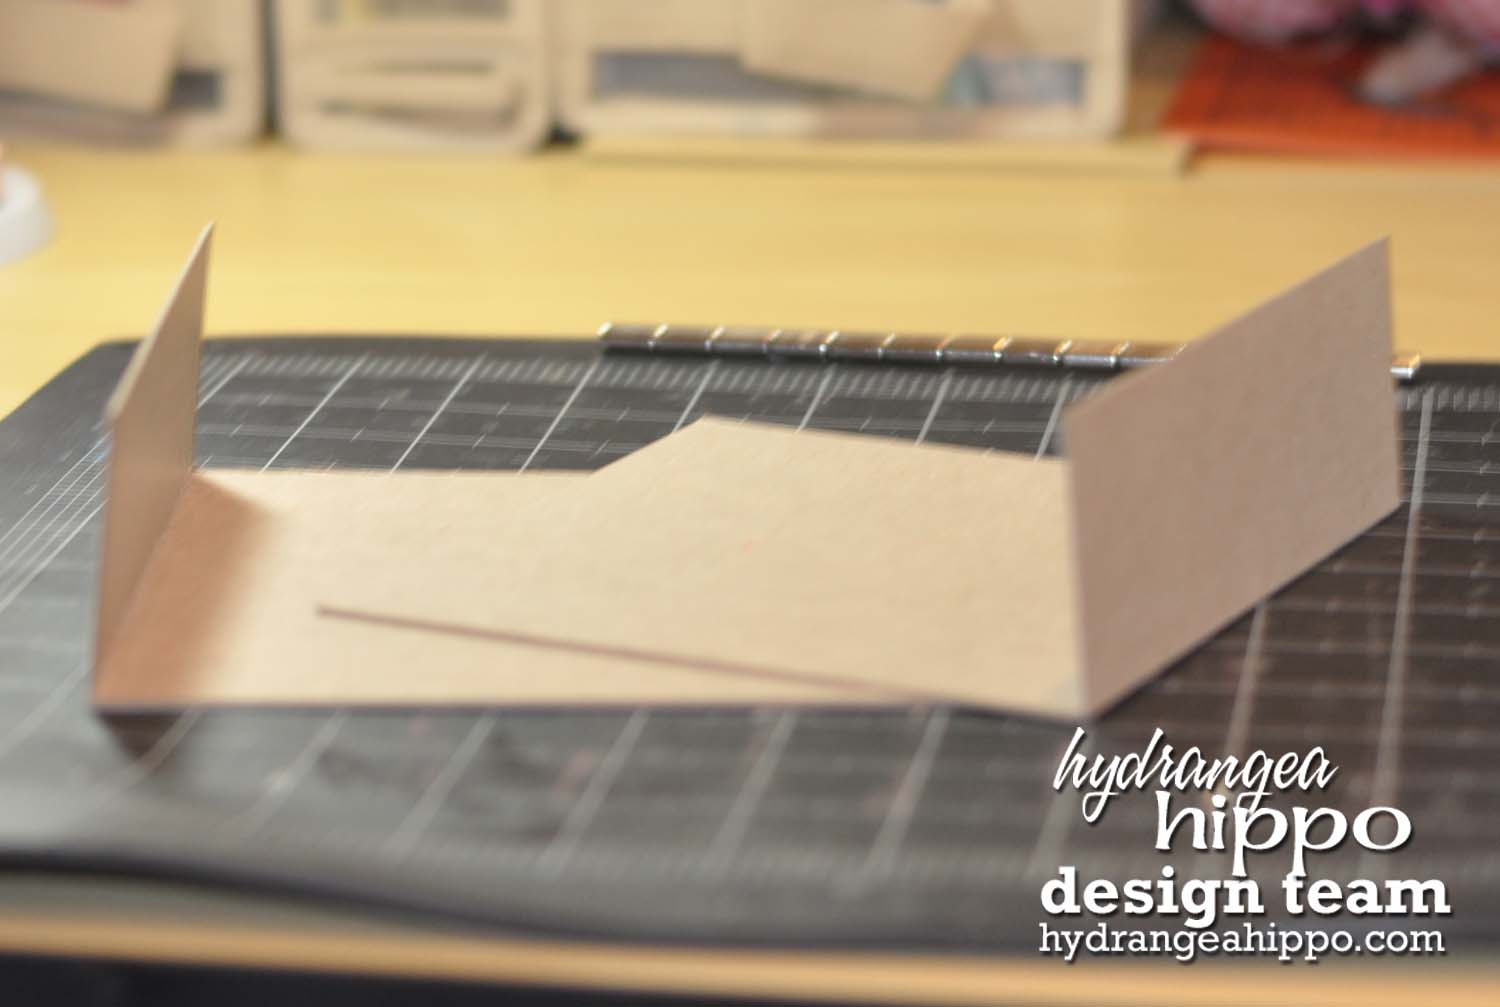
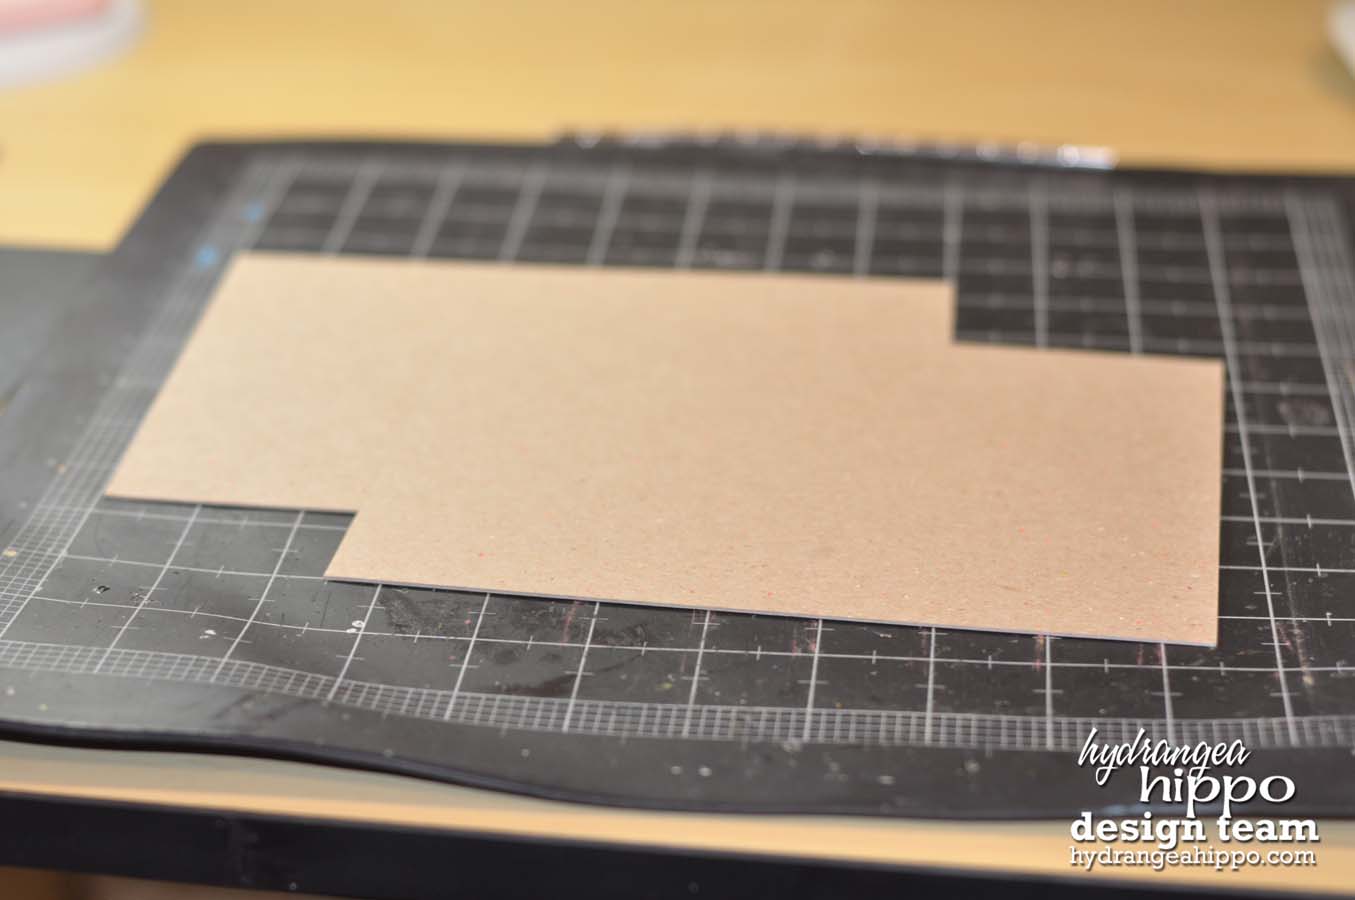
I have a lot of chipboard sheets lying around and thought it would be fun to create my own mini album.  I started with two sheets of 6×8 inch chipboard.
nancykeslin_hydrangea hippo_july kit_album tutorial1

I scored each at two inches along the long side.
nancykeslin_hydrangea hippo_july kit_album tutorial2
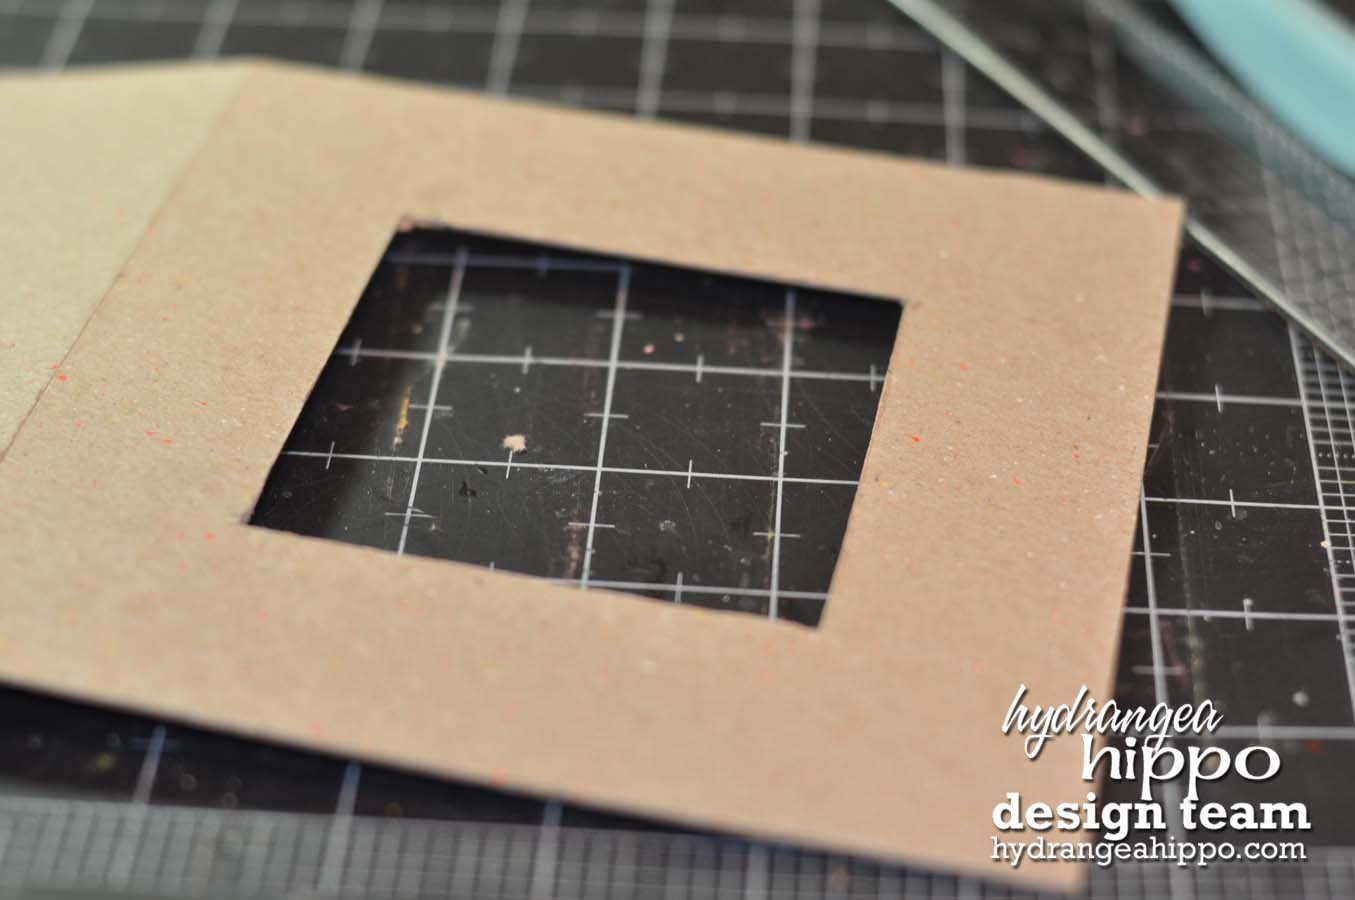
And then cut the center out of one of the sheets (approximately 4×4).
nancykeslin_hydrangea hippo_july kit_album tutorial3

I glued the two inch pieces together to create the binding of my album.
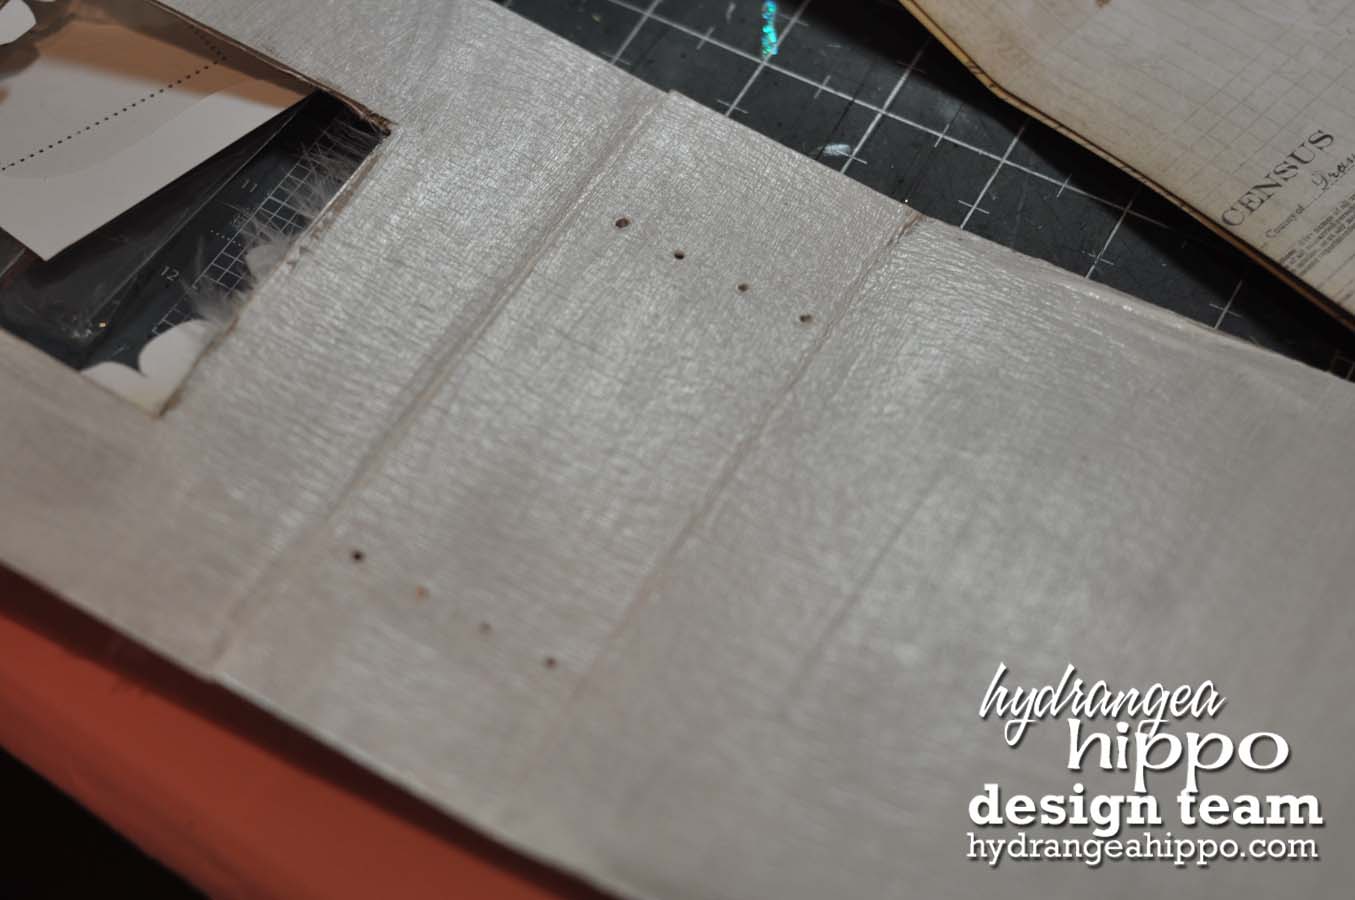
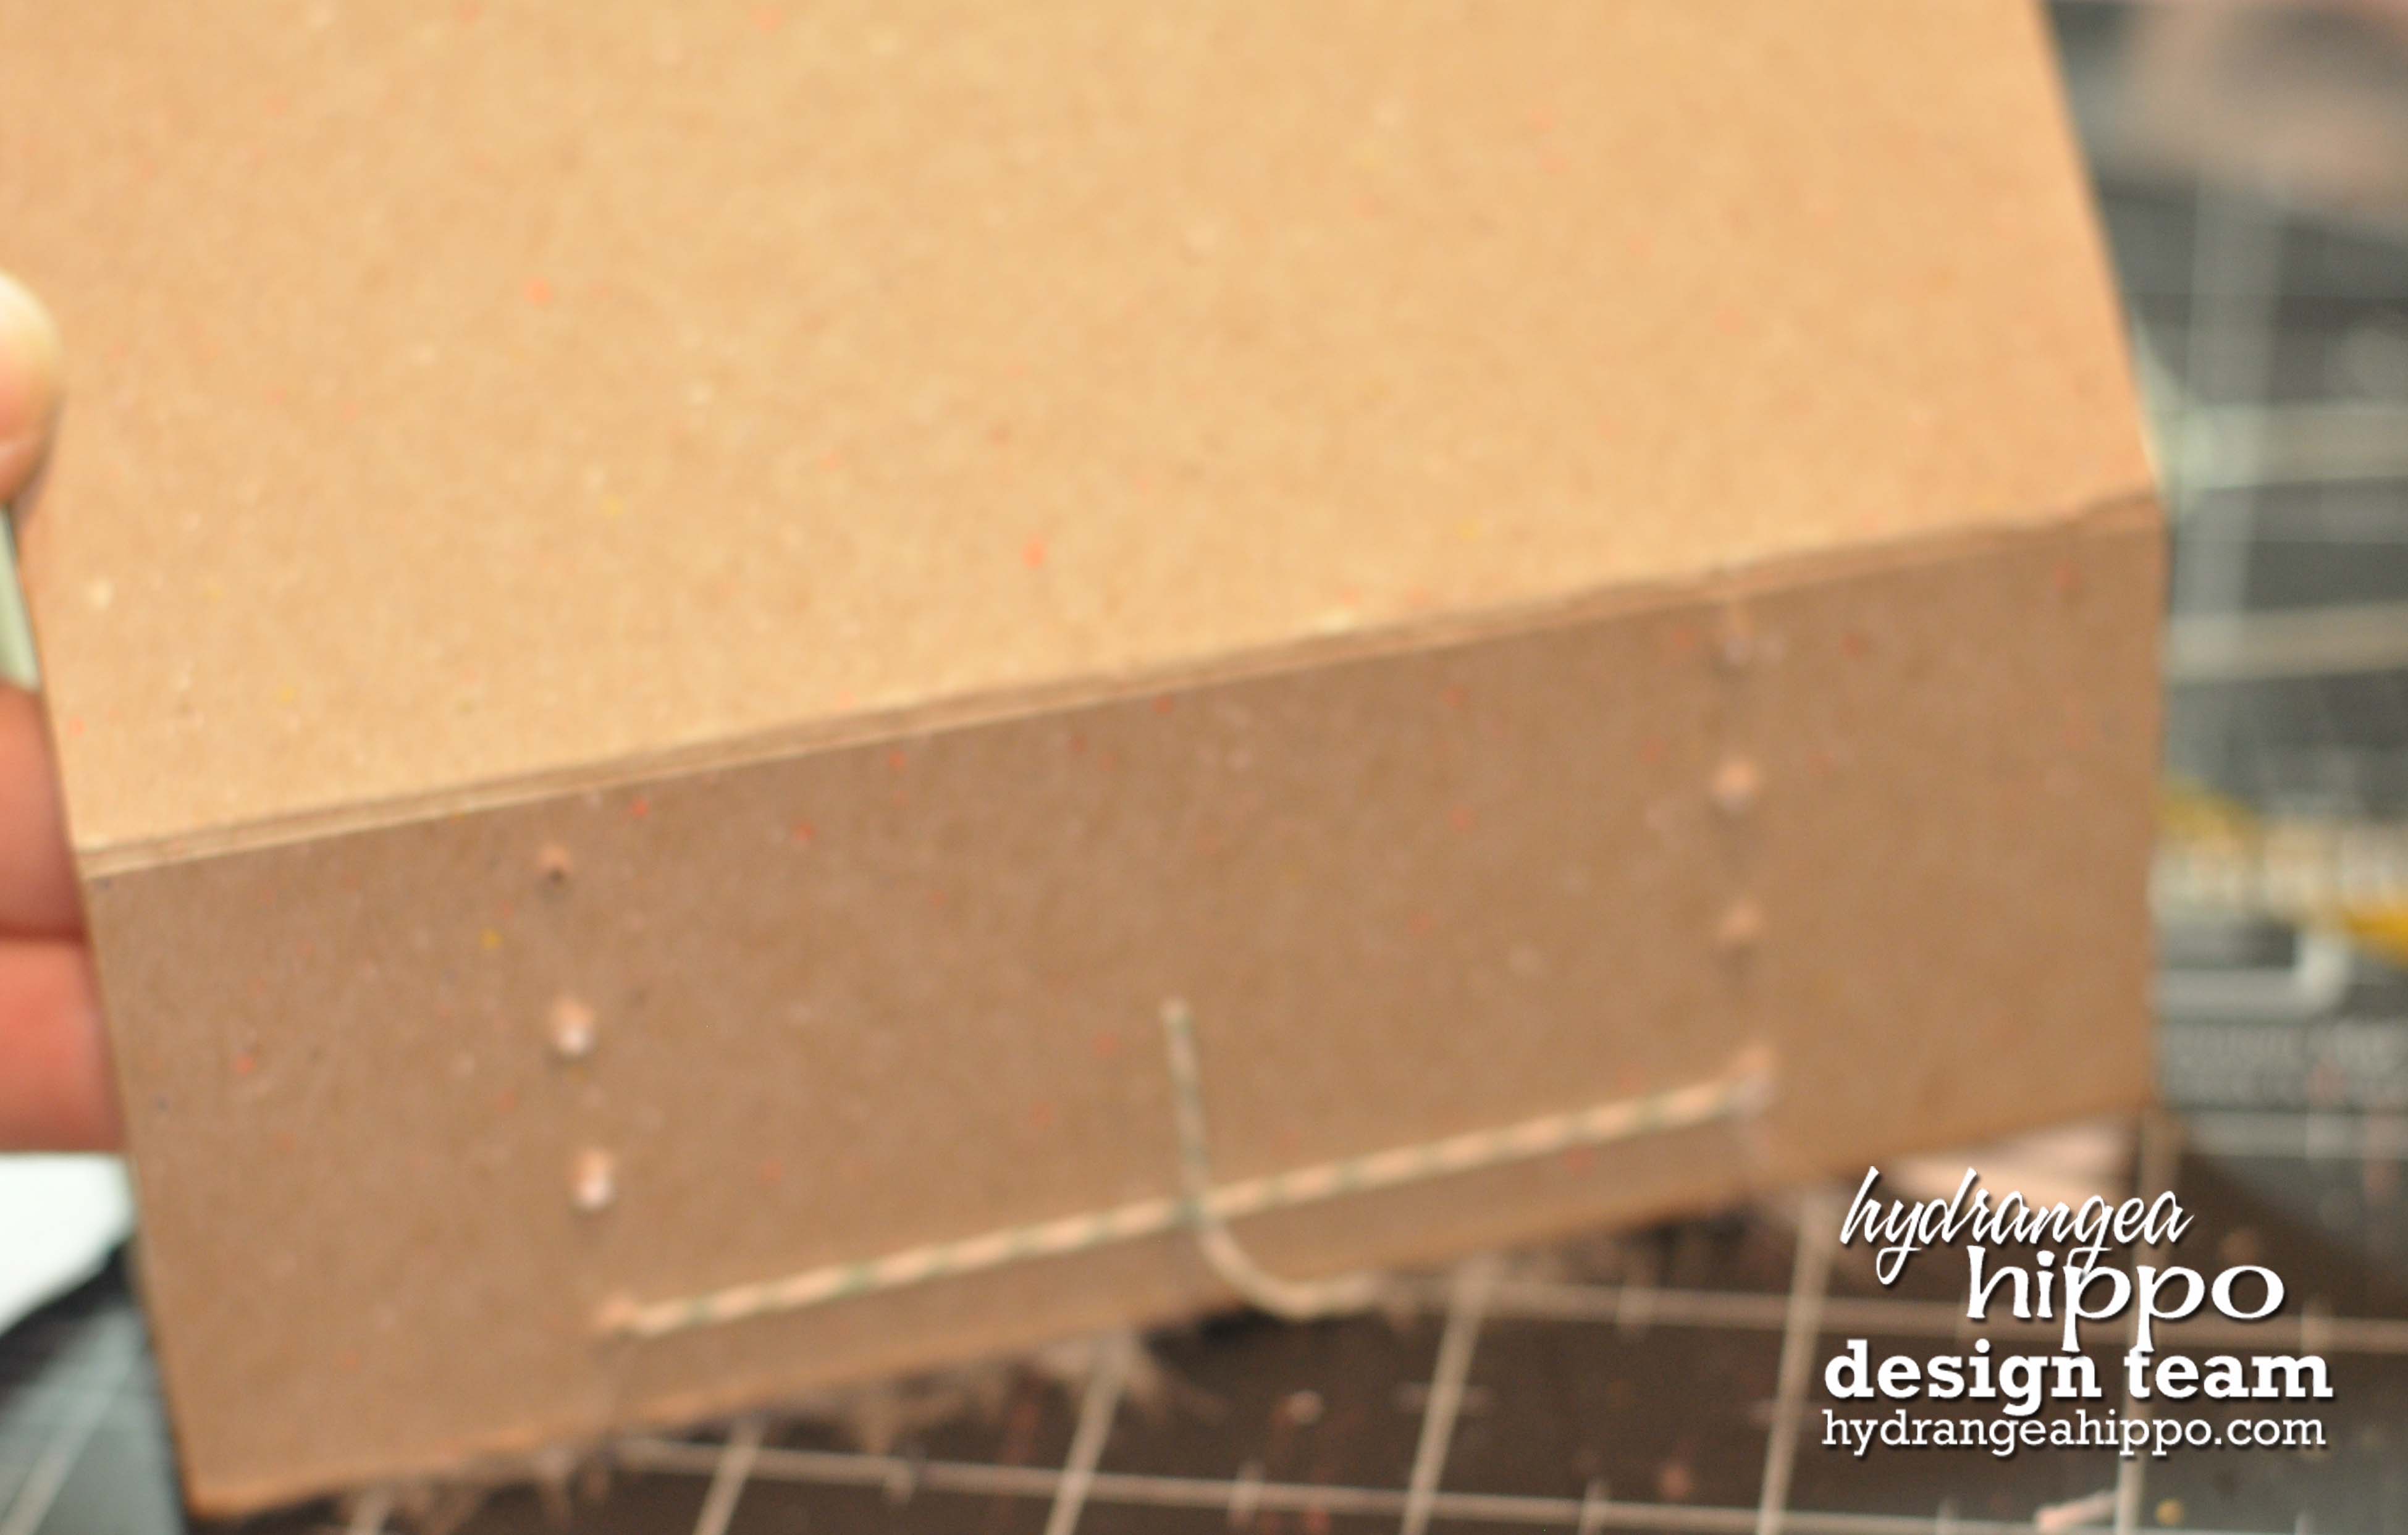
Then I poked holes with roughly a 1/2 inch spacing, one inch from the top and the bottom.
nancykeslin_hydrangea hippo_july kit_album tutorial4
and painted the chipboard.
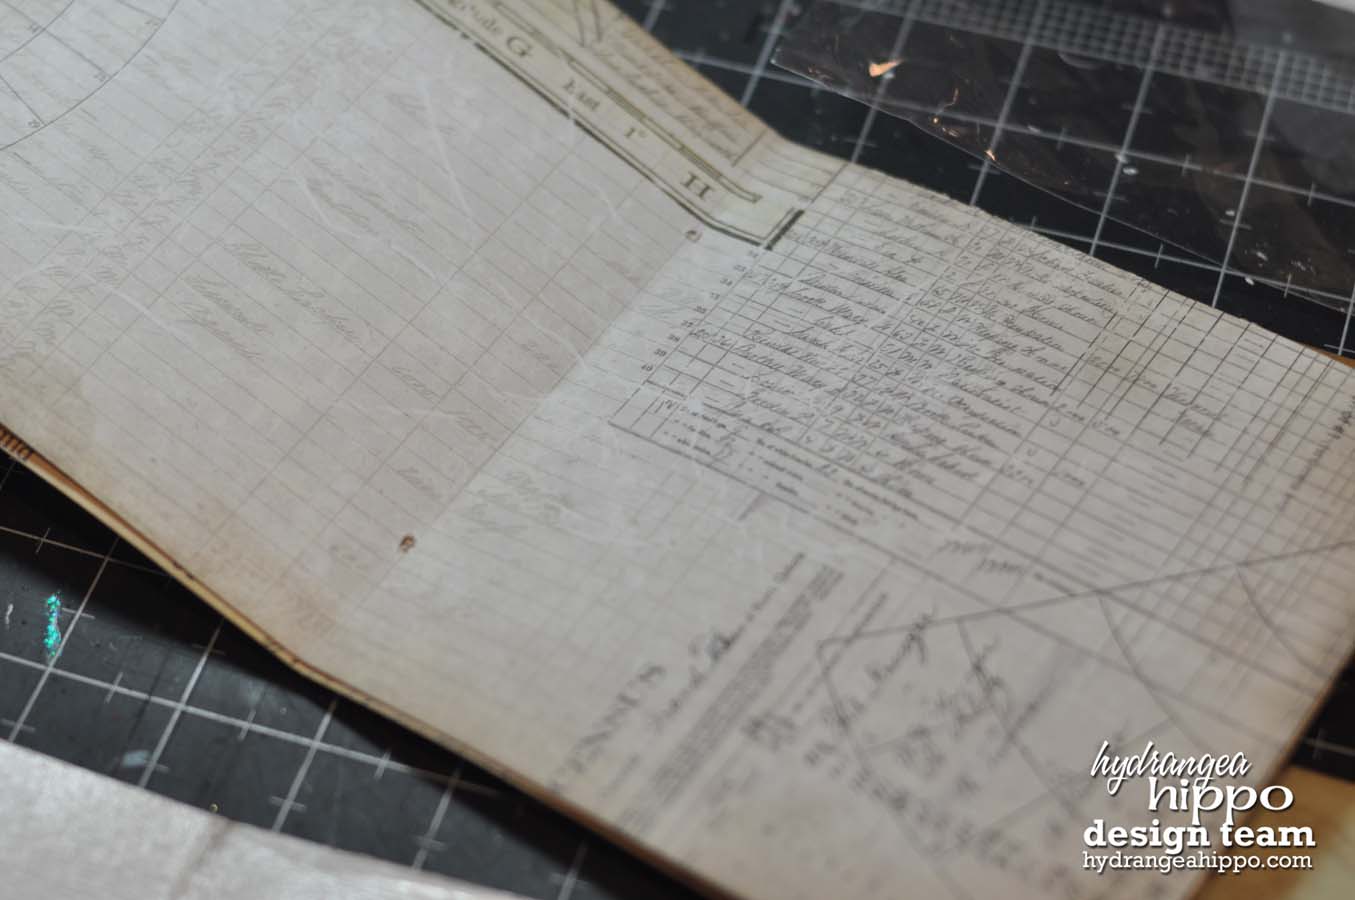
I then created the registers by folding a two pieces of 6×12 patterned paper in half, one inside the other, and poked a hole one inch from the top and bottom in the center fold.
nancykeslin_hydrangea hippo_july kit_album tutorial5
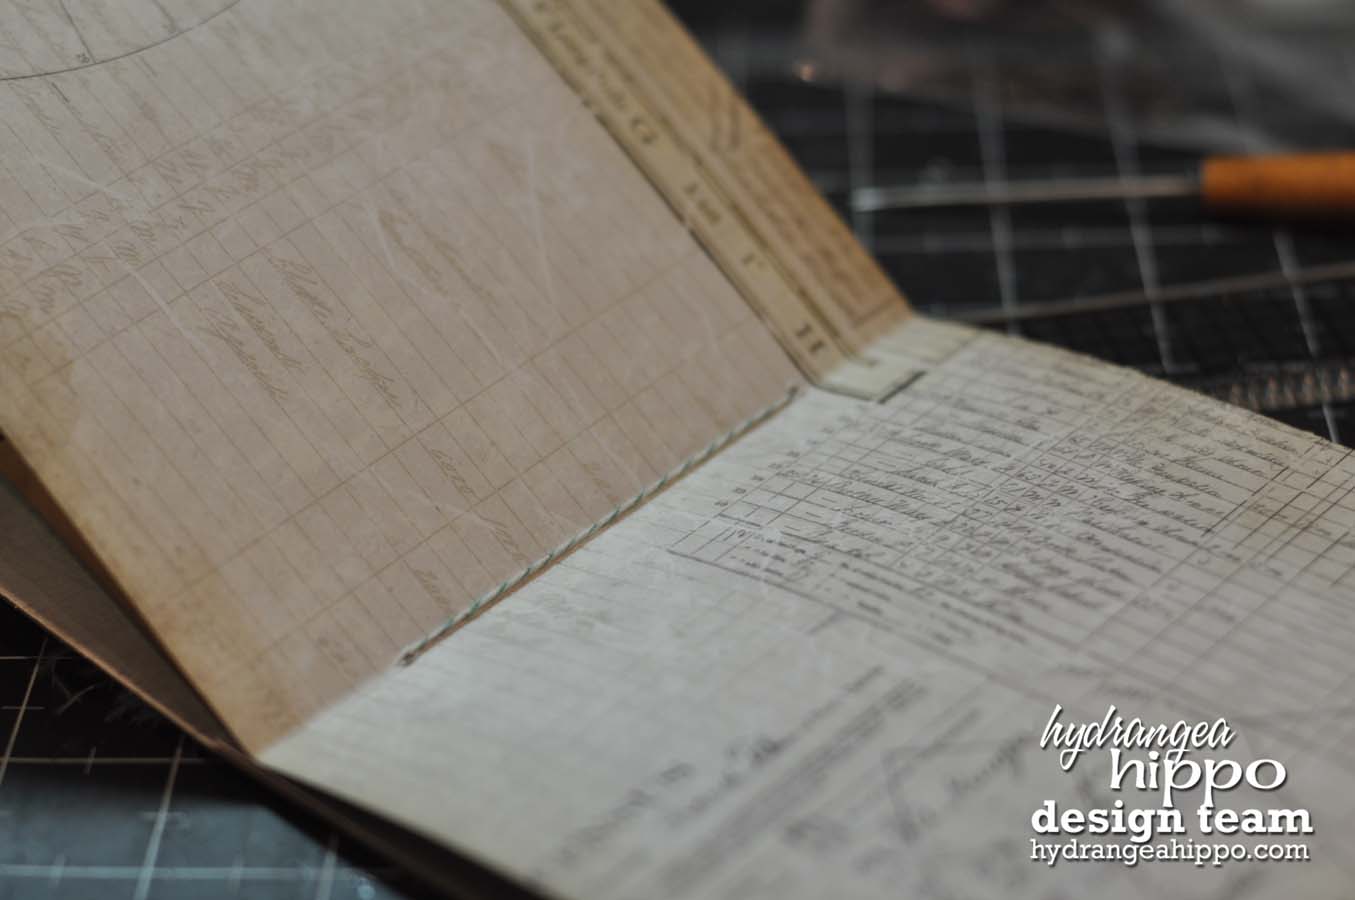
I created four of these registers.  I then ran baker’s twine , from the Hydrangea Hippo Etsy shop, from the back of the chipboard, through the registers and back through the chipboard.  I then tied the twine tightly.
nancykeslin_hydrangea hippo_july kit_album tutorial6nancykeslin_hydrangea hippo_july kit_album tutorial7
nancykeslin_hydrangea hippo_july kit_album tutorial9

Once I completed all four registers I covered the chipboard with patterned paper and embellished it heavily.
nancykeslin_hydrangea hippo_july kit_album cover
This kit is full of so many gorgeous goodies; flowers, vinyl pieces, and the most beautiful feathers, not to mention the incredible trims.  Finally I  added a few butterflies that I printed and cut from the Internet.