Showing posts with label the buckle boutique. Show all posts

Friday, October 16, 2015

Mason Jar Trick or Treat

Hey everyone!  Happy Friday.  Today I wanted to share with you a fun little mason jar I embellished with some Glitter Vinyl from The Buckle Boutique and my Cricut.

I began by covering the inside of my jar with a bit of mod podge mixed with some pigments from Marion Smith Designs.  There are tons of videos and instructions out there on the internet, so I won't bore you, but just mix it up, pour it in, swirl it around and let dry upside down...so simple.

From there, I simply cut a couple of designs from Cricut Design Space out of the Purple and Gold Glitzy Glitter from the Buckle Boutique.

The glitter cuts beautifully with the Cricut and comes in such great colors...and no flaking...cause you know what they say about glitter.  hee hee

I simply layered my cuts and added some LED lights I found at Target and voila....
Thanks for stopping by today.

Hugs.

Saturday, August 8, 2015

Love Wins - Blog Hop

Hi everyone!  Today I am here with the Love Wins blog hop with The Buckle Boutique.  All the designers were asked to come up with a wedding idea using The Buckle Boutique Rainbow Colored Rhinestone Sticker Sheet.  You should have arrived here from Patti Holder's blog.  If not, sneak back to The Buckle Boutique and start at the beginning.

 I used a beautiful cut file from SVGCuts Mistletoe Manner to create the lantern with my Core'dinations cardstock and my Cricut.  Be prepared...those panels take quite some time to cut.
I added the Rhinestone Sticker Sheets in the panels with a few flowers from my stash.  The lantern has a place to insert an LED candle to add a beautiful glow.

Next stop on our hop is Tammy Smith Santana, so head over there next.

Oh, and here is the entire line up...just in case.

The Buckle Boutique
Patti Hodder
Nancy Keslin-----ME
Tammy Smith Santana
Madge Gillen
Shawn Mosch


Hugs

Friday, July 10, 2015

Get Into the Beat with The Buckle Boutique

Hey everyone!  Happy Friday.  Hope you have great plans for the weekend.

Today I wanted to share with you a fun way to personalize your headphones.  I have been told time and time again by my teens, that all the "cool kids" where headphones and not earbuds, so I thought maybe I would personalize some headphones with a bit of bling to make them even more cool.

This was a super quick and easy project...and my daughter's old Beats definitely have a second life.
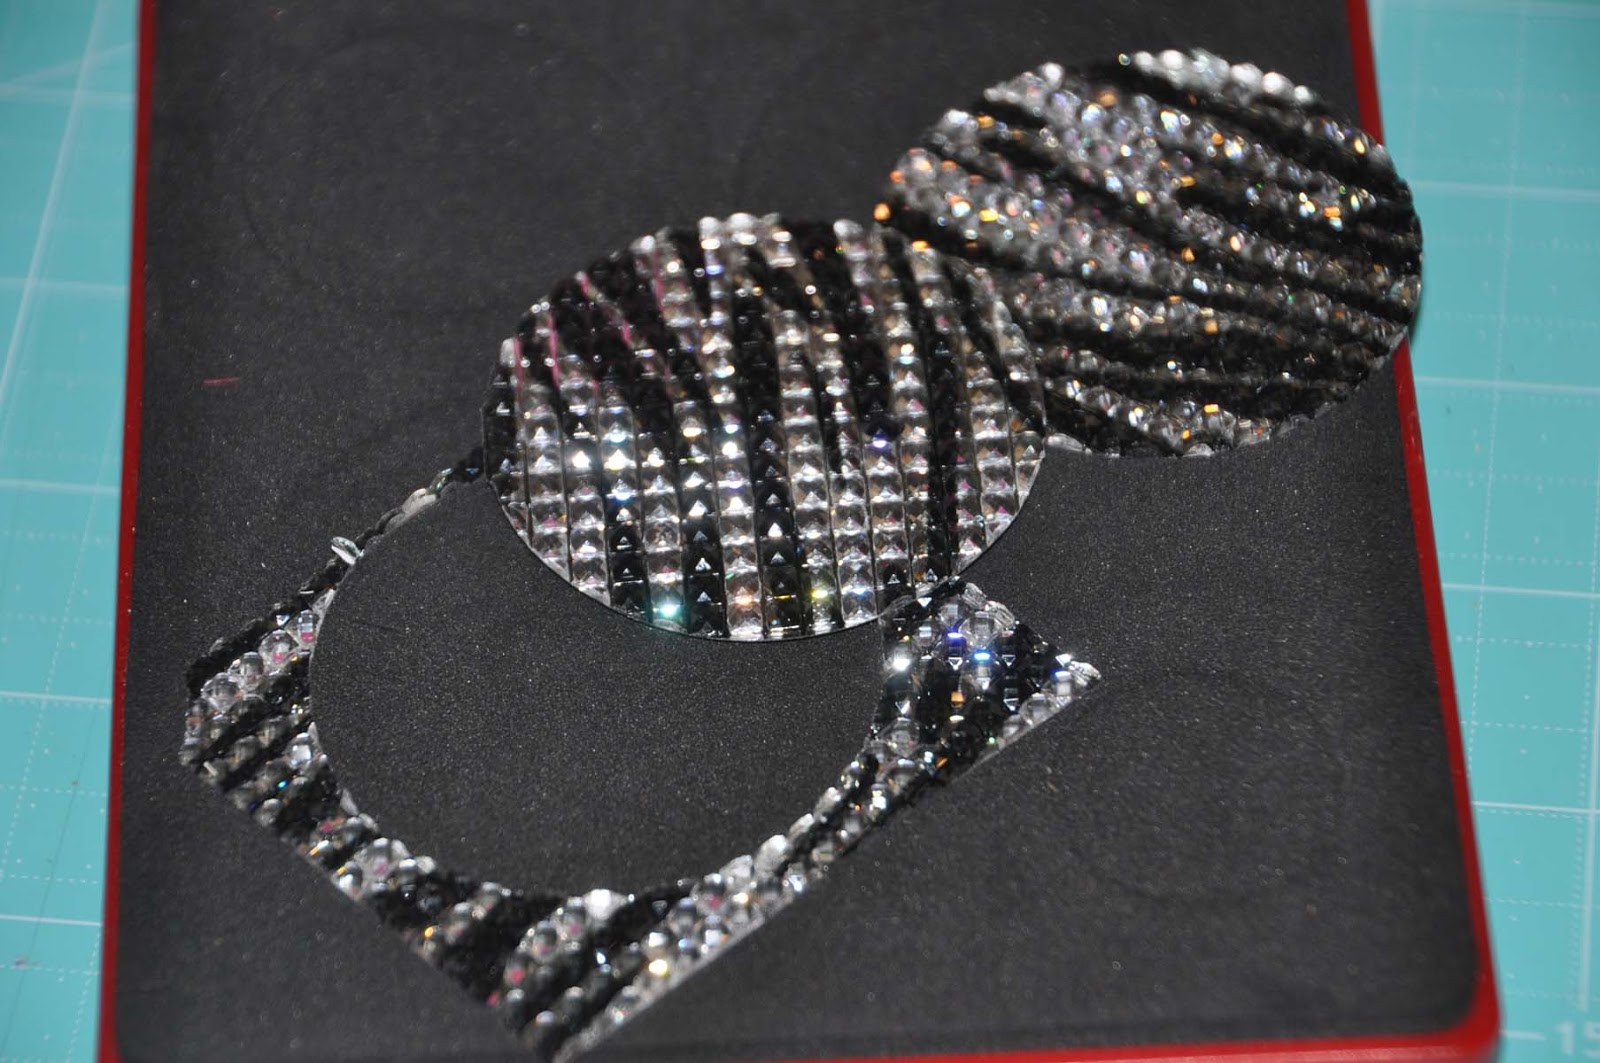
 To begin create a template for your Buckle Boutique Rhinestone Sticker Sheet.  You need to know how big to cut the rhinestones afterall.  I chose the Black Zebra Stripe because they looked so cute with the fuschia headphones.  (oh, and did I mention that pattern is currently on sale?)
 If, you aren't good with scissors and a template; or if like me, you just happen to own a Sizzix circle die in the correct size.....well, cut your rhinestone sticker sheet.  Either way, scissors or Sizzix, these rhinestones are simple and easy to cut.
From here, simply peel the backing off your rhinestones and adhere.  How quick and easy is that?
Hugs.

Friday, June 12, 2015

Make Your Drink Tray Sparkle

Hi everyone!  Are you ready for the weekend?  I am.

Last week I was at Michaels where I found the cutest little tray onsale for only $6.00....The tray came in many different sizes and colors.  Swoon.....Well, since I don't really "need" a tray I decided on a lovely teal one (yes, just one).  I couldn't wait to get it home and have some fun.

I started out by cutting the letters DRINK from my Buckle Boutique Rhinestone Sticker Sheet and my Sizzix machine.  Please, be smarter than I and put the rhinestones down....otherwise the letters come out backwards.  oopsies.
 From there, I simply stuck my letters onto the tray.
How easy was that?  Now I have this adorable tray for serving drinks on the patio.  So....what should I put in the glasses?


Hugs.

Monday, June 1, 2015

Red Hat Society Gift Bag

Hi everyone!  Happy Monday!  I hope your day is off to a great start and you had a wonderful weekend.  Mine was fabulous!  The start of cabana swim season and an outdoor music festival with the family.  Life is good.

Today I wanted to share with you a fun project I made using some of my favorite companies products.  You know how much I love bling, so I started out with a solid red rhinestone sticker sheet from The Buckle Boutique, a fun piece of patterned paper from Core'dinations (I love the simple patterns in their line) and a super cute Sizzix die that I have had forever.  Mine is no longer available, but this one is super cute.


This little Red Hat bag was super fun and easy to make.
Step 1:  Cut the entire purse shape twice from the Sizzix die using the Core'dinations Patterned paper.

Step 2:  Cut just the top portion of the purse using the Sizzix die and the Buckle Boutique Rhinestone Sticker Sheet.
Step 3:  Assemble box as per directions.
Step 4:  Attach Rhinestone sticker sheet to patterned paper to create the top of the bag.  The patterned paper is heavy enough to hold the rhinestones, and the rhinestone sticker sheet is so easy to use, ensuring every bit of the top has the bling you need.
Step 5:  You know I couldn't resist cutting a little "red hat" with some scraps of paper and a little flower.
Step 6:  And every purse needs a blingy clasp.  This Gold Waffle Rhinestone flat back was just perfect.
This little bag is the perfect holder for a gift card for a favorite friend.

Thanks for stopping by.

Hugs.

Friday, May 1, 2015

How to Bling out Your Name

Hi everyone!  Happy Friday.  I hope you have great plans for the weekend.  Things here shoujld be pretty quiet, doing some work in the yard, getting everything ready for summer and backyard season.

Today I want to share with you a quick and easy project I made to decorate my niece's room.  She, like lots of little girls, love things sparkly, and the adhesive rhinestone stickers from The Buckle Boutique make creating so simple.

I happened to have a bunch of these empty wood embellishment boxes lying around and decided that one would make a cute home decor item.  I began by choosing four different colors of the rhinestone sticker sheets.  There are so many patterns and colors to choose from, I am sure you will find the perfect one for your project.  Lili is a bit partial to green and teal these days.
 
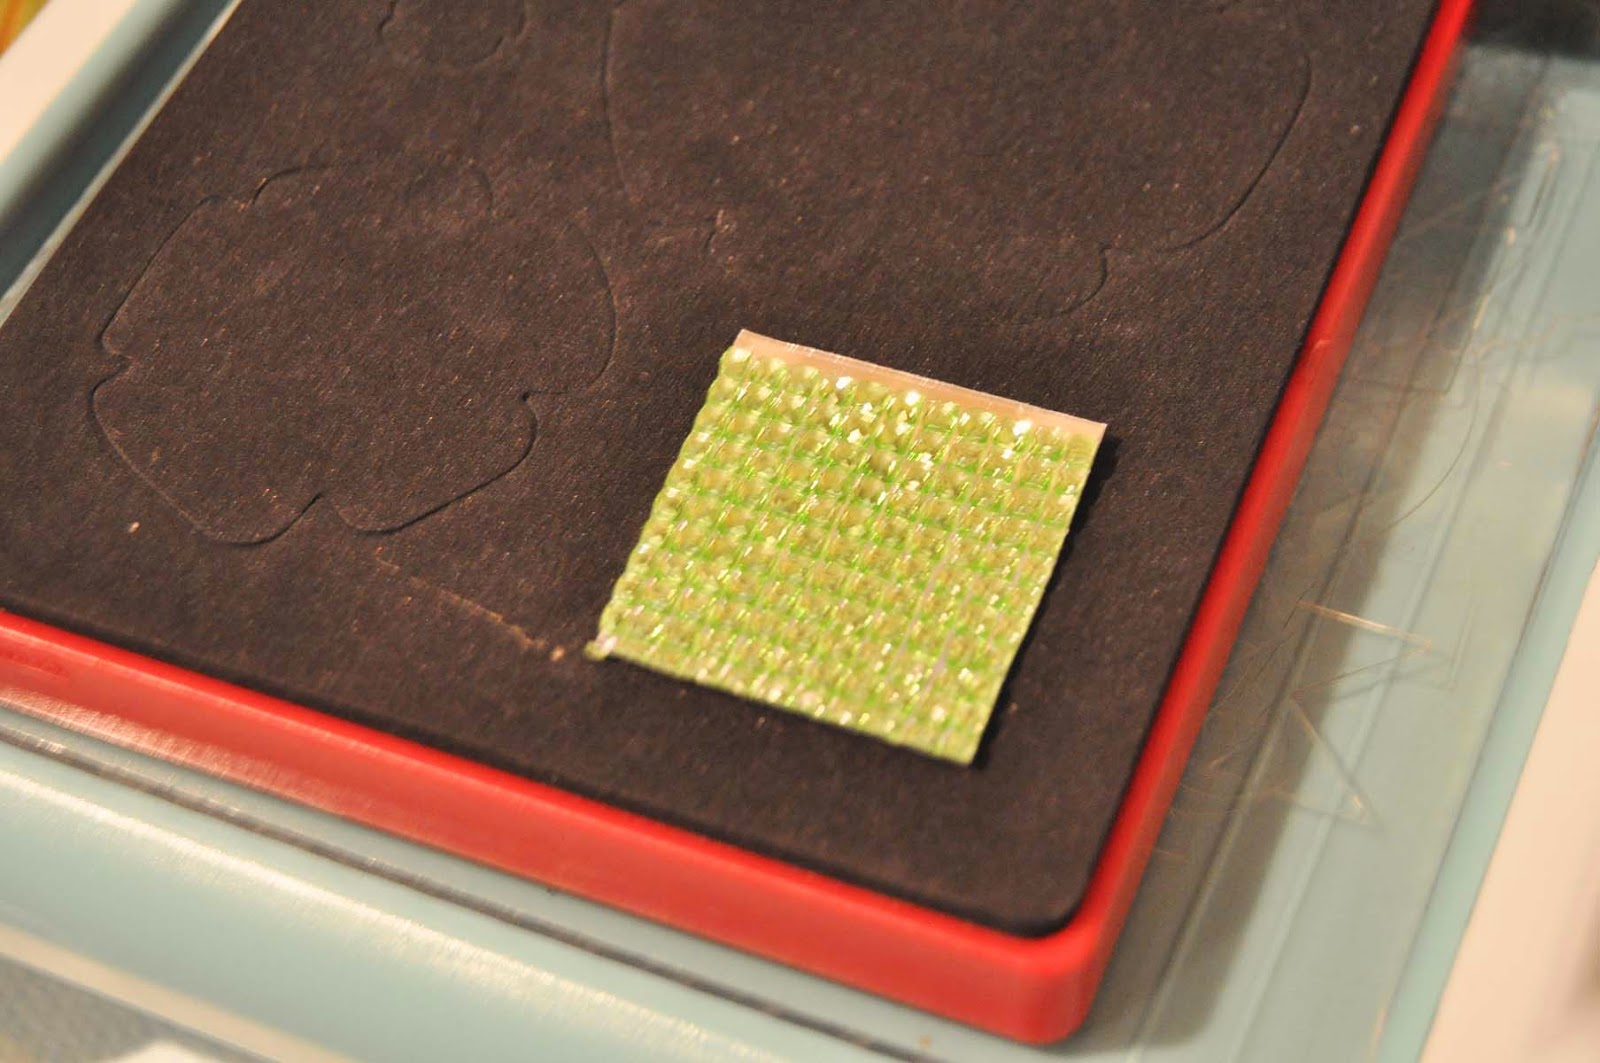
These sheets are so easy to cut, all you need is a pair of scissors.  I simply measured the interior of each box and cut the rhinestones to fit.  Don't worry, if your measurements fall in the center of one of the rhinestones, your scissors will easily cut through.
From there, it was simply a matter of embellishment.  Of course her name, cut with my Sizzix and some Core'dinations papers, a few flowers and resin embellishments.  And finally, a new item from The Buckle Boutique, Silver Waffle Flatback Embellishments.    I really love the way this turned out and I can't wait to share it with her.

Hugs.

Monday, April 20, 2015

How to Bling a Simple Box

Hi eveyrone!  Happy Monday.  today I wanted to swing by and share with you a simple pillow box I made with a Sizzix die and some fun Buckle Boutique products.
Bling Pillow Box Supplies:
Step 1:  Cut Pillow Box shape with Sizzix Machine.  I don't think I can make many things these days without my handy machine.  lol  Just about every project I do these days uses it in some way.  lol

Step 2:  Cut coordinating papers and ribbon to create band around box.


Step 3:  Cut Buckle Boutique Rhinestone Sticker Sheets with flower die.
I used two different flower sizes with the two different rhinestone sticker sheets to create added interest.
Step 4:  Assemble Rhinestone Sticker flower.  And attach to box.
The Buckle Boutique rhinestone sticker sheets make embellishing even the simplest project so easy.

Hugs.

Monday, April 6, 2015

How to Make Your Wedding Sparkle

Hi everyone!  Happy Monday.  Today I want to share with you a ring pillow I made for a friend's son's upcoming wedding.

Wedding Pillow Supplies:

Step 1:  Cut two hearts from felt.
Step 2: Glue hearts together, leaving a small hole for filling.  A thin bead of Fabri-Tac should do the trick.  
Step 3:  Stuff pillow lightly, you don't want your pillow to be too poofy.
Step 4:  Begin cutting and layering your laces and trims to run across the pillow.  Don't worry too much about the edges as we will be placing another layer of lace around the edge of our pillow.  I was very fortunate to receive some beautiful laces and trims from Decorative Trimmings.
 
Step 5:  Place a layer of trim around the outside of your heart.  You may need to cut your trim a bit to make it go around the curves.
Step 6:  Glue ball trim to the back side of the pillow.

Step 7:  Die Cut The Buckle Boutique Sticker sheet into flourish shape.  The exact flourish I used is one that has been in my stash forever.

But Sizzix has many beautiful options for flourishes, and the steel rule dies cut the rhinestone sticker sheets perfectly.
Step 8:  Glue Buckle Boutique Slide to the center of large rose.
Step 9:  Embellish the heart pillow with paper flowers, rhinestone flourishes, and large embellished flower.

Thanks for stopping by today, and be sure to check out all the beautiful bling at The Buckle Boutique.  Right now the rhinestone sticker sheets are on sale!

Hugs.