Showing posts with label wedding. Show all posts

Friday, August 21, 2015

Split Letter Monogram

Hi everyone!  Today I want to share with you another project I made using Clear Scraps, my electronic cutter and some vinyl. 
Split monogram_nancy keslin_clear scraps

I shared last week that I won a bunch of vinyl from Cricut.  Well, the vinyl bug has bitten and I have been cutting like crazy.  Wait till you see all the fun stuff I made.   If you know me tho, I can be a bit of a klutz, always in a hurry and maybe not taking enough time to get things done.   I have seen so many of these split letter monogram frames and people who have cut themselves trying to create them.  Clear Scraps to the rescue.

All I needed was a Clear Craft sheet, my vinyl, and an electronic cutter.  The Clear Craft sheet is perfectly clear and there is no chance I would put my hand through the glass.

Oh, did I mention that I am helping a friend of mine is making one for her son's upcoming wedding?  How fun is that?  These monograms make great wedding gifts.  I can't wait to make more.

I hope you enjoy this home decor project.

Hugs


Saturday, August 8, 2015

Love Wins - Blog Hop

Hi everyone!  Today I am here with the Love Wins blog hop with The Buckle Boutique.  All the designers were asked to come up with a wedding idea using The Buckle Boutique Rainbow Colored Rhinestone Sticker Sheet.  You should have arrived here from Patti Holder's blog.  If not, sneak back to The Buckle Boutique and start at the beginning.

 I used a beautiful cut file from SVGCuts Mistletoe Manner to create the lantern with my Core'dinations cardstock and my Cricut.  Be prepared...those panels take quite some time to cut.
I added the Rhinestone Sticker Sheets in the panels with a few flowers from my stash.  The lantern has a place to insert an LED candle to add a beautiful glow.

Next stop on our hop is Tammy Smith Santana, so head over there next.

Oh, and here is the entire line up...just in case.

The Buckle Boutique
Patti Hodder
Nancy Keslin-----ME
Tammy Smith Santana
Madge Gillen
Shawn Mosch


Hugs

Wednesday, June 17, 2015

Send It Clear with Clear Scraps and Ruby Rock-it

Hey everyone!  Hope you are having a great week.  Summer hear has been fun so far and I am dreading how quickly the time is flying.  I am not, repeat NOT ready for this fall, so those of you who keep posting on Facebook that there are only 190 more days till Christmas.  EEEEK  Stop it!  LOL

Anyway, today I wanted to share with you a simple little card I made using the  Clear Scraps Deco Send it Clear Card and the Rustic Charm collection from Ruby Rock-it


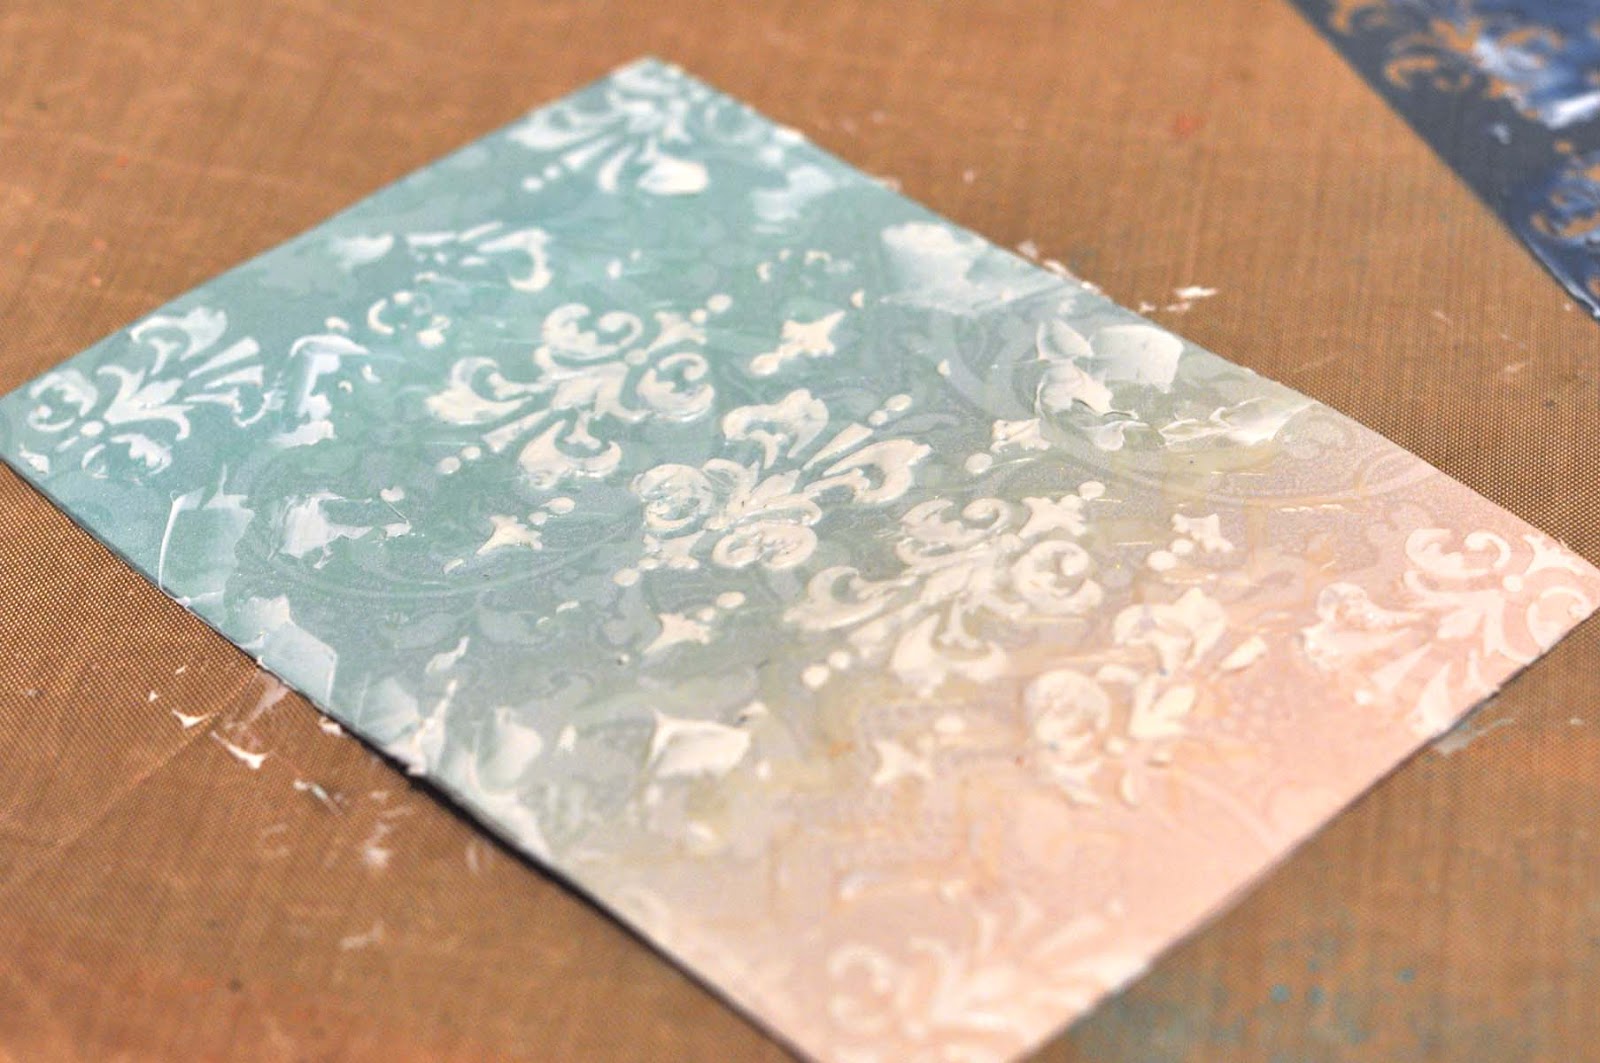
To add even more dimension and texture to the back ground paper I used a few of my favorite Mascils and some embossing paste and gel medium.
Step 1:  Spread gel medium over patterned paper using a palette knife and the 6" Chevron Mascil
 
Step 2:  When that dries, use embossing paste over the 6"Damask Mascal to add even more interest.
 
Step 3:  Add additional smears of embossing paste to add a bit more texture around the edges if desired.
If you like, you can add a few flecks of white mists or other colors to really enhance the texture.

I simply adore the colors in this collection, and the lovely pearl finish on these papers make them extra special.  Be sure and check out the Clear Scraps blog to see all the beautiful projects made with Ruby Rock-it and Clear Scraps this week.

Hugs.

Friday, April 24, 2015

Pion Designs and Clear Scraps

Hi everyone!  Hope your day is off to a great start!  Can you believe the weekend is here !  woo hoo!!!

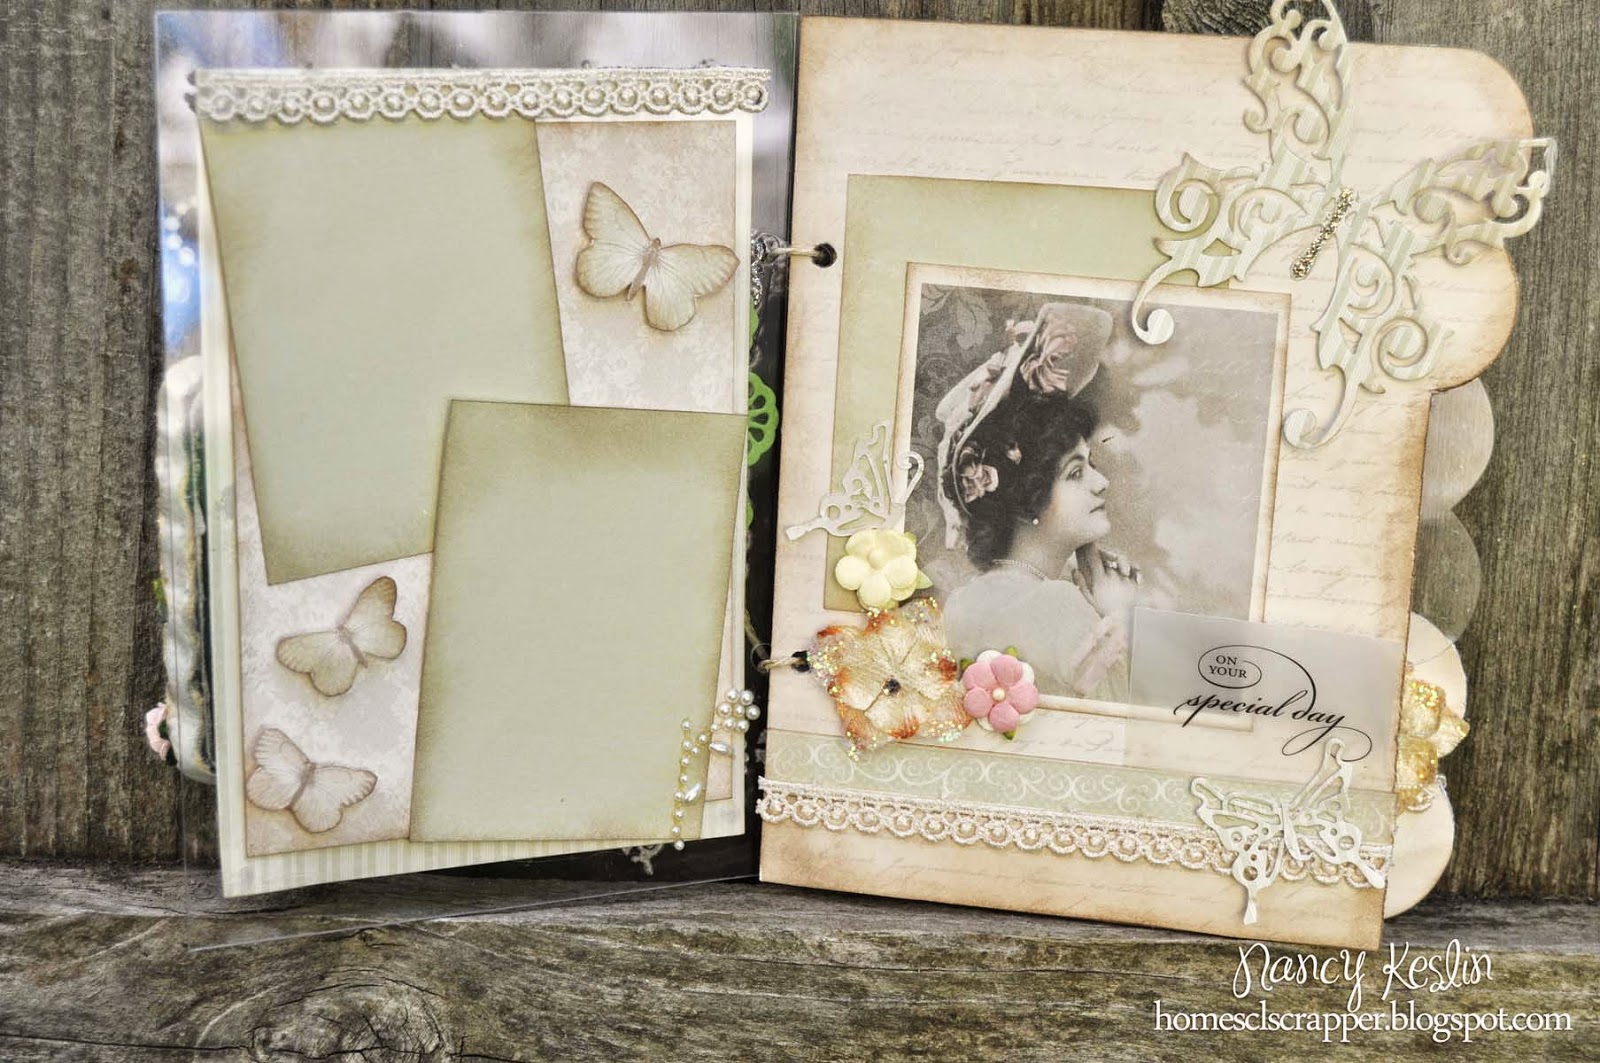
Today I wanted to share with you a mini album I  made using the Mixable Tabby from Clear Scraps and some beautiful papers from Pion Designs, Vintage Wedding.
I used a few dies, from both Prima and Sizzix to create the lacey shapes.  How much do I love that new huge butterfly?  swoon...... And that beautiful resin frame?  I painted it with some Ann Butler Earth Safe finishes that she gave me back at CHA.  They are so beautiful with a sheer irridescent finish.
 I love these Pion papers.  The double sided pages are perfect for the clear, acrylic peek a boos.
And the mix of patterns, solids, and images are so fun to layer.
 Of course, I couldn't resist adding lots of flowers (many from I am Roses), bit of bling....and of course more resins...well, not really resins; some I created with the new Mod Melts and then of course painted with the Earth Safe Finishes.
This mini album was so much fun to create, and simply stuffed with so many things I love.  I hope you love it to.

Hugs.

Wednesday, January 21, 2015

Celebrate- Deco Landscape Clipboard - Clear Scraps

Hi everyone!  Today I want to share with you another one of the fabulous new products from ClearScraps....the Large Deco Landscape Clipboard.  Since I had my wedding photos out, I couldn't resist making one more project with them.  hee hee  I really  am quite happy with the way this turned out.
These new clipboards are just so much fun to play with.  For this project I collaged a number of elements, papers,lace and flowers, even a few wood pieces from Prima Marketing with some ribbon from BasicGrey, a few Webster's pages elements and a cabinet card from Tim Holtz Ideaology which has been in my stash for quite a while....all my favorite goodies on top of the clipboard.  Of course most everything got a quick swipe of Distress Ink as well.  This project was quite the stash buster.  lol
Then I used the new ornate flourish border on the back with a bit of gel medium and glitter.

I really love this project and can't wait to hang it in my home.
Nancy 

Wednesday, January 14, 2015

Our Day Word Board-Clear Scraps

Hi everyone! Today I want to share with you a new product from the ClearScraps word board collection, Our Day.  I knew as soon as I saw this board that I needed to pull out the old wedding photos and get to work.  I can't believe it has been almost 22 years.  eeek!  Where did the time go?

To create this word board I collaged some beautiful Prima papers to the back of the acrylic, cut out papers to back the letters in the title and then added my photos behind.  


Finally I embellished over the top of the acrylic with chipboard, resins, and flowers..  This project was so much fun to make and a great way to highlight our special day.  


Be sure and check out all the new word boards that Clear Scraps has to offer.
Nancy

Monday, July 7, 2014

DIY Wedding Seed Packet Favors

Good Morning!  Today I want to share with you another DIY wedding project I made for Darice.  I love the handmade burlap flowers and if you're on the lookout for simple and inexpensive DIY wedding favors, these embellished seed packets are a perfect choice!  Just be sure the seed packets you pick have a meaning you want to convey.  I used The Language of Flowers website to choose mine.

diy-wedding-favors-seed-packetsSeed packet DIY wedding favors supplies:

To see the complete tutorial be sure and check out the Darice blog.  
diy-wedding-favors
Hugs

Monday, June 30, 2014

Posy Holder DIY Wedding

Good morning!  I hope your day is off to a great start.  Today I wanted to share with you this tutorial I made for Darice featuring gorgeous Core'dinations papers, Martha Stewart trims, and the most adorable little chalk boards. 
Wedding-aisle-decor-Darice
Posy wedding aisle decoration supplies:

Step 1: To form the cone, I used a large plate to trace a 1/2 circle out of the Whitewash Coredination's  paper (my plate was about 11 inches).  I love the soft, shabby look this paper has once sanded.  I cut a small piece out of the circle to make it less bulky when rolled.
Wedding-aisle-decor-Darice-1
Step 2:  After sanding, I placed a piece of double sided tape on the back side of the semi circle across one of the edges.  This will hold the cone together and create a clean seam.

Wedding-aisle-decor-Darice-2
Step 3:  Roll the cone tightly, being sure to keep a nice point at the bottom.  Once rolled you can do any additional sanding necessary, but it really is much easier to sand the flat surface..
Wedding-aisle-decor-Darice-3
Step 4:  Embellish the top of the cone with a bit of the lace duct tape and some flower ribbon.

Wedding-aisle-decor-Darice-4
Step 5:  For the bottom of the cone, I made a smaller cone using the same technique with a doily.  I poked a couple of holes into the bottom of the cone and then threaded a jump ring through it.  I used a headpin through the pearl bead to create a dangle.
Wedding-aisle-decor-Darice-5
Step 6:  For the finaly embellishment, I used Zip Dry to attach a small piece of the leaf ribbon, some pearls, and a large flower to the chalkboard tag and clipped to the cone.
Wedding-aisle-decor-Darice-1
To hang the cone, you can use either more of the small string pearls or the ribbons.  For this one, I chose the pearl string.  All that is left is to fill your posy decoration.

Wedding-aisle-decor-Darice-2
Such a fun and special item for that perfect day!

Monday, May 19, 2014

DIY Seed Packet Favors

Happy Monday everyone!  Today I wanted to share with you that I am up again on the Darice blog with another wedding decoration, seed packet favors.

Hugs.

Friday, May 16, 2014

DIY Wedding Aisle Decoration - Darice

Happy Friday!  We made it to the weekend!  Woo hoo!!!!  I have a few things scheduled, but mostly just fun and relaxation.

Today I want to share with you that I am up over on the Darice Blog with a lovely DIY wedding decoration.  Hop over and check it out!
Have a great weekend!  Hugs.