Showing posts with label flower. Show all posts

Friday, September 25, 2015

Create a Canister with Sizzix and The Buckle Boutique

Hey everyone!  Hope you are having a great day.  The weekend!!!  It is upon us.  w00t w00t. Well, today I want to share with you this cute little box I made using a die from Sizzix and some fun rhinestones from The Buckle Boutique.
I have had so much fun with the XL Canister die from Eileen Hull for Sizzix.  Using the Sizzix Mat Board really makes the final project super sturdy and with the addition of a Rhinestone Sticker sheet from The Buckle Boutique, this one in Crystal Gold Rectangle.... Well, let me show you how I made it.

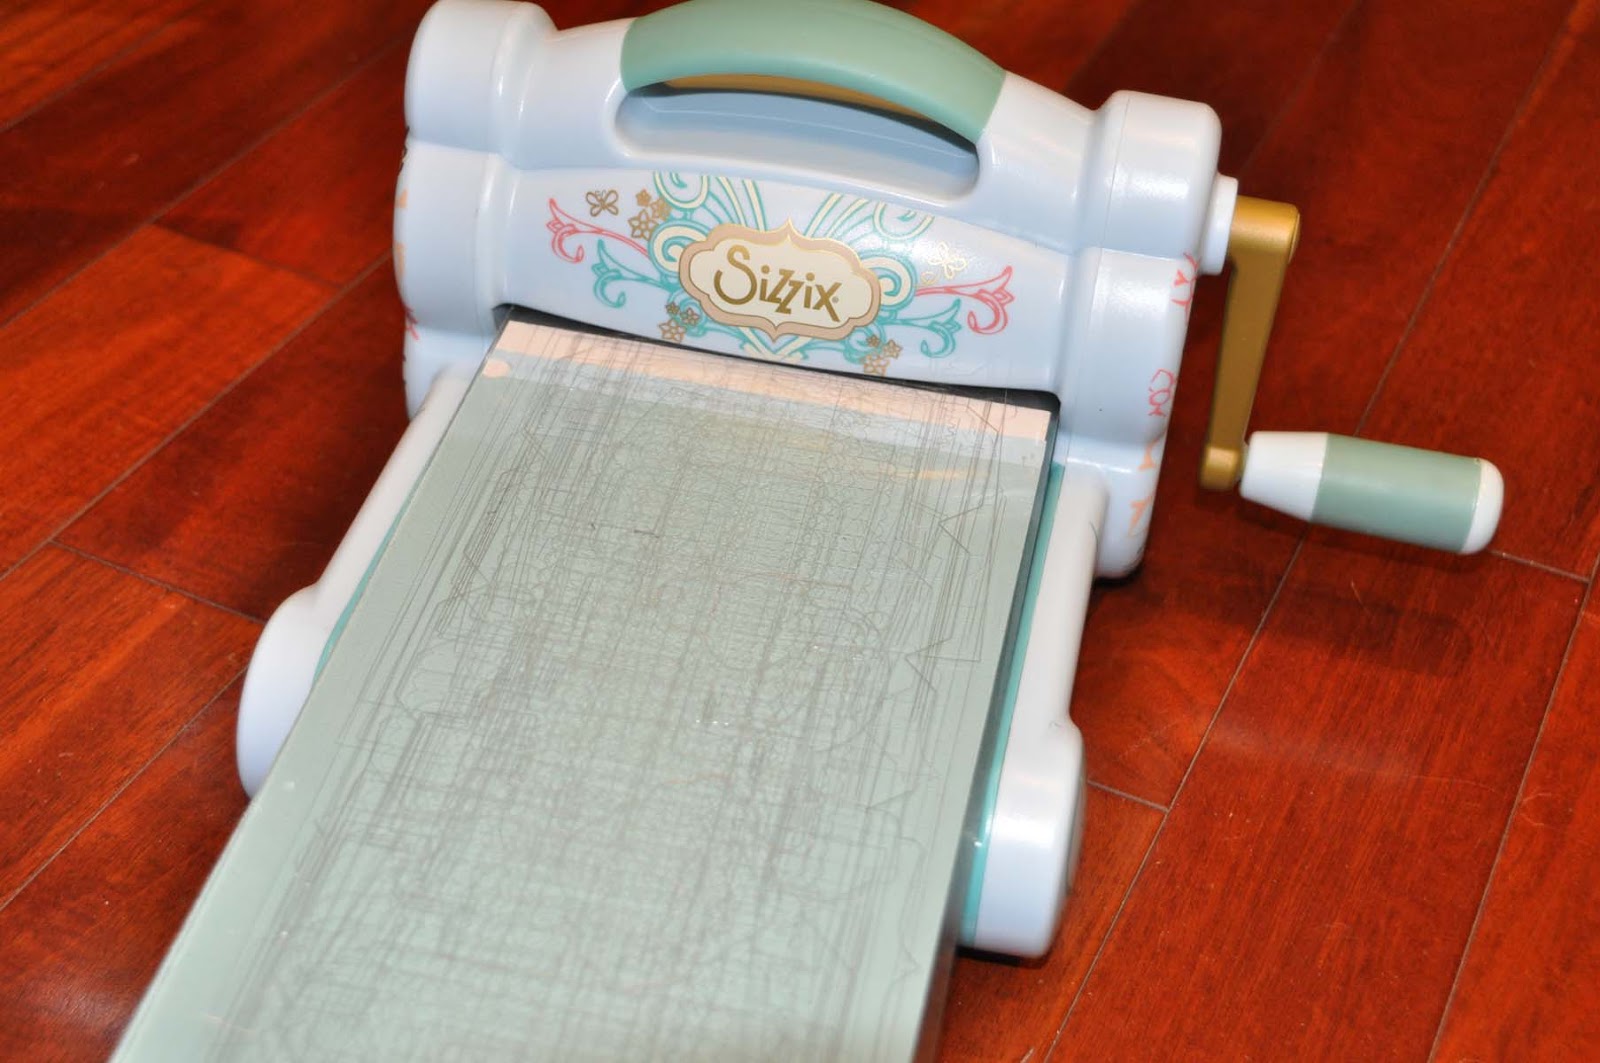
Begin by adhering your cardstock to the mat board and create your Sizzix Sandwich; cutting plate, Sizzix Bigz Die, mat board and second cutting plate; and run through the Big Shot machine.
You will need to cut two of the "canister sides" to complete the assembly.
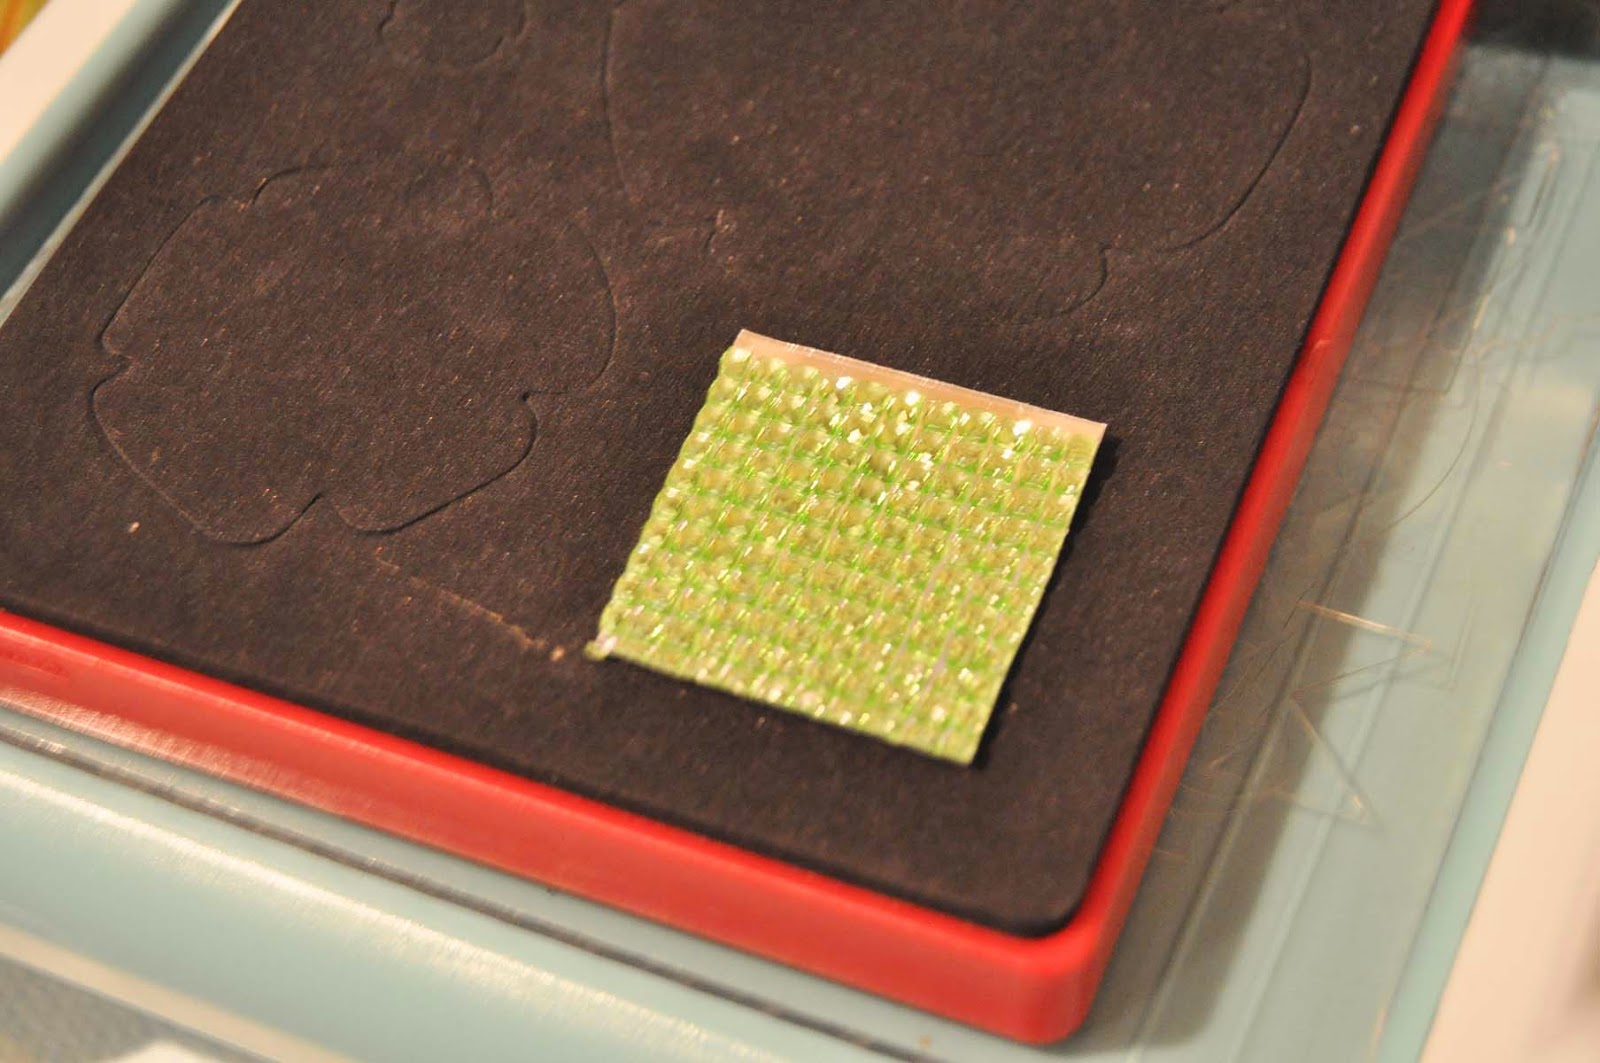
Use the Sizzix die to cut the Rhinestone Sticker Sheet for the top of the box.  Save those extra pieces for embellishment later.
From there, simply assemble the canister and add the Rhinestone Sticker Sheet to the top of the box.
To embellish the canister I added a bow that I cut with the Sizzix French Bow XL die (which I embellished with one of the scraps of rhinestones I cut earlier)
and a simple rolled flower I made using the Tim Holtz Tiny Tattered Florals set.

Thanks for stopping by...Have a great weekend.

Hugs.

Monday, April 20, 2015

How to Bling a Simple Box

Hi eveyrone!  Happy Monday.  today I wanted to swing by and share with you a simple pillow box I made with a Sizzix die and some fun Buckle Boutique products.
Bling Pillow Box Supplies:
Step 1:  Cut Pillow Box shape with Sizzix Machine.  I don't think I can make many things these days without my handy machine.  lol  Just about every project I do these days uses it in some way.  lol

Step 2:  Cut coordinating papers and ribbon to create band around box.


Step 3:  Cut Buckle Boutique Rhinestone Sticker Sheets with flower die.
I used two different flower sizes with the two different rhinestone sticker sheets to create added interest.
Step 4:  Assemble Rhinestone Sticker flower.  And attach to box.
The Buckle Boutique rhinestone sticker sheets make embellishing even the simplest project so easy.

Hugs.

Wednesday, February 25, 2015

A Little Birdhouse - Sizzix

Hi everyone!  Hope you are having a great day.  Today I wanted to share with you a little house I made with a few Sizzix dies that I was sent from Sizzix after CHA.  
I made this house out the ScoreBoards XL Canister die and the Scoreboards XL Cupcake Stand.  I began by die cutting the necessary pieces from the Little Sizzles 6x13" white MatBoard.  The MatBoard gives the final project a great weight and is sturdy enough to stand up to quite a bit of abuse. You need two of the box sides and two of the stands to complete the project.  I did not use the canister top nor the banners.
After cutting the matboard I die cut the same pieces from my patterened paper.  I needed to make four of the cupcake stand pieces to cover all the sides, front and back.  I placed once cutting pad under my die, then my die, my paper and finally the additional cutting pad.  This allowed me to ensure that I was cutting exactly the pieces I needed in the colors I wanted.
I adhered the papers to the MatBoard with a strong adhesive.
To assemble my canister I began by creating the folds needed and applied a strong adhesive on the edges.
To add the stand to the canister I placed more adhesive along the top of the stand...
And simply added the canister on top.
To embellish my little house I used diecuts from the Kitchen Labels set that I embellished with a bit of glitter.
Finally I added a few flowers from my stash as well as a drawer knob that I had left from another project.
I am very pleased with this sweet little house and look forward to adding it to my collection.

Hugs.

Nancy

Items Used:
Sizzix Big Shot Machine Powder Blue and Teal
Sizzix Scoreboards XL Die Canister
Sizzix Scoreboards XL Die Cupcake Stand & Pennant
Sizzix Framelits Die Set 7 PK Labels, Kitchen
Sizzix Little Sizzles Mat Board Pack
Sizzix Cutting Pads, Extended
Standard Magnetic Platform for Wafer- Thin Dies
Patterened Papers - Crate Paper Random
Flowers -

Monday, February 23, 2015

Pillow Box Talk

Hi everyone!  Happy Monday.  I hope you had a great weekend.  Not too much going on here....Same ol' Same ol'.

Today I wanted to share with you this cute little box I made...I received the Martha Stewart Gift Box Tool at the Fave Crafts party back during CHA as well as the cute little Stripes, Dots and Hearts stamps from Ann Butler (I still have more fun quilt stamps to play with...HOORAY ME!) .  You know how they say "two great things that go great together?".  Yep...As soon as I unboxed and got organized I couldn't wait to make this sweet little box.

Of course I had to use some Core'dinations Cardstock for my box...the weight is just perfect.  Then I stamped with a combination of different diestress inks with the different paterns....Layered everything up, and added a little tag I had diecut a while back and a big flower....done!
And of course, I added the tag upside down....sigh.  Oh well...still super cute (IMHO).  lol 

Have a great day!

Hugs.

Items used: 
Martha Stewart Gift Box Tool
Coredinations Cardstock
Ann Butler Designs Stamps
Paper Trey Ink Dies
Ranger Tim Holtz Distress Inks
Prima Leaves
Unknown Flower

Friday, August 29, 2014

Clear Scraps and Imagine Crafts - Perfect Together

Hi everyone!  Today I have a fun project to share with you featuring lots of yummy goodies from Clear Scraps and Imagine Crafts.  Imagine Crafts was super generous with sending the Clear Scraps team lots of goodies to play with.  We received 12 colors of StazOn ink, 6 colors of  IrRESTIBibles, the new GlazOn and some Ink Blushers.  Well, you know I couldn't resist breaking out a few things and making something.

Using Jamie Dougherty's Sharon Bloom girl stamp from Prima Marketing, I stamped the ClearScraps Acrylic sheet with the Black StazOn.  I then colored the backside of the image using a combination of the other colors of StazOn.  Using InkBlushers and a Fantastix I was able to fill in all the details of the stamp.

When my inks were dry, I used the Quaterfoil Mascil and a mix of the Silver and Bronze IrRESISTibles to add texture.  Once that dried...a few flicks of the Wedding Dress IrResistibles, a few rubons, flowers and a butterfly and my poject was complete.

I am very happy with how she turned out and look forward to finding a place for her to live in my home.

Hugs.

Tuesday, July 29, 2014

Clearly Embossed Card

Good Morning everyone!  Yep, summer is here and life got away from me with swim team...so I have pretty much been MIA.  Sorry about that, but I am here today to share with you a card I made using the Ornate Send it Clear Card from Clear Scraps.
Clear scraps_ornate_send it clear_card_nancy keslin
To create this card I began by embossing the top pieces of the card with a Cuttlebug embossing folder and my Sizzix machine.  I love how easy it is to add that extra bit of dimension to Clear Scrap acrylic with embossing.  
Clear scraps_ornate_send it clear_card_nancy keslin_embossing
After embossing, before I assembled my card I dry brushed a bit of acrylic paint onto the edges to add just a bit of depth.
Clear scraps_ornate_send it clear_card_nancy keslin_inside
I finished the card with some older papers and bits and baubles I had lying on my desk.  Those papers are seriously old.   I believe they are from 2005.  lol
Clear scraps_ornate_send it clear_card_nancy keslin_front
Anyway, loved making this speial card.  Thanks for stopping by.

Nancy

Saturday, May 31, 2014

More with Bloom Girls Mixed Media

Hey everyone!  Happy Weekend!  I hope yours is great.

Today I just wanted to pop in and share this mixed media, reverse canvas I made using one of Jamie Doughtery's Bloom Girl stamps from Prima...as well as lots of other gorgeous prima goodies and some Lindy's Stamp Gang Flat Fabios and Magicals.

You can see the variety of flowers Prima has created as well as a few resin pieces, a clock and clock hands  swoon....And that stencil?  It is from ClearScraps (love)

 The canvas was misted with Lindy's Flat Fabios and then things were glued at different heights using plenty of foam dots...the stamp was colored with Faber Castell Aquarelles.

Thanks for stopping by.

Hugs.

Wednesday, September 4, 2013

Celebrate - Your Memories Here Tutorial

Hi everyone!  Today I want to share with you a shabby chic layout I made using the gorgeous Hope Chest papers from Pink Paislee.

But before I share the layout itself, how about a quick video on creating a crackled wood background for your projects?


Super easy and fun.  With the wood background, a bit of mist and some gorgeous flowers from my Prima grab bag I created this....

Ainsley and a couple of friends at her birthday party.  I added a few lace doilies as well as some lace to complete the look.

Thanks for stopping by.

Hugs

Nancy


Wednesday, August 7, 2013

Mixed Media Video Tutorial

Hi everyone!  Today I want to share with you a mixed media canvas featuring some of the gorgeous Prima flowers from Your Memories Here, along with bits of Prima Zephyr papers and of course my favorite wood icons.  As you know I have been having a blast creating the canvases and I really wanted to share my process.


I made a video detailing the process I went through to put this piece together.  I hope you enjoy....


Hugs.

Nancy

Wednesday, May 29, 2013

Ballet - Prima Lyric

Hi everyone!  Today I want to share with you a project I made using the new Lyric collection from Prima as well as lots of goodies from my Prima Flower grab bag I purchased at Your Memories Here.


I am so in love with the little wood icons from this release.

Be sure and check out the new flower grab bags that Kristina has put into the store.

Hugs.

Nancy

Wednesday, April 17, 2013

Hope - Zephyr-Prima Marketing


Hi everyone!  Today I want to share with you a project I made with some of the gorgeous Zephyr papers from Your Memories here.
 The background paper is actually the package insert from some Prima letters that I had in my stash.
and of course, I couldn't resist adding some gorgeous flowers, leaves and mists to my project.    And of course, you can't forget the bling.  hee hee

Be sure and stop by the Your Memories Here store and grab these older collections before they are gone.  They are available as complete collections and grab bags.

Hugs.

Nancy

Wednesday, April 10, 2013

Lush and Lovely tags - Prima


hi everyone!  today I want to share with you a few cards I made using the Lush and Lovely Tags kit from Your Memories Here.  This kit features any of the lovely papers from the Prima Rondelle collection.

When I saw this kit I just loved everything about it, the colors, the patterns, the floral embellishments.  But I am not much of a tag maker so I decided to turn the tags into cards.  It was very simple to use the ideas from the LWP class to create these.


I still have so many gorgeous goodies left over and I plan on making a layout or two using the rest of my kit...as these 3 cards barely made a dent.  hee hee

Kristina told me she has just two of these kits left in the store, so pop over and grab yours before they are gone.

Hugs.

Nancy