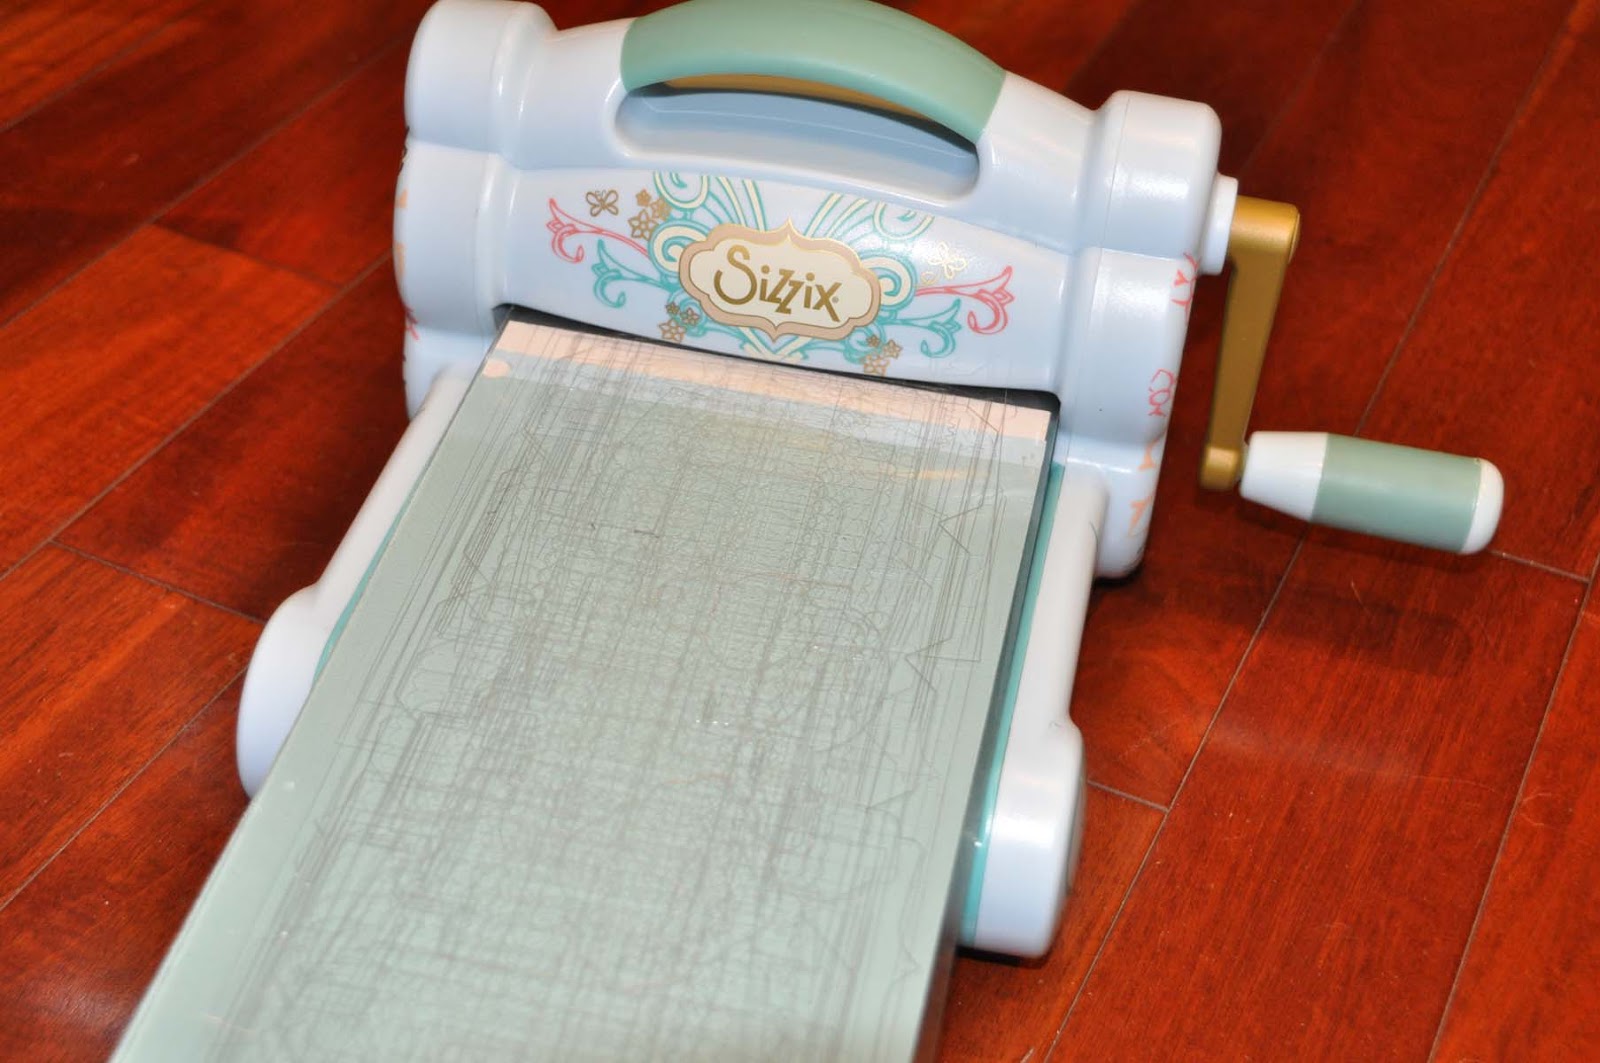
Showing posts with label tim holtz. Show all posts

Monday, May 2, 2016

Make Your Graduation Party Shine!

I can't believe it....alomost a year ago I made this set of party decorations for Core'dinations and Darice and now I have two children graduating...Brighton with his Bachelors of Science and Mackenzie from High School!  Time to break these out and party!!!!!!!  These were super fun to make and I really love the way they turned out.graduation_party_final-1024x680
Graduation Party Decor Supplies:
graduation_party_supplies
Mason Jar Congratulations Centerpiece:
Step 1:  Select desired pieces from Core'dinations Paper Pops pack.  These packages come in a varitety of styles and colors for any celebration.  You will need 6 pieces of two sizes to create ornament shapes, plus two larger shapes for the title.
graduation_party_centerpiece_selectStep 2:  Fold shapes in half with the side you want displayed on the inside.
graduation_party_centerpiece_foldStep 3:  Glue shapes with the right side in together leaving a bit of a gap on the inner corner.  When all six are glued together you will get your ornament shape.
graduation_party_centerpiece_glueStep 4:  Thread ornament shapes and larger title shapes onto dowel.
graduation_party_centerpieceStep 5:  To create band on mason jar begin by cutting a sheet of the Tim Holtz Metallic Kraft Core paper to fit your jar.  I cut mine at 1 1/2 inch by 10, and emboss if desired.
graduation_party_embossing
Step 6:  In order to keep your embossing pattern consistent throughout your longer projects, you can cut a slit in the top of the folder allowing the paper to slide through.  I love this technique for embossing longer strips.
graduation_party_embossed_ringStep 7:  Simply wrap your mason jar with the Tim Holtz Kraft Core Metallic Paper and insert your dowel with the ornaments.  I used a bit of krinkle paper to hold everything together, but almost anything would work, from pebbles to marbles to little hard candies.
graduation_party_centerpiece_wrap
Graduation Cap Boxes Step 1:  Cut all pieces from the SVGCuts file.
graduation_party_cap_cutsStep 2:  Assemble as per their directions.  The Core'dinations Texture cardstock gives the cap a nice fabric finish.
graduation_party_hat-1024x680
Graduation Cap Banner Step 1:  Cut 1 1/2 inch mortar board shapes with electronic cutter.
graduation_party_banner_capsStep 2:  Attach mortar boards to banner rosettes.  The rosettes come pre assembled, so creating this banner is quick and easy.
graduation_party_banner-1024x675
Medallion Wall Decor Step 1:  Directions for assembly are included in each kit.  Begin by removing adhesive from end piece and attaching to the other end to form a ring.
graduation_party_medallion_glue endsStep 2:  Place medallion ring over cardboard ring with post.
graduation_party_medallion_postStep 3:  Press ends of medallion down and cover with top screw and additional cardboard ring.
graduation_party_medalions_post and ring
Step 4:  Cover cardboard rings and posts with included foam tape cardboard circles and embellish further with paper pops.  Layer on wall for a unique decoration.
graduation_party_medalions-1024x680
With all the great color combinations available from the Party Mixer line from Core'dinations I am sure you will find the perfect combination for your next event.

 ~Nancy


Tuesday, November 10, 2015

Fall Leafy Wreath

Hi everyone! Today I want to share with you a fun fall project using a Clear Scraps Clear Craft Sheet and a mirror piece from a from the Oval Fancy Mirror Frame and one of my favorite fall Sizzix Dies, the Tim Holtz Layered Leaf.
Leaf wreath_sizzix_clear scraps_nancy keslin
Supplies Needed:
Leaf wreath_supplies
Step 1:  Cut Clear Craft Sheet in thirds and die cut leaves.  I found by doing so I was able to create 9 leaves with just one sheet of Clear Acrylic.  The Clear Craft Sheet is simple to cut with a pair of scissors and it cuts even easier with the Sizzix die cut machine and steel rule dies.
Leaf wreath_sizzix_cut
Step 3:  After cutting, simply emboss with the coordinating Texture Fade.  The Texture Fade comes with the die, so a one stop shop.  Did you know that you can emboss your acrylic?  How cool is that?
Leaf wreath_sizzix_emboss
Step 4:  Remove plastic covering from Clear Craft Sheet.  These leaves still have the sheets, but how cool do they look?
Leaf wreath_leaves
Step 5:  Ink leaves with Stazon and then spray backside with IrResistable spray in bronze.  The bronze irResistable spray really helps the leaves stand out while still highlighting the translucense of the acrylic.
Leaf wreath_leaves_inked
Step 6:  Ink mirror piece in the same colors as leaves and attach words (I chose vinyl which I cut with my Cricut, but you could use a sticker, or leave this piece off all together)
Leaf wreath_mirror
Step 7:  Glue all pieces to embroidery hoop.  How simple is that?  I used a bit of Beacon Zip Dry.
I would love to see what projects you create with Clear Scraps.  
Hugs.
Nancy

Friday, September 25, 2015

Create a Canister with Sizzix and The Buckle Boutique

Hey everyone!  Hope you are having a great day.  The weekend!!!  It is upon us.  w00t w00t. Well, today I want to share with you this cute little box I made using a die from Sizzix and some fun rhinestones from The Buckle Boutique.
I have had so much fun with the XL Canister die from Eileen Hull for Sizzix.  Using the Sizzix Mat Board really makes the final project super sturdy and with the addition of a Rhinestone Sticker sheet from The Buckle Boutique, this one in Crystal Gold Rectangle.... Well, let me show you how I made it.

Begin by adhering your cardstock to the mat board and create your Sizzix Sandwich; cutting plate, Sizzix Bigz Die, mat board and second cutting plate; and run through the Big Shot machine.
You will need to cut two of the "canister sides" to complete the assembly.
Use the Sizzix die to cut the Rhinestone Sticker Sheet for the top of the box.  Save those extra pieces for embellishment later.
From there, simply assemble the canister and add the Rhinestone Sticker Sheet to the top of the box.
To embellish the canister I added a bow that I cut with the Sizzix French Bow XL die (which I embellished with one of the scraps of rhinestones I cut earlier)
and a simple rolled flower I made using the Tim Holtz Tiny Tattered Florals set.

Thanks for stopping by...Have a great weekend.

Hugs.

Friday, July 3, 2015

Patriotic Banner - 4th of July!

Ugh...I can't believe it is already July....where has the summer gone?  Things here are crazy busy with swim, and the season is flying by.   I haven't hardly taken any photos of the children...hopefully today as we are headed to the beach in a bit.  

Well, today I wanted to share this banner I made for Core'dinations.  I love the Basics Patterned papers...they are so fun and suit my every paper need.  OMG....and the new Tim Holtz Metallics....swoon!  They are gorgeous to say the least.  
banner_angle-1024x680
Patriotic Banner Supplies:
banner_suppliesStep 1:  Cut Patterned papers into circle shapes.  I chose to alternate the pattern by doing some large red and some large blue.  The largest circles were cut to 6 inches.  The white Polka Dot Pops to 4 inches and the inside circles to 3 inches.  I cut enough circles to make 8 completed pennants. (four of each color and eight of the white).
banner_cut_circlesStep 2:  Cut 16 stars from the Tim Holtz Metallic Kraft Core paper.  Don't those stars look like metal?  I have a project in mind for more of this paper, as soon as I find the time.
banner_starsStep 3:  Assemble your circles by layering the colored circles.   I created a large red circle with a blue center...
banner_redand a large blue circle with a red center, glue securely.  How fun is the mix of patterns.  There is something like 150 different papers in the set.  crazy, huh.
banner_blue
 Step 4:  Fold each set of circles in half and attach one of the Tim Holtz Metallic Kraft Core stars on each half.
banner_fold_star
Step 5:  Place twine through the folded circles and adhere the circle closed.  Be sure to add plenty of adhesive as you don't want your banner to unfold or your layers to peel back.
banner_stringThis little banner is so much fun, and by having the design on both sides it can easily be used in any location.


Wednesday, July 1, 2015

Pretty Paper Succulents

Hey everyone!  Are you looking for a way to bring some of the beauty of the desert into your home this spring?  Succulents are all the rage in home decor.  Why not create these pretty paper succulents from some of your favorite papers?  These pretty paper succulents are perfect for our California drought...and I don't have to worry about killing them.  lol
succulents_coredinations_nancy-keslin_final1-1024x680
Paper Succulents Centerpiece Supplies:
succulents_coredinations_nancy keslin_supplies
Step 1:  Cut shapes by hand from template or using electronic cutter from your favorite colors of Tim Holtz Kraft Core papers.  I chose shades of greens and blue.
succulents_coredinations_nancy keslin_cutsStep 2:  Assemble succulents.
succulents_coredinations_nancy keslin_assembled
Step 3:  Create box from cut file from Tim Holtz Kraft Core Shattered collection.   I chose a long rectangular box, but you could choose a different shape, and cut it from a neutral paper.
succulents_coredinations_nancy keslin_box
Step 4:  Cut Styrofoam pieces to fill box and create a substrate to glue the succulents on.
succulents_coredinations_nancy keslin_styrofoam
Step 5:  Hot glue each of the succulents to Styrofoam.
succulents_coredinations_nancy-keslin_complete-1024x680
Step 6:  Fill blank spaces between the succulents with Spanish moss.
succulents_coredinations_nancy-keslin_moss-1024x680
I hope you create something beautiful for your home this spring!