Hi everyone! Today I wanted to share with you a project I made using the beautiful Lyric papers from Prima and my gorgeous Prima flower grab bag from Your Memories Here.
This photo is from the Musee D"Orsay in Paris. Unfortunately you are unable to use flash photography in the museum and being that my family is a bunch of rule followers (lol) the photo is really dark. Not as dark as it shows up in these photos, but dark. sigh
Thanks for stopping by today.
Hugs.
Nancy
Showing posts with label ribbon. Show all posts
Wednesday, November 13, 2013
Thursday, July 25, 2013
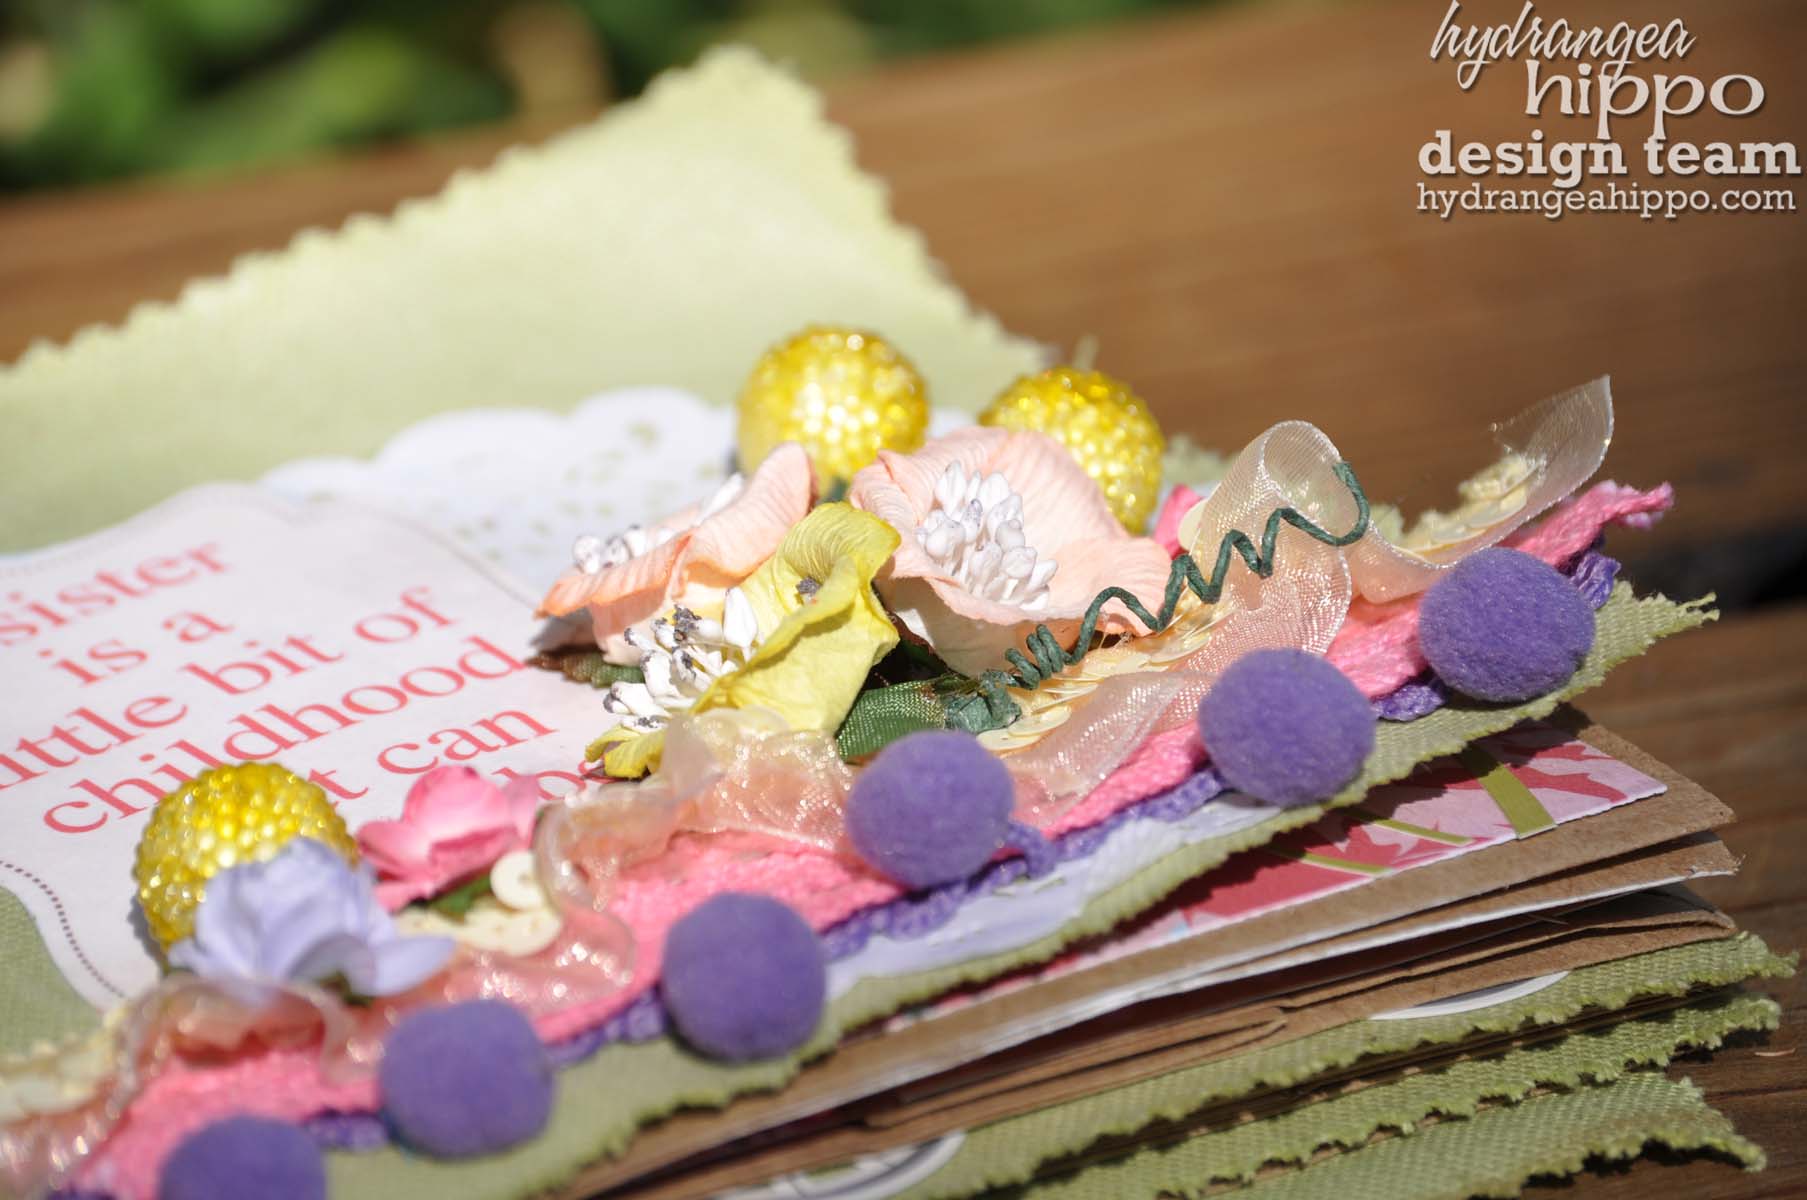
Sister Paper Bag Mini Album - Hydrangea Hippo
Hi everyone! Today I want to share with you a project I made with some of the wonderful goodies from Hydrangea Hippo.
Jennifer has created the cutest little paper bag mini albums with 8 canvas pages (this one is in a lovely sage, but I also purchased natural, black and grey) and 16 paper bag pages tied in a neat little bundle with baker’s twine. These little treasures are just waiting to be embellished.
Mixed with trims, lace, gorgeous flowers and other goodies from the store this mini album came together in a snap.
The papers inside are from the Echo Park Sisters mini collection. Now I just need to fill it with photos of my girls.
Thanks for stopping by.
Hugs.
Thursday, January 17, 2013
Let the Eat Cake
Hi everyone! Today I wanted to share with you a layout I made using a sketch from Heather. I have been trying to make more multi photo layouts...at least sometimes.
OK, well....here is the sketch.
And my take
I used some older Glitz papers, a few Prima letters and lots of flowers and trims from the Hydrangea Hippo Etsy store.
These are our desserts from Thanksgiving. We had only a small celebration this year. The five of us, my sister and niece. So of course we needed a lot of desserts....Apple pie, gingerbread cupcakes, blondies, and a crumble. Needless to say, no one went hungry.
Anyway...I think I am gaining weight just looking at them. So I better get busy. Hope you are having a great day.
Hugs.
Nancy
OK, well....here is the sketch.
And my take
I used some older Glitz papers, a few Prima letters and lots of flowers and trims from the Hydrangea Hippo Etsy store.
These are our desserts from Thanksgiving. We had only a small celebration this year. The five of us, my sister and niece. So of course we needed a lot of desserts....Apple pie, gingerbread cupcakes, blondies, and a crumble. Needless to say, no one went hungry.
Anyway...I think I am gaining weight just looking at them. So I better get busy. Hope you are having a great day.
Hugs.
Nancy
Wednesday, December 19, 2012
Metallic Tags - Your Memories Here
Hi everyone! Today I wanted to share with you a few tags I made using some Ranger Distress Stains and miscellaneous goodies (many from my Prima Grab Bag at Your Memories Here) I had lying on my desk. This is a fun technique and I can't wait to share it with you.
You will need some Distress Stains, including the newer Metallic stains, a craft mat, and your tag.
Add a bit of the colored stain and the metallic stain side by side...don't worry, the stains are designed not to pick up other colors, so you won't contaminate your bottle if the two colors mix.
Run your tag through the puddle of mist. Remember that Distress Stains are water based, so if you want the colors to blend and flow a bit more, you can just spritz with a bit of water.
Don't forget...you can also stain a bit of ribbon or seam binding to match.
And here are my finished tags. I used my Prima Press to stamp out the "to/froms" along with lots of goodies from my grab bag. I always love having a mix of fun goodies around to add to projects like this.
Just look at the gorgeous sparkle and shine on what would have otherwise been a plain, red tag.
And a bit of green....
You can mix the different metallics with the same stains to get a variety of textures and colors.
I am doing all brown paper packages this year under the tree and hope that these tags hope to brighten things up a bit.
Hugs.
Nancy
You can find the products I used here: At the Your Memories Here store.
You will need some Distress Stains, including the newer Metallic stains, a craft mat, and your tag.
Add a bit of the colored stain and the metallic stain side by side...don't worry, the stains are designed not to pick up other colors, so you won't contaminate your bottle if the two colors mix.
Run your tag through the puddle of mist. Remember that Distress Stains are water based, so if you want the colors to blend and flow a bit more, you can just spritz with a bit of water.
Don't forget...you can also stain a bit of ribbon or seam binding to match.
And here are my finished tags. I used my Prima Press to stamp out the "to/froms" along with lots of goodies from my grab bag. I always love having a mix of fun goodies around to add to projects like this.
Just look at the gorgeous sparkle and shine on what would have otherwise been a plain, red tag.
And a bit of green....
You can mix the different metallics with the same stains to get a variety of textures and colors.
I am doing all brown paper packages this year under the tree and hope that these tags hope to brighten things up a bit.
Hugs.
Nancy
You can find the products I used here: At the Your Memories Here store.
Thursday, December 13, 2012
Cast a Light
Hi everyone! Today I wanted to share with you the second little lampshade I made for the "night light" in my living room.
Another, simple way to decorate my house for the holiday.
Hugs.
Nancy
Lots of cute trims, bits of Prima flowers, and a few bling flourishes highlight the lampshade I colored with a bit of Glimmer mist.
Another, simple way to decorate my house for the holiday.
Hugs.
Nancy
Labels:
ball trim,
christmas,
diy,
flourish,
flowers,
holiday,
home decor,
lamp shade,
ribbon,
trim
Thursday, October 4, 2012
Get Outside and Play - Hydrangea Hippo
Hi everyone! Sorry I am a bit late, but I made some freezer breakfast for the children so they would have something quick and easy to grab and go before those 5:00 am swim practices....
and then we had an orthodontist appointment. Mackenzie is moving quickly through her treatment and Ainsley is looking forward to getting her braces in January. Woo hoo!!!! So...there went my whole morning. lol
Anyway......today I want to share with you a few projects I made using the Nature Walk Scrapbooking and Crafting kit from Hydrangea Hippo.
This kit is full of such lovely outdoors colors with bits of Girl Scout goodies thrown in. And of course all the gorgeous trims and trinkets Hydrangea Hippo is known for.
First up, a cute little treasure box. Mine is somewhat open to hold a special treat for my youngest little darling, but you could close it tight to hold something special.
I used one of the cupcake wrappers to make a fun little rose. And how much do I love the "crystal". My daughter collects those as well. hee hee
How about a layout for some fun photos of your outdoor adventure? I added bits of trim and some fun buttons and embellies, along with a bit of fussy cutting for a little whimsy.
Here is another layout for those oh so fun photos.
I have a few photos from camping with my sister and niece a few months ago that I can't wait to add. Until then....
Hugs.
Nancy
Friday, August 31, 2012
Hooray for Long Weekends
Hi everyone! Hope you are having a great day. I can't believe that Friday is already here and that we in the US are celebrating Labor Day. Where did the summer go?
If you are looking for the Sampler blog hop post please go here....
If you just want to drop in and maybe have a cup of coffee....see what I have been up to? lol
How about another project I did for Hydrangea Hippo using the Island Summer kit. I really love this kit and decided one of the projects I just had to make was a mini album. So many fun goodies in the kit...how could I resist.
This kit features some gorgeous papers from Trinity Paper Arts. Perfect for all those beach photos.
And the buttons///
And the trims......
And of course I put it all together with my Bind-it-All.
I hope to use this for some of the hundreds of photos I took while in Hawaii! hee hee
OK, well....lots going on here as usual. Spending a lot of time working one on one with Ainsley.
Hugs.
Nancy
If you are looking for the Sampler blog hop post please go here....
If you just want to drop in and maybe have a cup of coffee....see what I have been up to? lol
How about another project I did for Hydrangea Hippo using the Island Summer kit. I really love this kit and decided one of the projects I just had to make was a mini album. So many fun goodies in the kit...how could I resist.
This kit features some gorgeous papers from Trinity Paper Arts. Perfect for all those beach photos.
And the buttons///
And the trims......
And of course I put it all together with my Bind-it-All.
I hope to use this for some of the hundreds of photos I took while in Hawaii! hee hee
OK, well....lots going on here as usual. Spending a lot of time working one on one with Ainsley.
Hugs.
Nancy
Tuesday, August 7, 2012
Celebrate - the Sampler
Hi everyone! I hope you are having a great day today. Me...just trying to recuperate after our crazy swim season. Hard to believe summer is almost over. sigh
Today I wanted to share with you another project I made using the Summer Camp kit from the Sampler.
These are photos from Ainsley's birthday party. We found this huge beach ball. All the girls had a great time playing with it. No one had ever seen a beach ball so big.
I love that this kit is packed with so many fun embellishments, washi tape, ribbons, buttons and cute stickers to layer and pop. And the patterned papers also mix and match so well.
Well, back to work. Be sure and check out the challenges going on now over on the Sampler blog.
Hugs.
Nancy
Today I wanted to share with you another project I made using the Summer Camp kit from the Sampler.
These are photos from Ainsley's birthday party. We found this huge beach ball. All the girls had a great time playing with it. No one had ever seen a beach ball so big.
I love that this kit is packed with so many fun embellishments, washi tape, ribbons, buttons and cute stickers to layer and pop. And the patterned papers also mix and match so well.
Well, back to work. Be sure and check out the challenges going on now over on the Sampler blog.
Hugs.
Nancy
Thursday, June 21, 2012
Busy Blogging
Hi everyone! Sorry I am a bit late today, but I have been crazy busy....doing what? blogging everywhere but here! lol
You can see a recent mini book made with coffee sleeves over on the Bind-it-All blog. And a distress stain tutorial over at Ideas for Scrapbookers.
So, What do I have for you, here? How about a project I did a few weeks ago for Bind-it-All, featuring the Display-it-All and of course, bound with my Bind-it-All and o-Wires.
I have had this fun recipe album from Melissa Frances in my stash for a while, just waiting to be embellished and filled.
Cooking at home daily has definitely created some "go-to" recipes and I decided this would be the perfect place to store them so I don't have to keep digging them out.
And the use of the Display it All keeps the recipes up off the counter top. Which can get quite messy, especially when the children or dh cook.
And you know I had to shabby the stand up, adding crackled paint and lots of lovely goodies from my stash, many from the Hydrangea Hippo etsy store. (she has got some of the most yummy trims).
Well, gotta get a few things done for swim team today.
Hugs.
Nancy
You can see a recent mini book made with coffee sleeves over on the Bind-it-All blog. And a distress stain tutorial over at Ideas for Scrapbookers.
So, What do I have for you, here? How about a project I did a few weeks ago for Bind-it-All, featuring the Display-it-All and of course, bound with my Bind-it-All and o-Wires.
I have had this fun recipe album from Melissa Frances in my stash for a while, just waiting to be embellished and filled.
Cooking at home daily has definitely created some "go-to" recipes and I decided this would be the perfect place to store them so I don't have to keep digging them out.
And the use of the Display it All keeps the recipes up off the counter top. Which can get quite messy, especially when the children or dh cook.
And you know I had to shabby the stand up, adding crackled paint and lots of lovely goodies from my stash, many from the Hydrangea Hippo etsy store. (she has got some of the most yummy trims).
Well, gotta get a few things done for swim team today.
Hugs.
Nancy
Labels:
bind it all,
display it all,
hydrangea hippo,
kitchen,
melissa frances,
menu,
o-wire,
recipe,
ribbon,
roses,
sequins,
trim,
zutter
Monday, June 4, 2012
Rainy Monday
Hi everyone! Sorry I am a little late but I spent a good chunk of my morning covering my patio furniture since it looks like it is going to rain. Not something I was really prepared for since it is June and rain this time of year is quite unusual in Northern California.
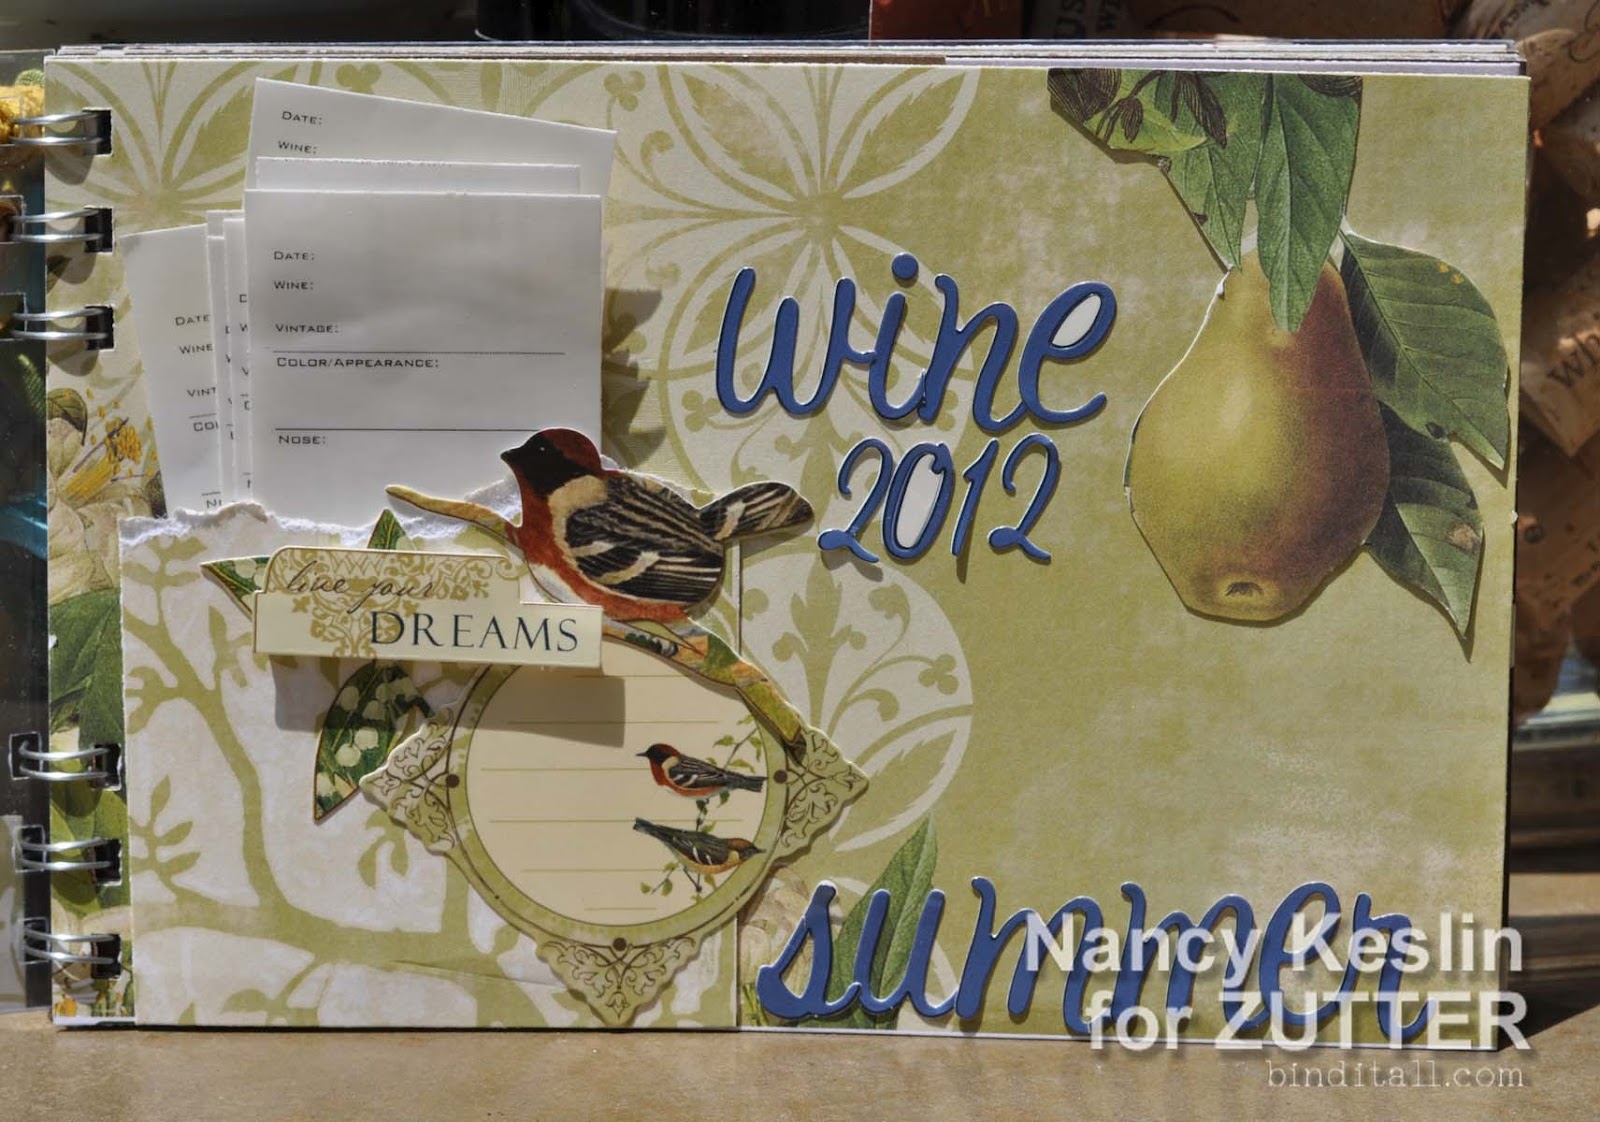
Speaking of Northern California, along with our weather, this part of the country is also known for producing some great wines. Phil and I occasionally get the opportunity to try wines (I think the nearest winery is only 7 miles, and one of our favorites is just 15). But keeping them straight; remembering which wines we have had and would like to buy, and which we are not interested in purchasing can be difficult. I decided to create a small wine journal to save our tasting notes and wine labels.
I used my Bind-it-All with the 7.5 x 5 acrylic covers with some older Webster's Pages papers to create this little journal. I love the acrylic covers. Not only are they super light weight, but I enjoy playing with the translucent properties. And, being that I kept most of the goodies on the inside, I can slip this into my purse if we are going out for the evening.
I added a little pocket to hold labels I made to write tasting notes.
And here....a completed page. Yep, it was a good one. hee hee
OK, this isn't totally flat...but other than this little flower????
And the lovely trims I tied to the o-wires???
Since I have made this album I have collected a few more labels. I just need to figure out a better way of getting them off the bottle. Any ideas?
Hugs.
Nancy
Speaking of Northern California, along with our weather, this part of the country is also known for producing some great wines. Phil and I occasionally get the opportunity to try wines (I think the nearest winery is only 7 miles, and one of our favorites is just 15). But keeping them straight; remembering which wines we have had and would like to buy, and which we are not interested in purchasing can be difficult. I decided to create a small wine journal to save our tasting notes and wine labels.
I used my Bind-it-All with the 7.5 x 5 acrylic covers with some older Webster's Pages papers to create this little journal. I love the acrylic covers. Not only are they super light weight, but I enjoy playing with the translucent properties. And, being that I kept most of the goodies on the inside, I can slip this into my purse if we are going out for the evening.
I added a little pocket to hold labels I made to write tasting notes.
And here....a completed page. Yep, it was a good one. hee hee
OK, this isn't totally flat...but other than this little flower????
And the lovely trims I tied to the o-wires???
Since I have made this album I have collected a few more labels. I just need to figure out a better way of getting them off the bottle. Any ideas?
Hugs.
Nancy
Labels:
acrylic,
bind it all,
flowers,
journal,
lace,
notes,
ribbon,
Seam Binding,
stickers,
tasting,
trim,
webster's pages,
wine,
zutter
Subscribe to:
Posts (Atom)