Showing posts with label children. Show all posts

Wednesday, November 26, 2014

Pinecone Turkeys- Kids Craft Tutorial.

Hi everyone!  Happy almost Thanksgiving!  I wanted to share with you today a fun project you can do with your littles for Thanksgiving.  I originally made this for Core'dinations, and you can see it here.


Pine Cone Turkey Supplies:
pinecone_turkey_coredinations_nancy keslin_supplies
Step 1: Paint foam ball with brown acrylic paint.  Helpful hint: insert a skewer or small stick into the ball to keep fingers out of the way.  You can even keep the ball on its stick while it dries.  
pinecone_turkey_coredinaitons_nancy keslin_paint_no face
Step 2: While paint dries, trace and cut out two hand prints on Core'dinations Vintage Collection papers.  I let my little friends cut their own hand prints out...good practice with the scissors, but keep some tape handy...jic.  lol
pinecone_turkey_coredinations_nancy keslin_trace hand
Step 3: Glue handprints to the stem end and foam ball to the top of the pinecone to create  the basic turkey shape.
pinecone_turkey_coredinations_nancy keslin_handprint
Step 4:  Assemble the face of the turkey by inserting a 1/2 inch piece of yellow chenille stem in center of ball and wrapping a 1- 1/2 to 2 inch piece of red chenille stem around it.  Attach google eyes with glue.  Look how easy making a turkey face is.  Who knew.
pinecone_turkey_coredinations_nancy keslin_face
Step 5:  To create the male hat cut a 3 inch circle from black Core Basics cardstock.  Draw a 2 inch circle about 3/4 of the way around and cut out.
pinecone_turkey_coredinations_nancy keslin_ringStep 6:  Cut edges out of the semicircle and fold up to create hat shape.
pinecone_turkey_coredinations_nancy keslin_foldStep 7:  To embellish hat cut a small piece of white Core Basics cardstock approximately 1 1/2 inches by 1/2 inch and add a little glitter to the center to create the hat band and buckle.
pinecone_turkey_coredination_nancy keslin_buckle
Step 8:  Place hat on turkey head, glue if desired.

Now, you know my little friends wanted kerchiefs for their turkeys as well, so that they could have girl turkeys.  lol

To Create the kerchief
Step 1: Cut a strip of white cardstock 2x4 inches, cut along solid lines to create the kerchief shape.
Step 2:  Fold edge of cardstock up 1/4 inch to create kerchief.
Step 3:  Poke small holes in ends of kerchief to create laces that you can then tie.  I used just a small piece of baker's twine knotted on either end.

Step 4:  Place kerchief on turkey head and tie in a bow.  I tied it loosely so my little friends could easily slip it off and on.

Don't they make the cutest little couple?


I am sure your little ones will enjoy their turkey friend for many years to come.


Friday, September 19, 2014

Pinwheel Party with Embellish by Dena - Darice

Hi everyone! Today I wanted to share with you a project I did for Darice using more of the gorgoues Little Azalea patterned papers from Embellish by Dena. These papers are so bright and cheerful, I couldn't resist making a few pinwheels for my friend's daughters to play with.

paper-pinwheel-daricePAPER PINWHEEL SUPPLIES:

Step 1. Begin by selecting coordinating patterns from the Embellish by Dena Little Azalea paper pad.  I chose to mix and match a bold pattern with a subtle one and I loved how this turned out. If you are using the 12×12 pad, cut each sheet into 6×6 pieces and glue the back sides together. You want the pattern to be visible on both sides of your pinwheel. pinwheel_darice_dena designs_nancy keslin_papersStep 2. Using a ruler, draw lines on the diagonals and cut to within a half inch of the center. pinwheel_darice_dena designs_nancy keslin_linesStep 3. Place hot glue into the center of the papers and gently bring corners together into the center, working in a circular fashion. This will create the pinwheel.  The side you apply the glue to will be the inside of the pinwheel. pinwheel_darice_dena designs_nancykeslin_glueStep 4. Place the brad through the center of the pinwheel, pushing through the glue. pinwheel_darice_dena designs_nancy keslin_bradStep 5. Poke a small hole into the paper straw and insert brad from pinwheel. pinwheel_darice_dena designs_nancy keslin_strawNote* These pinwheels can be made bigger or smaller based on the size of the paper and the length of the straw.  For a giant pinwheel, try a full 12×12 sheet of paper, a dowel and a push pin.  For a straw you can drink from, try hot gluing the pinwheel to the straw. You’re Finished! Now you can make as many pinwheels as your heart desires and watch them spin! paper-pinwheel-darice

Wednesday, July 16, 2014

Embellish By Dena Designs

Oh my goodness....can I just tell you I have fallen in love with a new paper line.  No, it isn't Prima, or Crate Paper, or probably anything you have heard of...it is Embellish by Dena Designs.  This paper is manufactured by Darice and I just love it.  I love the mix of patterns, colors...oh goodness I could go on and on.  But how about if I show you some of the things I have posted over on the Darice blog instead.

These cupcake toppers have a quick tutorial.  I love how quick and easy they were to make, plus they add so much personality to an otherwise typical plate.
Cupcakes not your thing?  These adorable pinwheels were made with the same paper pack.

special should out to my fried Judy for letting her girls come by and play with the pinwheels. 

Right now the papers are available at Consumer Crafts and Amazon.com.  Be sure and check them out.
Hugs.

Friday, June 20, 2014

Snapshots - Scrapbooking

Hi everyone!  Hope you are having a great day.  Things are finally settling down around here.  That was a quick couple of weeks.  Amazing how quickly cabana swim season sucks up my life.  lol

Anyway, enough abou me....How about today I share with you another layout I made.  This time using some Simple Stories papers.  I love this collection.  So fun....so different for me.

My not so littles anymore and our good friend Chris.  We had everyone over for lunch (of course, not everyone is pictured) while we discussed our plans for Brighton and Chris to room together next fall at UCSC.  Oh goodness they grow up so fast!  And how much do I love that look on Mackenzie's face.  shhhhh, don't tell her.

hugs.

Wednesday, February 20, 2013

Love is in the Air - Valentine's Crafts

Hi everyone!  I know it has been a week since Valentine's Day, but I wanted to share with you a few of the items I made (or helped with) last week.

Ainsley wanted to make something for her friends at swim, so we set about making peanut butter truffles.  Yum!  Luckily I had purchased a bunch of mini wrappers for us to place them in.   And Ainsley was willing to get her hands dirty...she did much of the work on these herself.
And of course the truffles needed a box.  Thank goodness for my Cricut and the Tags, Bags, Boxes and More cartridge.  Each of these boxes holds four truffles.  Ainsley cut, and I assembled.  She just couldn't seem to figure out how the boxes were supposed to come together.
 Well, with all this making for Ainsley's friends, I had to make a few cards...This one for dh.....
and these for the children.  Love that I was able to use up some of my scraps to assemble these...and my cricut for the glasses.
Did you have a good Valentine's Day?

Hugs.

Nancy

Tuesday, February 5, 2013

Play Nice - The Sampler


Hi everyone!  Today I want to share with you a new project using the Simply Sweet kit from the Sampler Kit Club.  This months kit is so super cute and I just couldn't wait to dive right in.  I love the trims, the patterns, the colors...OK, I love it all!  lol

All the gorgeous colors and designs in this kit are just perfect for these goofy photos of my girls playing Twister.  Do you remember playing Twister?  Lately the children have been having a blast with this old standby.  Of course they tried to get me to play...I have been able to resist so far.  hee hee
nancy keslin_scrapbook_kit club
 I really love the "Do It Yourself" Thickers Holly has been placing in the kits.  They make title work so easy. And I loved this sketch I found over at Pagedrafts.
kit club_the sampler_nancy keslin

Thanks for stopping by today and checking out the newest kit from The Sampler.  And be sure and take a peak back at the Sampler challenge post for your chance to win some fabulous prizes.

Hugs.

Nancy

This Month's Kit

Wednesday, July 18, 2012

My Love - Your Memories Here


Hi everyone!  Today I am here to share with you a recent project I made using the Declarations line from Pink Paislee.  This mini collection is full of cute patterned papers and stickers that I couldn't resist playing with for more than just July 4.  Here, a photo of my three children created this quick and easy layout.
You know I couldn't resist throwing in a few flowers, many from Prima Marketing.
Speaking of Prima Marketing, have you seen the summer collections that are coming out now at CHA?  Swoon!  And of course, Kristina @ Your Memories Here has all the collections as well as three different sizes of grab bags to chose from available now on pre-order, as well as a few more winter CHA bags.
I know I plan on placing my order early and simply can't wait for everything to arrive.  The only question is....which to choose, which to choose?

Guess I am off to try and decide.

Hugs.

Nancy

Tuesday, September 28, 2010

Great New Sketch

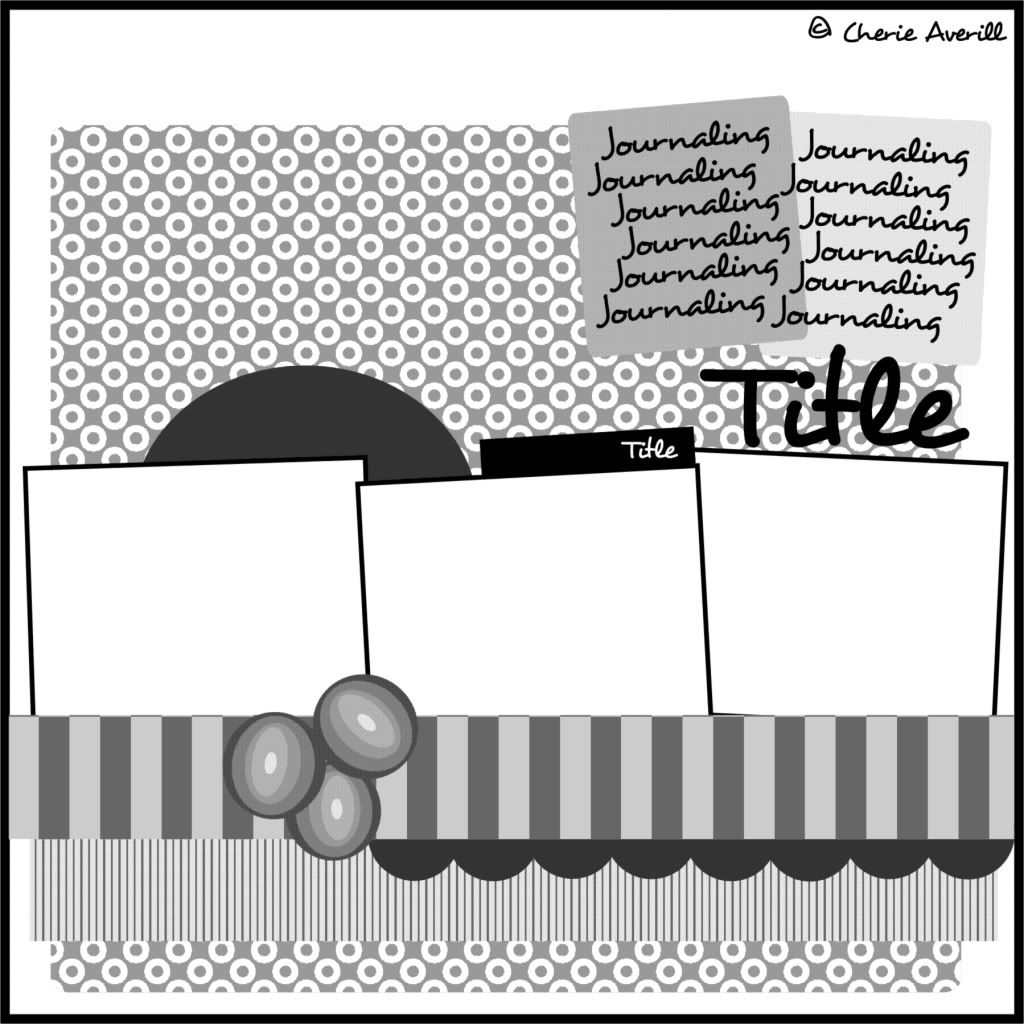
There is a great new sketch today over at Sassy Lil' Sketches.  Cherie always has some great sketches and this one is no different.


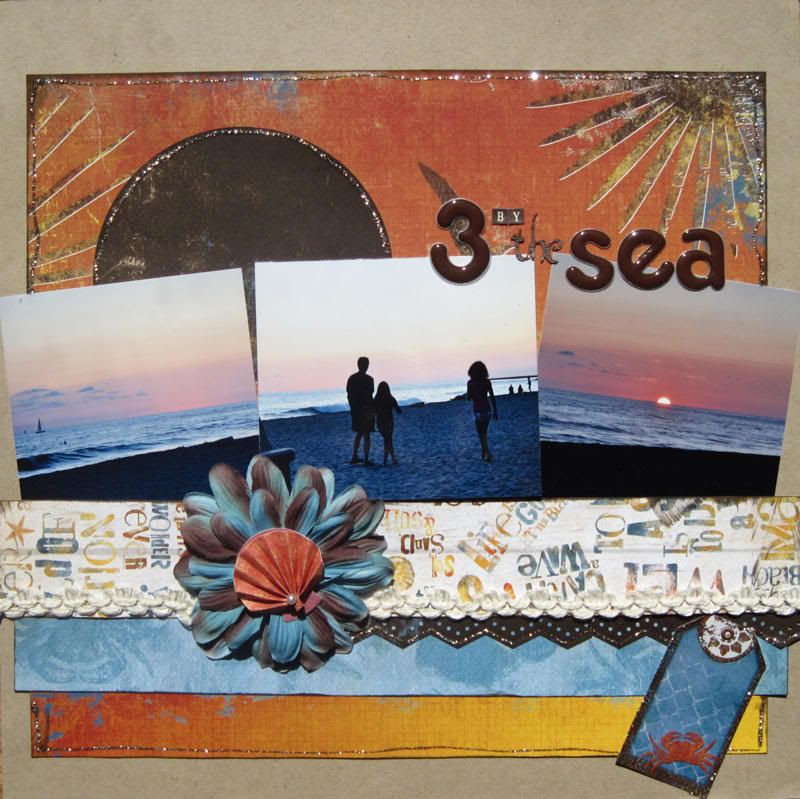
And here is my take.


Bo Bunny Paradise Paper, Platinum Stickles, Martha Stewart Border Punch, American Crafts Thickers.


These are more photos from our trip to Oceanside this summer.  I have been loving the Bo Bunny papers for this trip.  Just about every night we walked the beach at sunset.  Such great family time.


Remember, we have two more generous sponsors for September!
Our paper prize is a Cricut cartridge from Memory Miser.*

Our digital sponsor is a $10 gift certificate to Digital Delights by Louby Loo.*
I had a great time playing with the digital images from digital delights.  I made this birthday card for one of Ainsley's friends.
Digital Delights image, colored pencils and mineral spirits.

You really should be sure and check out both of our awesome sponsors!

Remember, to be eligible for the September prizes your layout needs to be uploaded via Mr. Linky below by October 5th at 11:59 PM EST.

*The paper prize is open to US residents only. The digital prize is open to all US & International residents.

Another busy, busy day here!  I hope to be back later to post some more goodies.

Hugs.

Nancy


Friday, September 24, 2010

So Excited

I am so excited to announce that I am a guest designer on a new site, Inspired to Scrap.  The site has kits, classes, and a fun forum and gallery.  The site is practically brand new and there is a ton of talent over there.  I will be guest designing in November.  You should for sure check it out!  Stacey has some fun tutorials and free classes going on right now.


Let's see, What else has been going on.....


I made a few projects.


You may remember that my dh had to skip his birthday this year because we had to push Ainsley's birthday sleepover to his birthday.  hee hee....Well, we finally got him his own cake. 
 The Color Room Palette.  Basic Grey Origins everything else.  

Ainsley riding the mechanical bull at Phil's group picnic. She and Mackenzie must have ridden it a dozen times.  So much fun.
Basic Grey Lemonade papers, Prima flowers, Pink Paislee Title

I loved this photo of my good friend Michelle's neighborhood and really wanted to scrap it.  So....Well, it is on its way to her now.  You may have seen this on the Ideas for Scrapbookers blog.  It was one of my "mist" examples.  I masked the leaf paper, the Prima felt and the title letters.
 Basic Grey Archaic, Tattered Angels Glimmer mist, Maya Mist and felt trim, Prima flower leaves and felt border, Making Memories journal tag.

Here is Mackenzie at Phil's company picnic.  The bull, the petting zoo, it really was a super fun afternoon.  I used one of my good friend Heather's sketches.  You should totally check out the post at Ideas for Scrapbookers.  You could win a prize from Scraptastic.  A super fun kit club Heather designs for.
American Crafts Dear Lizzie papers, trim and chipboard.  Prima Flowers.


School and swim and ballet are keeping us crazy busy!  So.....Gotta run.


Don't forget, if you won a prize, please email me your shipping information so I can get your goodies out to you.  Ainsley and I have been having a great time kitting.


Hugs.


Nancy