Wednesday, April 29, 2015

Believe in Yourself - Clear Scraps

Hi everyone!  Today I want to share with you a fun Word Title, Believe,.from Clear Scraps.  Believe was actually my "One Little Word" last year.  Because I need to take more time to believe in myself and what I am doing.  I created this word title to hang in my office so that, even though it isn't my word this year, I don't forget the lessons I have learned.  And let me tell you...these days.........................
Believe_clear scraps_word board_nancy keslin_final
This project was simple and quick to create.  I covered each letter with my patterened paper and then cut to fit.  A few floral embellishments and I was ready to go.
Believe_clear scraps_word board_nancy keslin
Clear Scraps has so many great word titles, and they are so fun to embellish.
Believe_clear scraps_word board_nancy keslin_final
So, what do you Believe in?
Hugs.
Nancy

Monday, April 27, 2015

Carte Recipe Box

hi everyone!  hope you had a great weekend, we had a busy one here.  can't believe we are already gearing up for cabana swim and summer time.  we spent the weekend cleaning the patio and getting the furniture ready for the season...whose idea was it to have so much wood furniture anyway.  lol

well, anyway....today I wanted to share with you a cute little recipe box i made using some prima papers and a new Sizzix die, recipe box, from eileen hull.

this is some older prima paper and chipboard, the almanac collection.  still working through the stash. 
this little box is the perfect size for little atg cards, small photos,

I always have little photos lying around that need to find a home, and i think this is just the place.

hugs.

Friday, April 24, 2015

Pion Designs and Clear Scraps

Hi everyone!  Hope your day is off to a great start!  Can you believe the weekend is here !  woo hoo!!!

Today I wanted to share with you a mini album I  made using the Mixable Tabby from Clear Scraps and some beautiful papers from Pion Designs, Vintage Wedding.
I used a few dies, from both Prima and Sizzix to create the lacey shapes.  How much do I love that new huge butterfly?  swoon...... And that beautiful resin frame?  I painted it with some Ann Butler Earth Safe finishes that she gave me back at CHA.  They are so beautiful with a sheer irridescent finish.
 I love these Pion papers.  The double sided pages are perfect for the clear, acrylic peek a boos.
And the mix of patterns, solids, and images are so fun to layer.
 Of course, I couldn't resist adding lots of flowers (many from I am Roses), bit of bling....and of course more resins...well, not really resins; some I created with the new Mod Melts and then of course painted with the Earth Safe Finishes.
This mini album was so much fun to create, and simply stuffed with so many things I love.  I hope you love it to.

Hugs.

Wednesday, April 22, 2015

What Can You Make With Your Cricut Explore

Hey everyone!  Wanted to drop in, albeit a little late, to share with you a few projects I made with my Cricut Explore.

I know, I know....so many people love their other electronic machines, I had been waffling on a new machine for a while, and then, when the Explore came out, I knew it was the machine for me.  It had the intricate cuts of the other machines, as well as the ability to cut svg files.  I was sold.  And with the constant updates and additions to the machines abilities, yep...I am pretty happy.

OK, so, here are just a couple of things I made for my niece recently.....

First up, a simple birthday card using an image from the Cricut Design Space (love the liscensed characters) and some favorite Core'dinations products, I used the Chalk Core Cards as a base with bits of the Gemstones collection to add a bit of shimmer.  The embossing folder is of course Darice as well.
Next, I made her a few finger puppets.  These were also on the Cricut Design Space site.  for this project I really just used tons of scraps.  Little projects like this are perfect for using up those bits that we all have lying around.  Of course, you can see bits of the Core'dinations Gemstones and Neutrals which are always lying around.


Monday, April 20, 2015

How to Bling a Simple Box

Hi eveyrone!  Happy Monday.  today I wanted to swing by and share with you a simple pillow box I made with a Sizzix die and some fun Buckle Boutique products.
Bling Pillow Box Supplies:
Step 1:  Cut Pillow Box shape with Sizzix Machine.  I don't think I can make many things these days without my handy machine.  lol  Just about every project I do these days uses it in some way.  lol

Step 2:  Cut coordinating papers and ribbon to create band around box.


Step 3:  Cut Buckle Boutique Rhinestone Sticker Sheets with flower die.
I used two different flower sizes with the two different rhinestone sticker sheets to create added interest.
Step 4:  Assemble Rhinestone Sticker flower.  And attach to box.
The Buckle Boutique rhinestone sticker sheets make embellishing even the simplest project so easy.

Hugs.

Friday, April 17, 2015

Outrageously Fun Owls

Hi everyone!  Just wanted to stop by and let you know that I have a project up over at Core'dinations!  These cute little paper owls!


Just love these little guys.  And they are so easy that when my niece and her friend came over we made them for them to carry some little treats (did I mention they are a pillow box?)

Be sure and check out the complete tutorial.

Hugs.


Wednesday, April 15, 2015

Showy Mini Album

Hi everyone!  Hope your day is off to a great start!  Things here are going well, busy, but well.

Today I want to share with you a mini album I made using the beautiful Clear Scraps Mixable, Showy and some lovely Theresa Collins papers.

 This shape of album was a bit different for me.  So tall and thin.
 It did however allow me a bit of fun with the stacking and layering of elements.  Something you can't really do with a landscape shaped mini.
 The size of this mini is quite large, which is great for sneaking in lots of photos, or maybe just a few larger ones.
 I chose to bind this mini using just some simple twine.  This gave me the flexibitlity of adding a few thicker embellishments.
All in all, this mini was a ton of fun to create.  I love the size and shape, and the Theresa Collins papers and embellishments were so much fun.

Hugs.

Monday, April 13, 2015

You Warm My Heart Light Up Box

Hey everyone!  Hope your day is off to a great start!  Today I wanted to share with you a project I made featuring a fun, new, company; Chibitronics.  I met this fun group back at CHA and was given a set of their unique LED circuits to play with.  They have a starter kit that contains everything you need to get going with creating your own light up circuits.  Being a homeschooler, and having built many circuits over the years, I thought I was quite the pro.  Yeah, I can build a circuit....but the copper foil tape definitely took a bit to get used to, so be sure and practice in the book before committing anything to your project.

You Warm My Heart Light Up Box

You Warm My Heart Box Supplies:


Step 1:  Cut all pieces needed and emboss using the Sizzix Texture fade.  I used my Cricut Explore.
Step 2:  Assemble box as per instructions.  Yep, didn't follow the instructions well, so my box has a few irregularities.  
Step 3:  This was the fun part.  Build your circuit.  Remember when I told you to practice before trying to lay out your circuit on the finished project?  Making turns with the copper tape takes a bit of practice.  My first circuit did not look this pretty.  The glitter paper and the copper tape did not play nicely.  lol
Step 4:  Add additional LED lights as desired.  I decided to add a few more to give the fire a nice glow. Seriously, how cool is that?  The circuits are super easy to build.  This one is in parallel, but I may try a series next.
 
Here is the box in a darkened room....look at the glow from the fire!  I can't wait to see what else I can light up.  Definitely thinking a camera....with a switch....so I can make it flash!  Oh, and a new baby card (have a girlfriend about to be a grandma)....twinkling stars?  The possibilities are endless.
Thanks for stopping by.
Hugs.

Friday, April 10, 2015

Happy Friday - Dresser Update

Hey everyone!  Happy Friday.  Yes, I am a bit late today.  It has been a busy week and although I had planned on blogging, with Mackenzie's birthday and a secret, special, last minute project.....best laid plans.  lol  And even later today because, believe it or no...forgot to add the coffee to my coffee.  sigh.  How did I make a latte without any espresso?  sigh

OK, well......today I want to share with you a fun and simple prjoect I created with Ainsley for her room.  
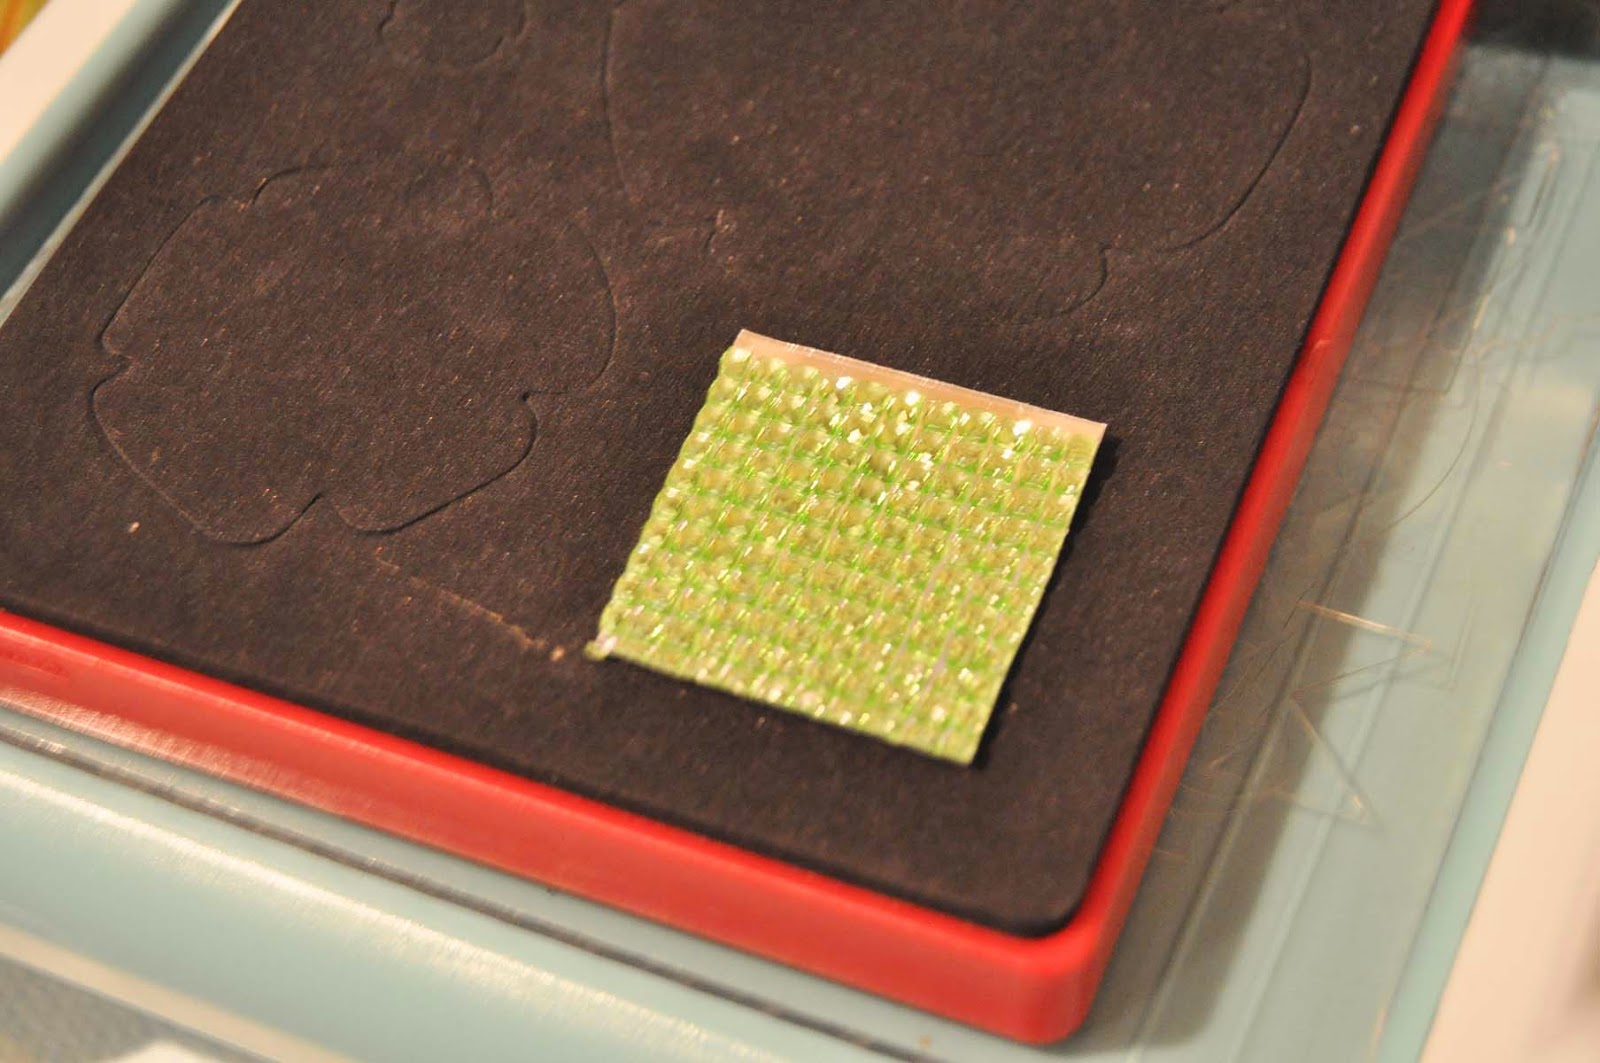
Hazel & Ruby has these fabulous new Decor Tapes that I was able to snag at a great price for Ainsley to update her dresser.  This project was so quick and easy, and really...she could do it herself. Even with her teenager impatience.  These tapes are just that easy to use.

We started out with her plain, white, dresser which she has had since she was a baby.  Not the best paint job....we had a new baby and two little ones at the time.  lol  Blame the paint on Phil, btw.

Lessons to be learned.  Not all credit cards are created equal when it comes to burnishing the washi. Make sure and use a thick card.  They work so much better with less give.  

Other lessons, your teen will be much happier if you don't make them empty all the drawers before you update.  I think Ainsley may have tried to murder me in my sleep if I had m ade her actually clean and empty her dresser before doing this project.  The great thing about using the tape?  She didn't have to.  


Seriously tho, this whole project took us maybe 30 minutes to complete, and that included taking the old knobs, that Phil had painted onto the drawers, off and deciding which order to tape.

Ainsley is much happier with her dresser now and it suits her personality so much better.

Have a great weekend.
Hugs

Wednesday, April 8, 2015

Saving Memories and Free Ebook

Hi everyone!  Hope you are having a great day...thanks for swinging by.  Today I wanted to share with you a project I made with some goodies that I received from FaveCrafts and a free book.

Every year, FaveCrafts hosts a blogger party at CHA and I have been lucky enough to receive an invite the last few.  Anyway, at this event bloggers are given the opportunity to sit down with brands and talk about what they have to offer.  At the end, we are given "goodie bags", and an opportunity to be in an ebook and maybe even win a prize.

Well, here is the project I made, the Precious Memory Board.


Precious Memory Board Supplies:

  • Darice Photo Frame
  • MDHobby and Craft Pierced Metal
  • Folk Art Chalk Paint from Plaid
  • Sizzix Die Cut Machine and Dies
  • Crate Paper
  • Clothes Pins


Step 1:  cut metal sheet to size.  The MD Hobby and Craft Pierced Metal is thick, so be sure and use the correct tool.  I used a pair of tin snips.  And be careful, those snipped ends are sharp.


Step 2:  Paint metal sheet and frame in desired colors.  I chose teal and grey chalk paint as I am just loving the sheen of chalk paint lately.  In hindsight, I should have put a coat of spray gesso on the pierced metal before I painted it...but a few coats of the paint did the trick.

Step 3:  Die Cut lables with Sizzix dies and embellish as deisred.  I chose some beautiful Crate Paper from my stash, and it didn't require much embellishment.  Just a few pearls and epoxies.

Step 4:  Assemble

Step 5:  Hang items and embellishments with mini clothespins.

How easy is that?

If you would like a free copy of the E-Book, filled with many craft ideas, including mine, just click here.

Hugs.