Friday, September 25, 2015

Create a Canister with Sizzix and The Buckle Boutique

Hey everyone!  Hope you are having a great day.  The weekend!!!  It is upon us.  w00t w00t. Well, today I want to share with you this cute little box I made using a die from Sizzix and some fun rhinestones from The Buckle Boutique.
I have had so much fun with the XL Canister die from Eileen Hull for Sizzix.  Using the Sizzix Mat Board really makes the final project super sturdy and with the addition of a Rhinestone Sticker sheet from The Buckle Boutique, this one in Crystal Gold Rectangle.... Well, let me show you how I made it.

Begin by adhering your cardstock to the mat board and create your Sizzix Sandwich; cutting plate, Sizzix Bigz Die, mat board and second cutting plate; and run through the Big Shot machine.
You will need to cut two of the "canister sides" to complete the assembly.
Use the Sizzix die to cut the Rhinestone Sticker Sheet for the top of the box.  Save those extra pieces for embellishment later.
From there, simply assemble the canister and add the Rhinestone Sticker Sheet to the top of the box.
To embellish the canister I added a bow that I cut with the Sizzix French Bow XL die (which I embellished with one of the scraps of rhinestones I cut earlier)
and a simple rolled flower I made using the Tim Holtz Tiny Tattered Florals set.

Thanks for stopping by...Have a great weekend.

Hugs.

Wednesday, September 23, 2015

Are You Ready for Some Football? Party Supplies with Core'dinations

This is a fun set of projects I made last winter for Core'dinations and Darice. With football season upon us I thought I would share again.  This set of projects was super fun and easy to create and can be made in your favorite teams colors.  Thanks for stopping by.
football_coredinations_party_nancy-keslin
Materials needed to make your own Football Party Supplies:
football_coredinations_party_nancy keslin_supplies

Banner Instructions:

Step 1:  Create pennant template by cutting a triangle 5×7 inches.
football banner_coredinations_nancy keslin_pennant template
Step 2:  Trace template onto green Core’dinations Spotted paper.   I was able to get five pennants onto one 12×12 sheet.  For this banner you will need a total of seven pennants.
football banner_coredinations_nancy keslin_placement
Step 3:  After cutting out the pennants add strips of White paper from the Core’dinations Neutrals to create yard lines.  I cut my strips 1/4 inch wide and trimmed to fit.
football banner_coredinations_nancy keslin_stripesStep 4
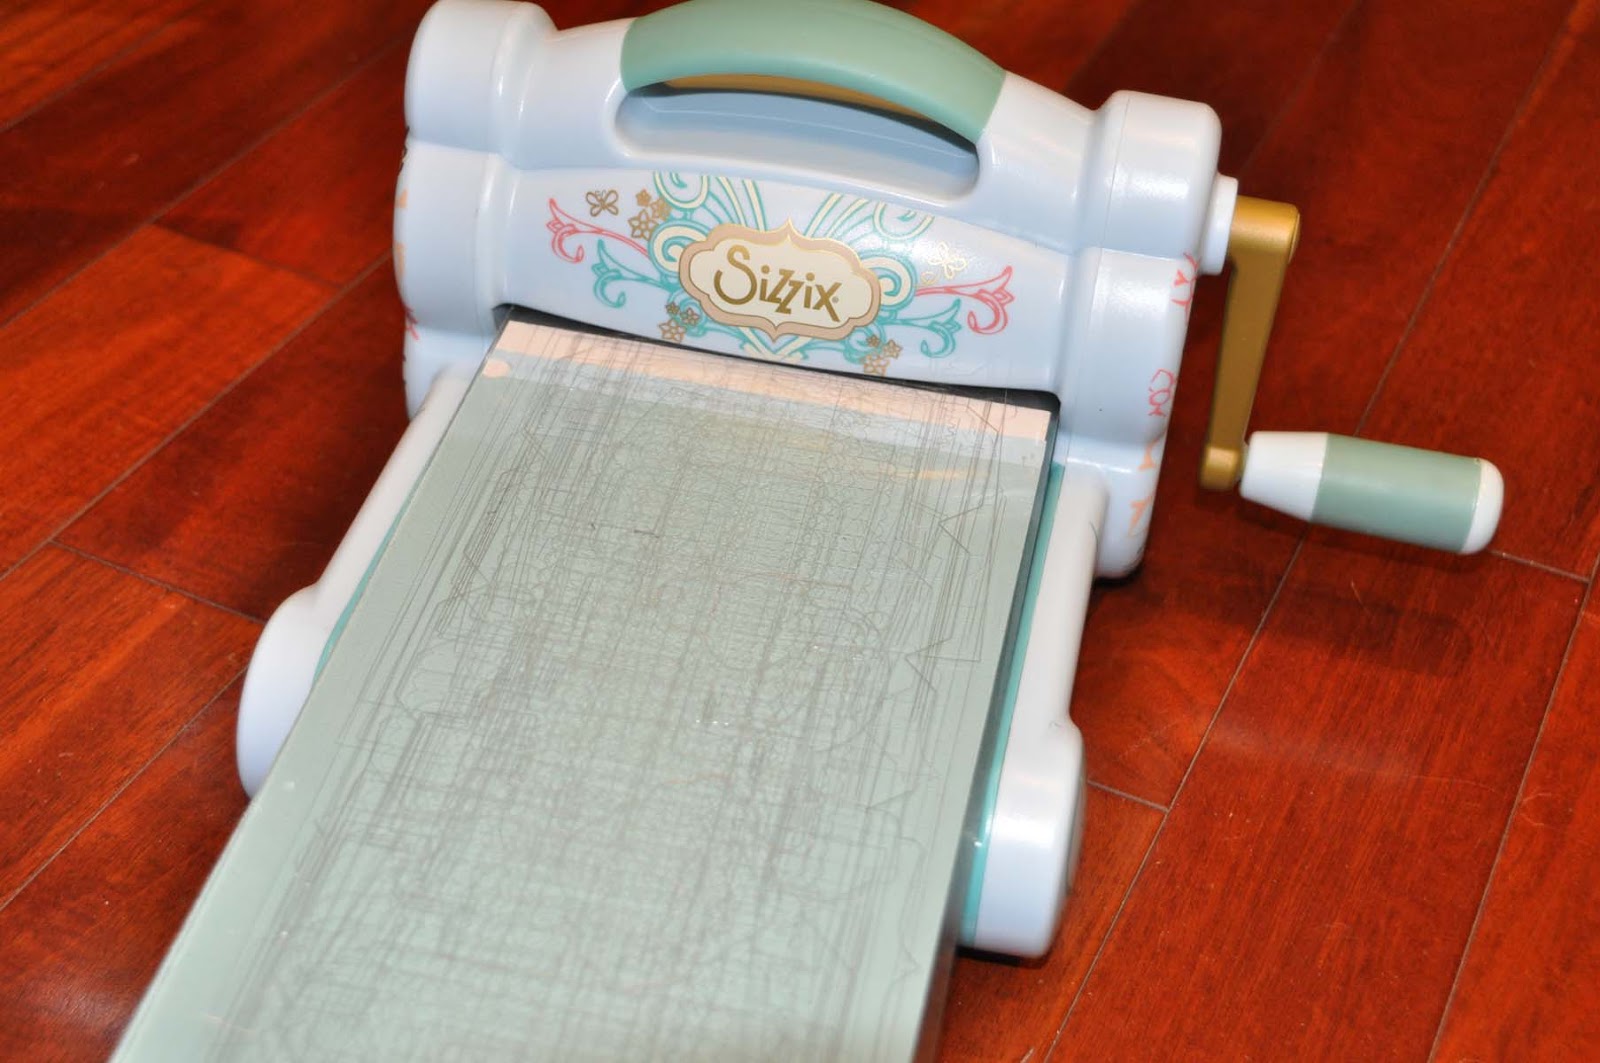
:  Use Die Cut machine or punches to create the circles and letters for each pennant from both the white Core’dinations Neutrals paper and orange Spotted paper.  The orange circles were cut to 2 1/4 inches, the white circles to 2 inches and the letters to 1 1/2 inches.
football banner_coredinations_nancy keslin_cutsStep 5:  Assemble pennants and sand lightly using the Sand-it Gadget.
football banner_coredinations_nancy keslin_layers
Step 6:  Add holes to each pennant and string together using the Darice Hemp Cord.  I also added a football that I cut using my die cut machine for added interest.
football-banner_coredinations_nancy-keslin_string

Treat Holder Instructions:

Step 1:  Cut treat holder shape with electronic cutter or by hand using templates readily available on the internet (search for “popcorn box template”) using medium brown paper from the Core’dinations Neutrals pack.
popcornbox_coredinations_nancy keslin_cutsStep 2:  Sand using the Sand-it Gadget and remove excess paper dust with the Dust Buddy.  I love how the Dust Buddy removes all the paper fibers from both my project and work space.  The sanding gives the cardstock a nice weathered texture, similar to a football.
popcornbox_coredinations_nancy keslin_distressStep 3:  To create laces on your “football” treat holder, cut strips of white cardstock from the Core’dinations Neutrals 1/4 x 1 inch.  ( you will need six strips for each box)
popcornbox_coredinations_nancy keslin_lacesStep 4:  If you would like to add additional stripes to your “football” those are also cut at 1/4 inch and can be wrapped around the box and trimmed to fit.
popcornbox_coredinations_nancy keslin_assembled
Additional project:  To create football picks for the cupcakes, or they would be fun in sandwiches, I simply cut additional footballs with my electronic cutter and attached them to toothpicks with a bit of glue.


Monday, September 21, 2015

Light Up my Teacup Gift

Hey everyone!  Happy Monday!  Today I wanted to share with you a project I made using one of my favorite Brenda Walton for Sizzix dies, The Bigz 3-D Teacup, a sheet of older Prima paper, and of course some fun electronics from Chibitronics.

I began by creating the teacup shape.  Love this shape for creating a "grown up" goodie bag and lighting it up makes it just that more special.
After creating the cup I created my parallel circuit using the copper tape from Chibitronics as an additional embellishment.
From there, it was simply a matter of hiding my battery with a few embellishments and to continue embellishing with items from my stash, Prima flowers, bling, chipboard and even a little tassle.

I really love the way this little cup turned out.  Filled with a few beautiful chocolates it made such a lovely gift.
Thanks for stopping by.

Hugs.

Friday, September 18, 2015

Welcome to Our....Buckle Boutique

Hi everyone!  Hope you have great plans for the weekend.  We are back to the normal swim meet grind around here.  But, with swim team comes backyard get togethers and I just happen to have made another sign.

Once again I chose to use my Cricut, this time to cut a stencil which I used to paint the phrase onto some old wood.  After painting I went back over a few of the words with an alcohol pen.
 To create the flames I couldn't resist using a bit of my Rhinestone Sticker Sheets from The Buckle Boutique.  I used bits of a Red Classic Sticker Sheet and a bit of a Cheetah Sticker Sheet from the Modern Surrealist Collection.
I simply drew a flame shape on the paper side of the sticker sheet and cut with scissors.  The gel rhinestones cut so easily.
Don't you love the way the red and the cheetah blend together to make a sparkly flame.

Well, hope you have a great weekend.

Hugs.

Wednesday, September 16, 2015

Grateful - Clear Scraps

Hi everyone!  Sorry I still haven't been around much.  Just not a lot of mojo with all that's been going on with family.  Today I do want to share with you a simple gretting card I made with the Belgrave Send it Clear card base from Clear Scraps.  I have been having so much fun with this line from Teresa Collins Designs and am reaching the end of the kit.  sigh
Grateful_card_clear scraps_nancy keslin
I have lots of cute little journaling cards and pocket cards lying around from many different brands and have found they are the perfect size for embellishing the beautiful Send it Clear Card shapes.
Grateful_clear scraps_nancy keslin
By adding in an extra journaling card, I was able to add not only a lovely sentiment, but a place to write a sweet note to a friend or loved one without marring the beautiful journaling card I added to the back.
Grateful_card
What is your favorite way to embellish cards?  How do you use your journaling and pocket page cards?

Hugs

Wednesday, September 9, 2015

Magical Disney Mixable - Clear Scraps

Hi everyone!  Sorry I have been such a slacker, but as you may or may not know my father and step mother were involved in a motorcycle accident...they were hit by a drunk driver.  I have been spending quite a bit of time in the ICU and haven't really had much of an opportunity to share.  That said, today I want to share with you a mini album I made using the super cute Mixable Magical 8x9 Album, back before the accident.
Memories_clear scraps_nancy keslin_mini album
I really like the iconic shapes that are included in this mini, fun Mickey head, camera, and castle...this is the perfect mini to document your Disney vacation.  
Memories_clear scraps_mini album_nancy keslin

I love that this album is 8x9.  The size allows me the opportunity to add plenty of photos.  And who doesn't have a ton of photos when they vacation.
Memories_clear scraps_mini album_nancy keslin_2

And the different sizes and shapes add lots of opportunity for "peek a boos" and follow throughs.  So fun and interesting.
Memories_clear scraps_mini album_nancy keslin3
Now that I am back from my Disney Vacation I can't wait to add lots of photos.  It was so fun mixing all the cute Disney papers and embellishments I have had in  my stash.

Thanks for stopping by today.


Wednesday, September 2, 2015

Adults at Play Yard Sign

Hey everyone!  Sorry I haven't been around much.  I have had some crazy family stuff happen.  If you are curious, you can check out my Facebook.

Anyway.....A few weeks ago I had a few friends over for a Tiki party in the backyard...anyway, a few of these so called friends said that I needed signs for the backyard.  um....ok.  Well, recently I have been trying my hand at vinyl and thought I ould make myself this sign.

I made this with Orcal 651 which should be permanent...but not sure of how it will hold up on this textured cutting board.  Oh well.....It looks ok for now (yes, I know the lines are a bit crooked, but you should try to get that vinyl onto a textured surface, ugh...no onoe warned me).  lol

You can find a free copy of the .svg file here.  And I already have a few more signs in the works.  These will be wood...not sure out of vinyl, may just make a stencil and paint....hmmmmmm Which do you think I should do?

Hugs.