Showing posts with label shabby chic. Show all posts

Wednesday, May 6, 2015

Shabby Little Paper Bag Pockets

Hey everyone!  Happy Wednedsay.  Today I wanted to stop by and share a shabby chic paper bag pocket and tags I made for a swap I was in.
 Filled with beautiful papers, resins, hand dyed lace and seam binding, these tags make my shabby heart sing.
I love this older Almanac paper from Prima Marketing.   I have been hoarding some of the items for years.
I of course used lots of inking and bits of  everything I had, some hand colored designs and of course some mini roses and stick pins.
I really hope she liked it all.

Hugs.

Monday, April 27, 2015

Carte Recipe Box

hi everyone!  hope you had a great weekend, we had a busy one here.  can't believe we are already gearing up for cabana swim and summer time.  we spent the weekend cleaning the patio and getting the furniture ready for the season...whose idea was it to have so much wood furniture anyway.  lol

well, anyway....today I wanted to share with you a cute little recipe box i made using some prima papers and a new Sizzix die, recipe box, from eileen hull.

this is some older prima paper and chipboard, the almanac collection.  still working through the stash. 
this little box is the perfect size for little atg cards, small photos,

I always have little photos lying around that need to find a home, and i think this is just the place.

hugs.

Friday, March 13, 2015

Pretty Little Jar

Hi everyone!  Happy Friday.  I hope you have fun plans for the weekend.   Today I wanted to stop by and share with you a project I made for the Lindy's Stamp Gang Color Challenge.
I really loved the colors this month...and how adorable is that photo.

I used a jar that some Crate Paper embellishments came in as the base of my project.  I love that the jar is plastic, so I don't need to worry about breakage...and it can hold all those little bits and pieces that are left on my desk after a project.

I used some of the Marion Smith Color Lab colors in Vintage Rose and Coral Shine, mixed with Mod Podge to paint the jar.  Then the fun began.  I sprayed the tag with some Bonjour Butter and Cape Cod Coral Starburst then embossed with C'est La Vie Cerise embossing powder.

I used more of the sprays to color my flowers, and finished with a seam binding bow colored with Clam Bake Beige and a few stick pins.

This little lovely is already perched on my desktop filled with bits and baubles...and it makes me happy every day.

Monday, August 4, 2014

Mixed Up Chipboard Mini - Clear Scraps

Hi everyone!  Today I want to share with you a fun album I made using the All Mixed Up chipboard album from Clear Scraps.   What?  You didn't know that Clear Scraps had chipboard albums?  Clear Scraps makes a fun variety of mini albums; acrylic, mixables, and chipboard.  So much fun.
.Mixed up_mini album_clear scraps_nancy keslin_cover
I filled my mini with papers from Authentique and lots of beautiful trims, flowers, and doilies.  And of course lots of inking to age everything just a bit.
Mixed up_mini album_clear scraps_nancy keslin_1
The doilies were made using a new die from Prima.  Not sure if I need new plates, but I had to run the papers through my Sizzix machine a number of times to get it to cut.  sigh  Of course, they are so beautiful, it was totally worth it.
Mixed up_mini album_clear scraps_nancy keslin_4
I love the Harmony collection from Authentique...mixed with a few items from my stash and lots of ink, they fill my need to make things shabby.  
Mixed up_mini album_clear scraps_nancy keslin_5
Of course, I couldn't keep the pages flat, so many flowers, resins, and pop dots, I had to add my own binder rings.  Luckily you can purchase them in many different sizes.  lol
Mixed up_mini album_clear scraps_nancy keslin_6
I hope you enjoy this project.  And be sure to check out all the album types that Clear Scraps makes.


Thursday, August 15, 2013

Vintage Mint - Hydrangea Hippo

Hi everyone, today I want to share with you the inside pages of the mini album I shared a few weeks ago.  You can see that post here where I go step by step through the process of building the album.  But, as promised I am back today to share some of the inside pages.
nancykeslin_hydrangea hippo_july kit_album cover
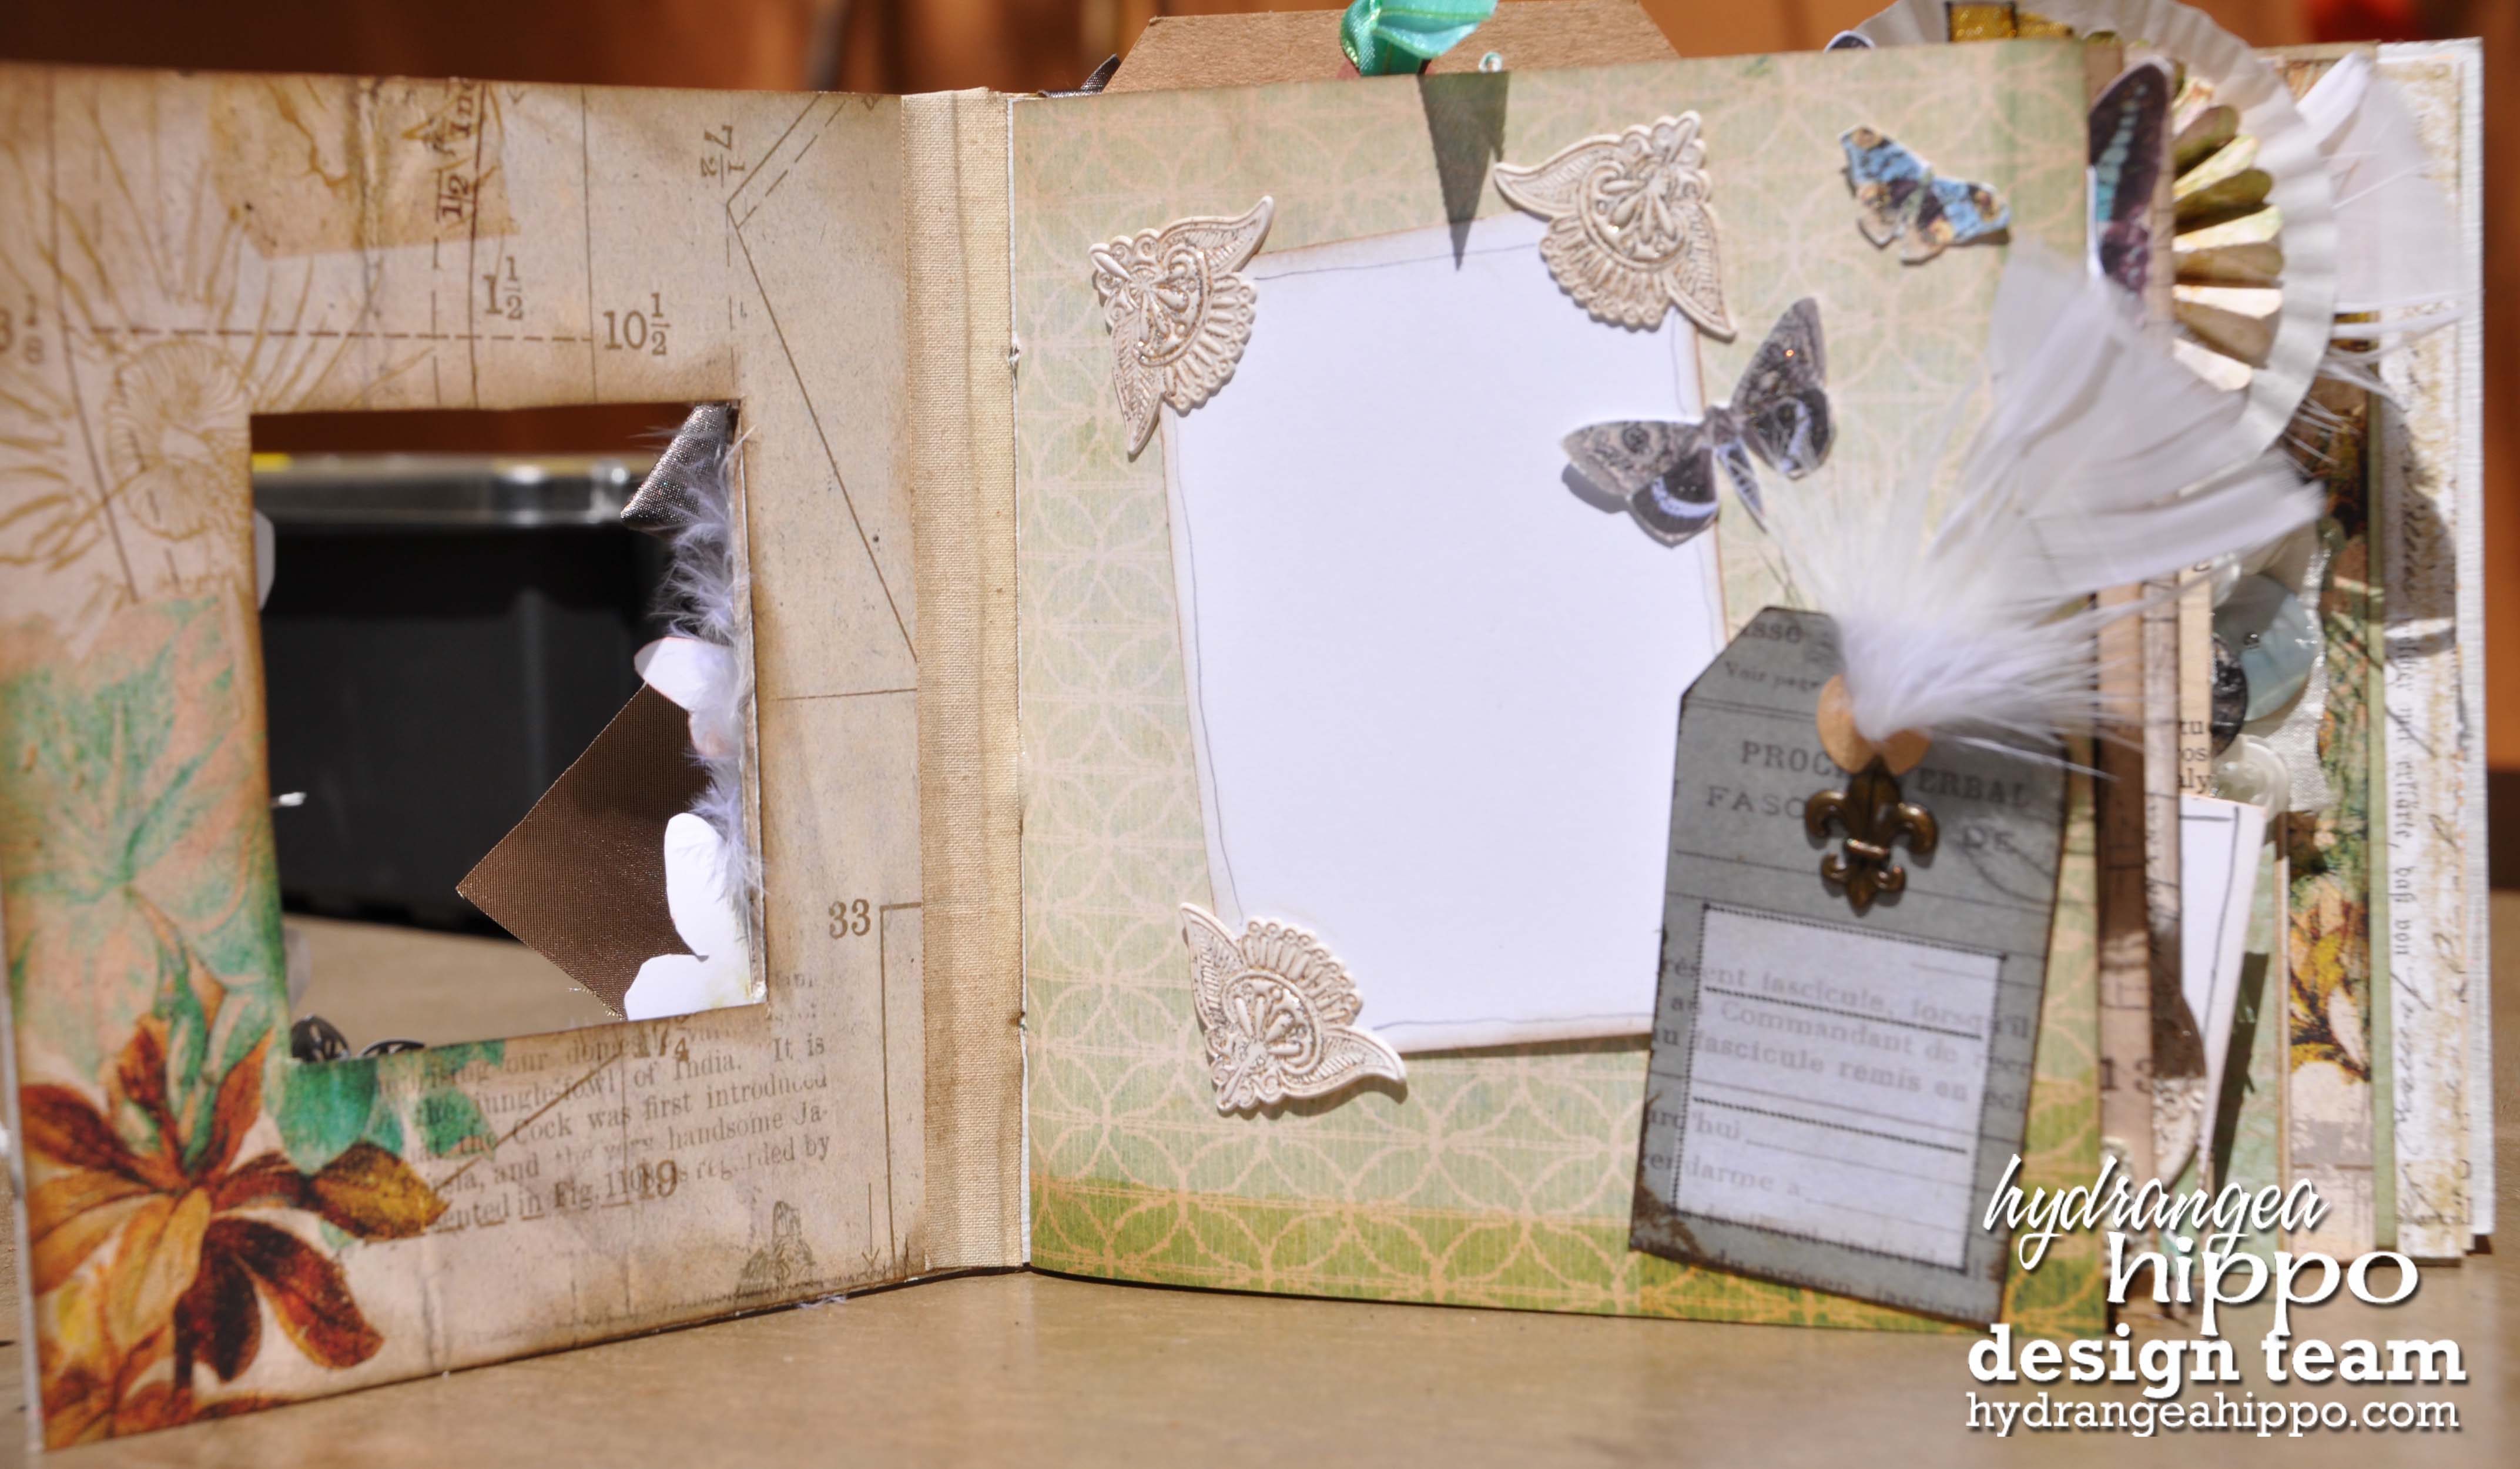
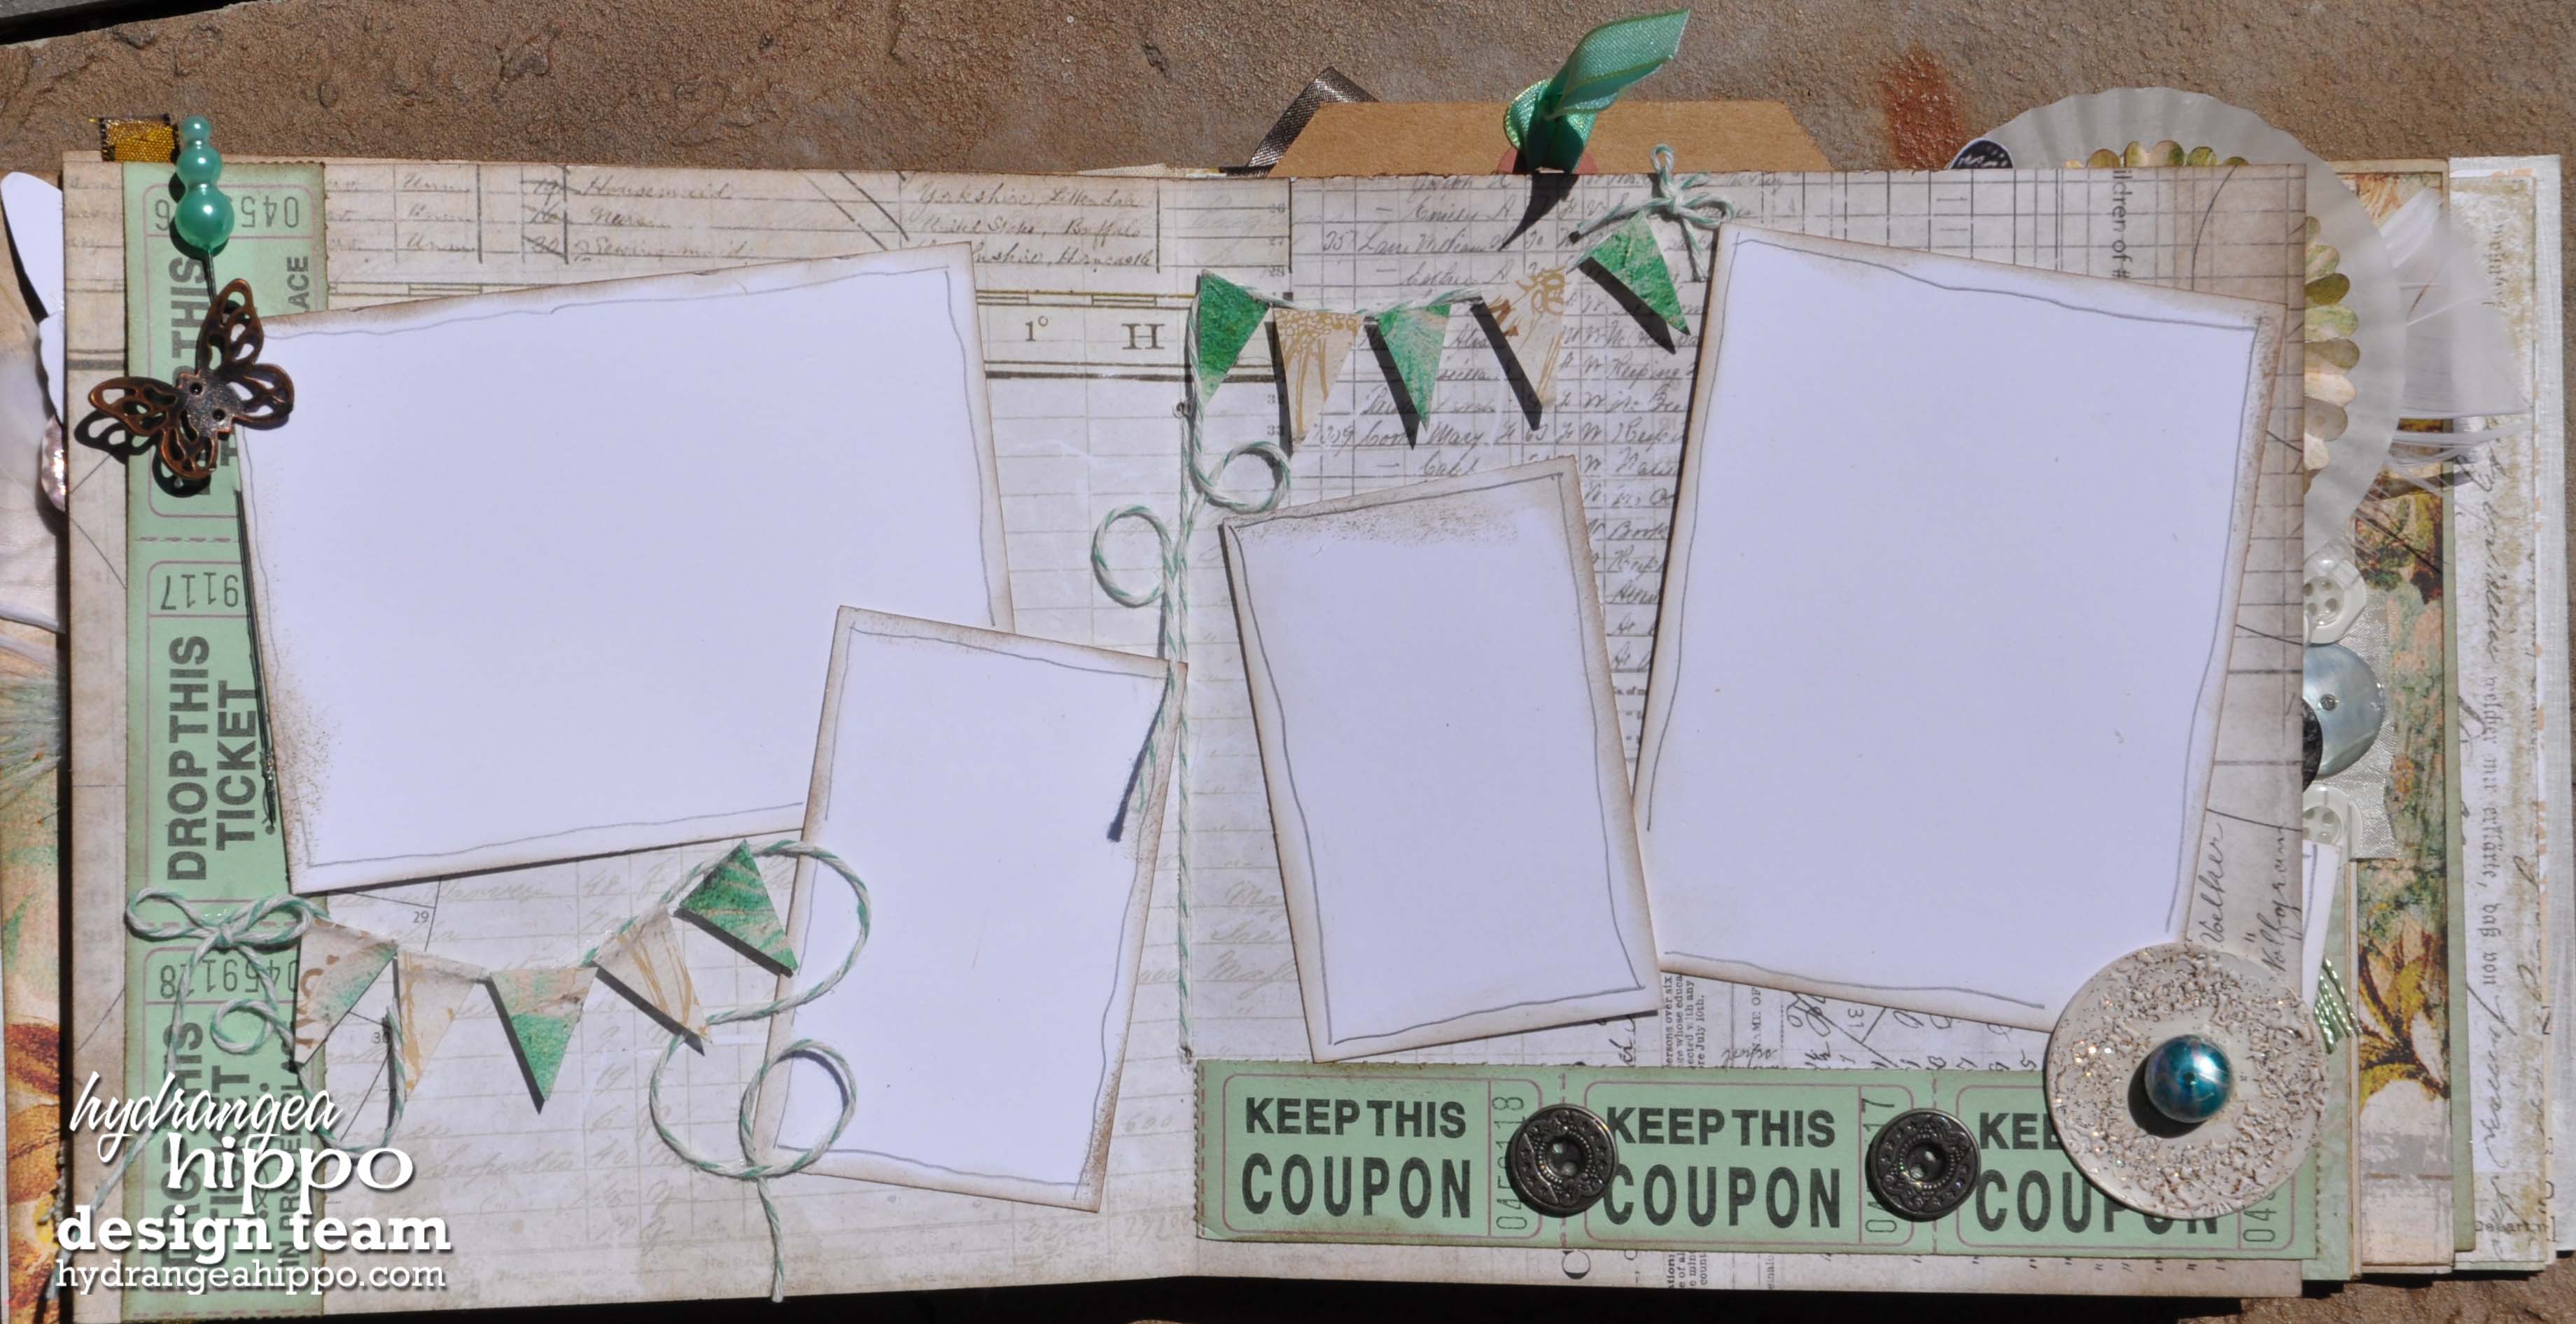
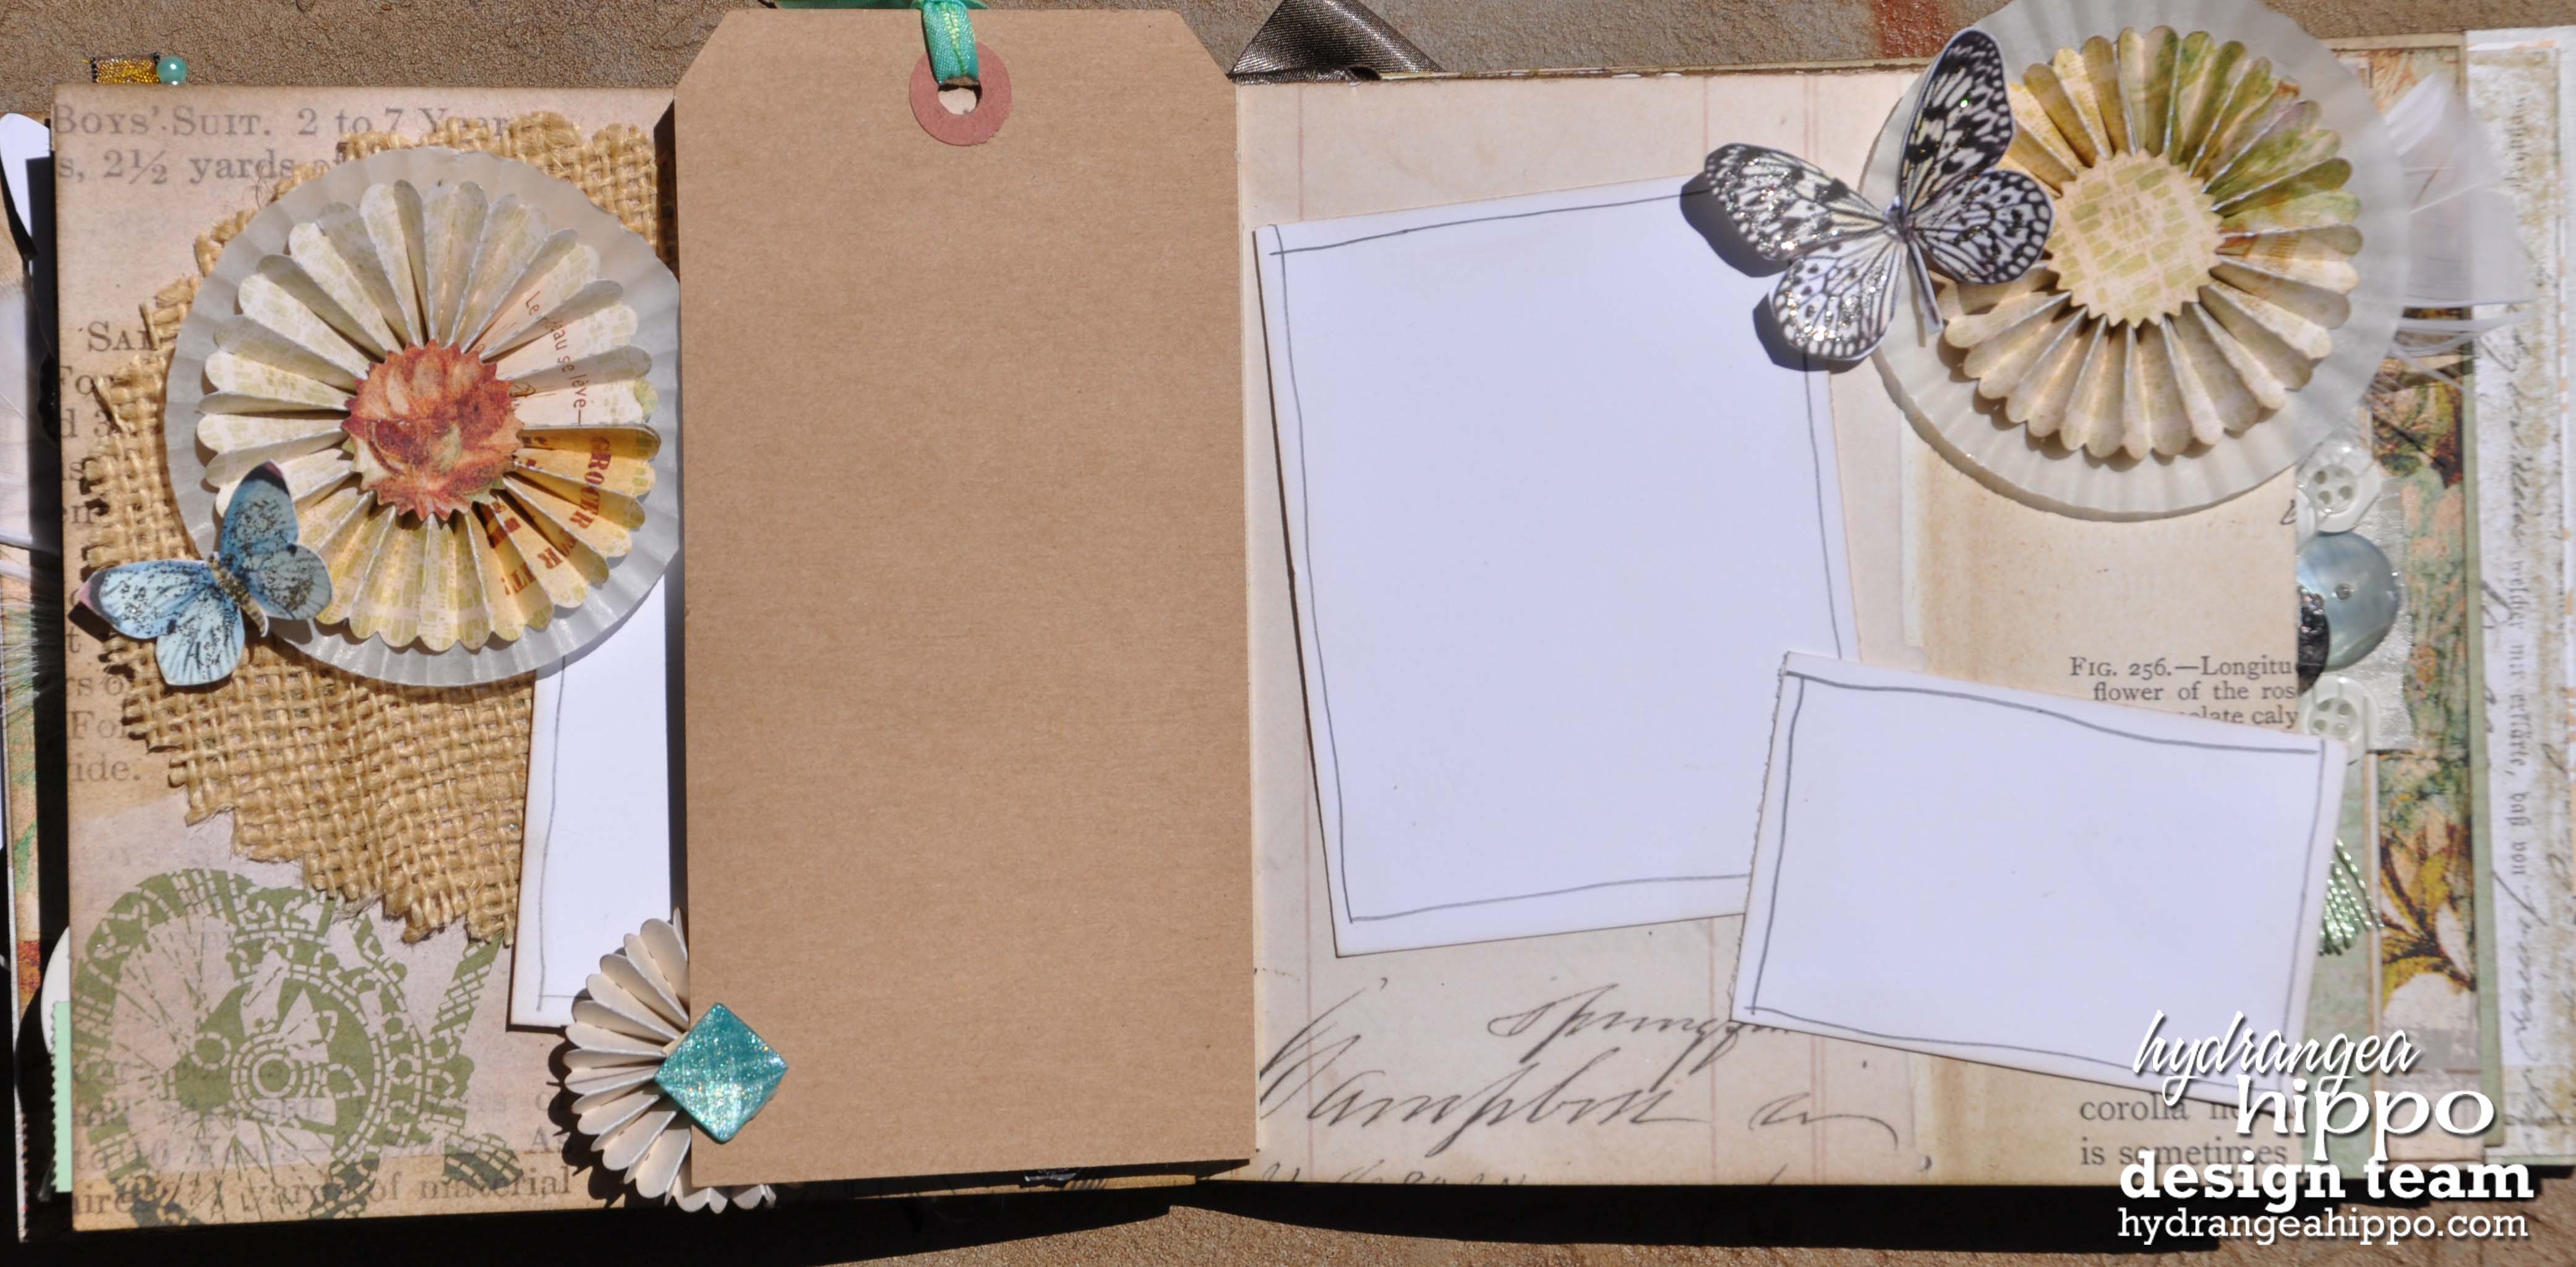
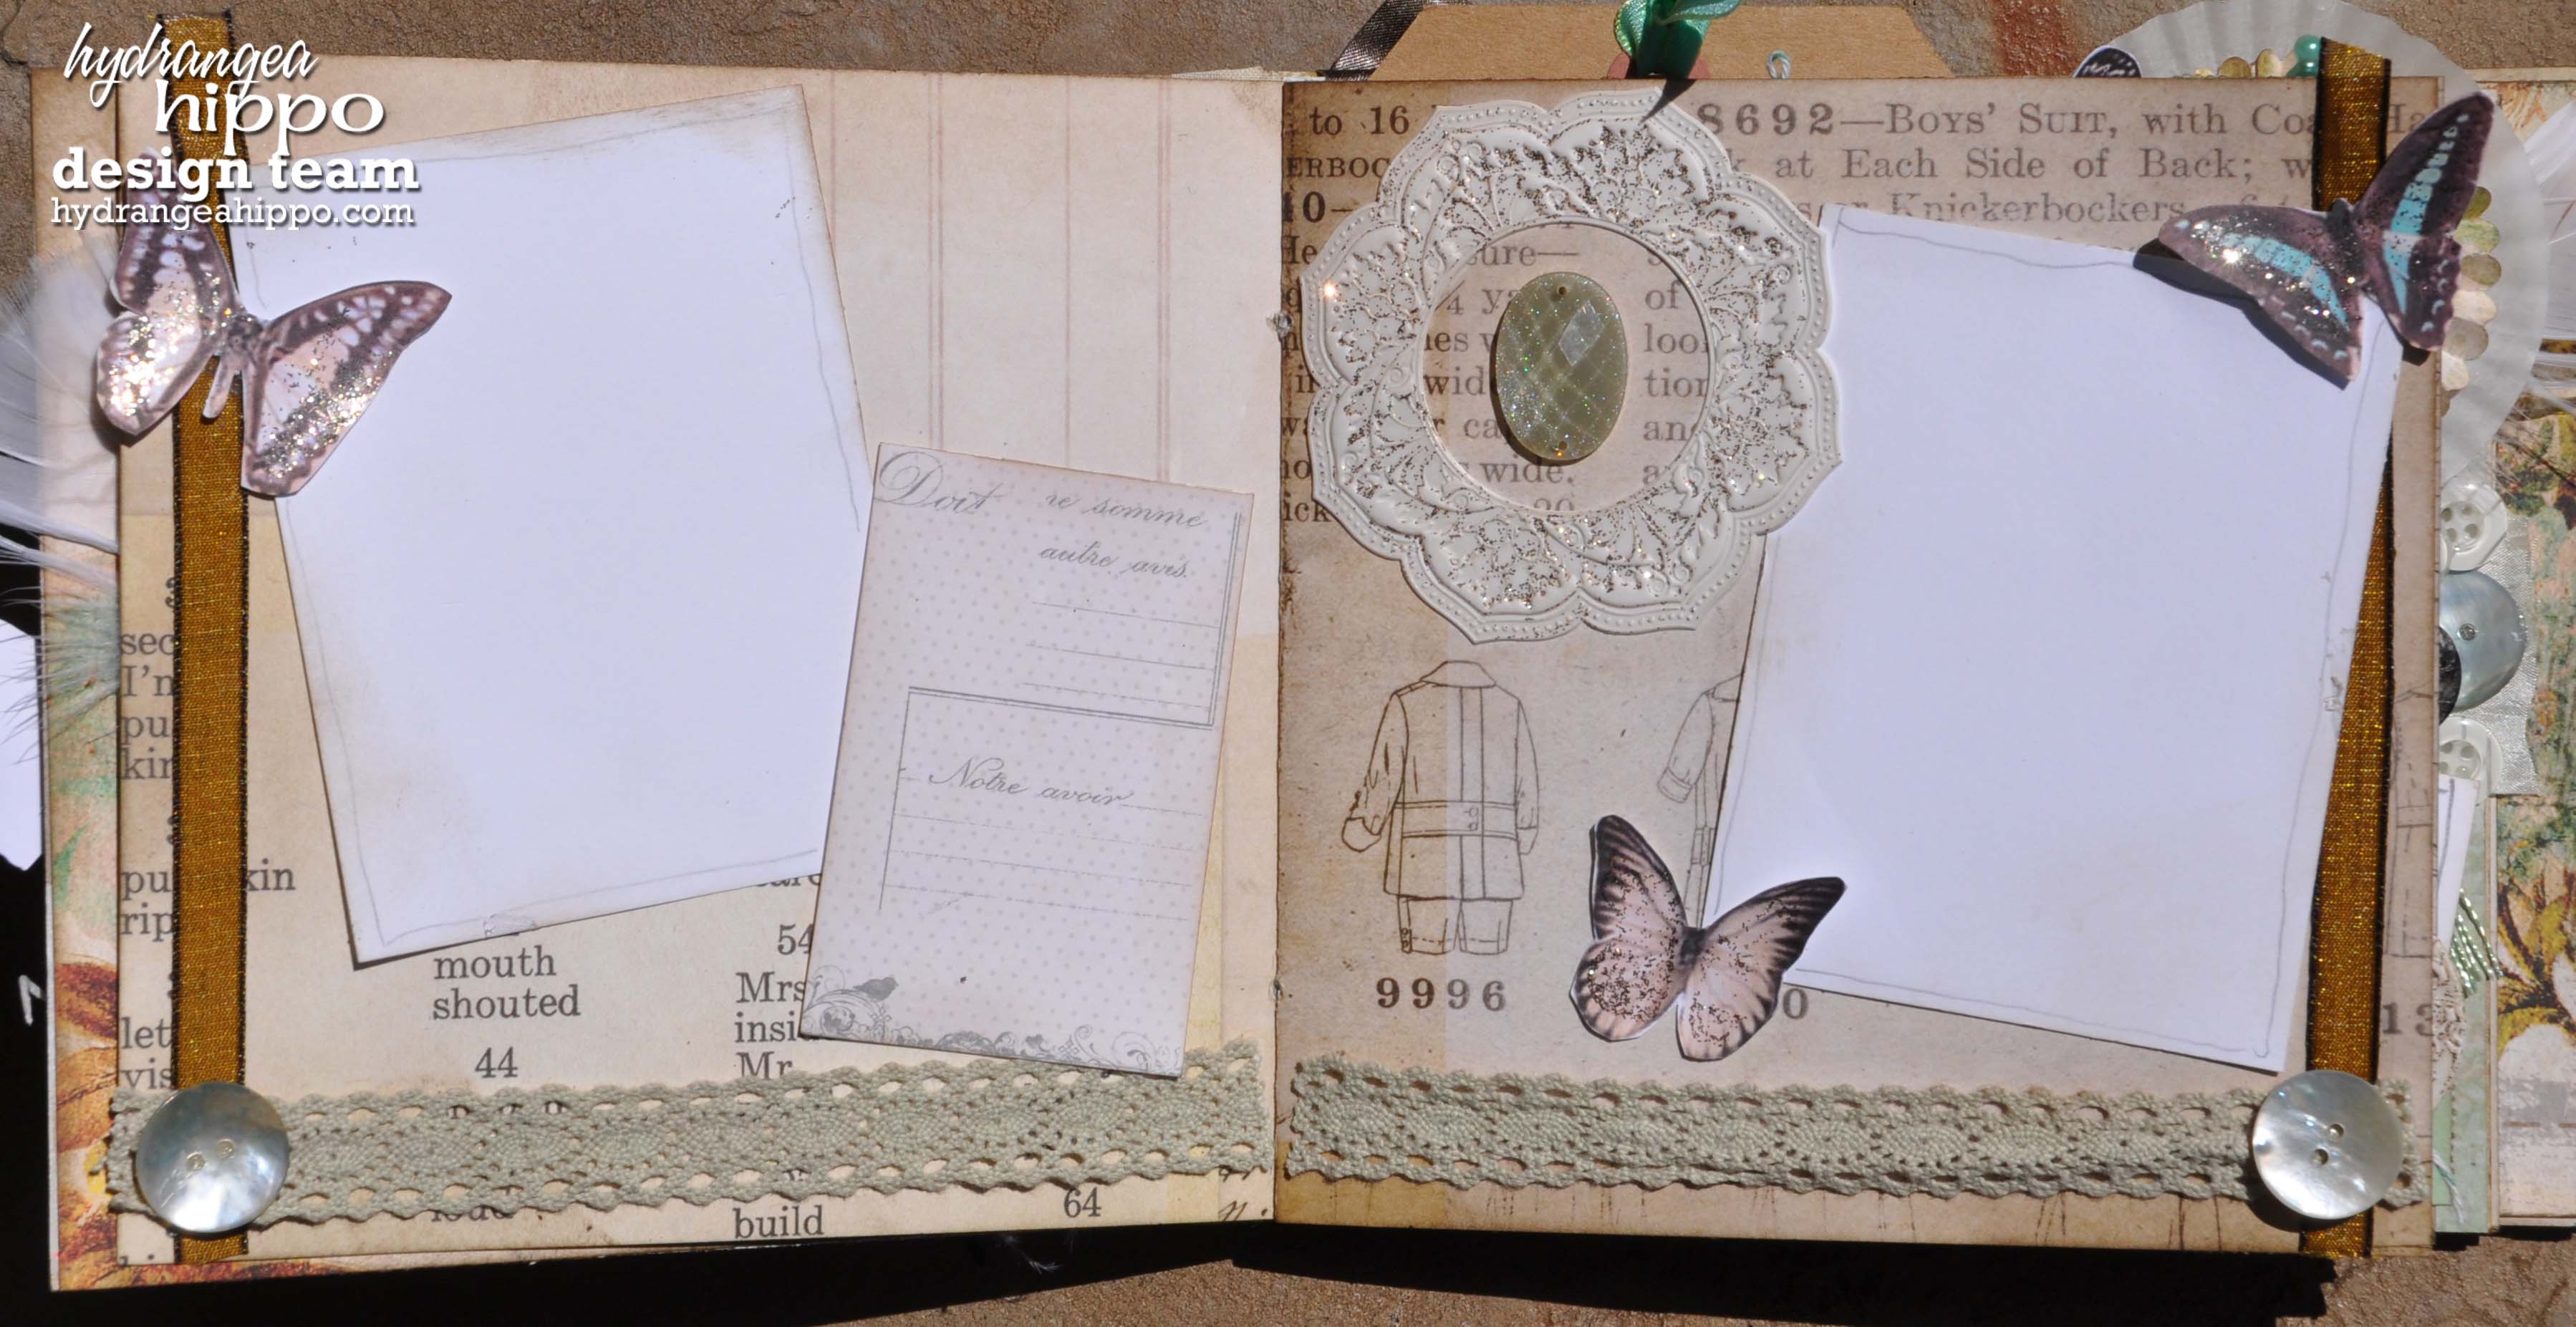
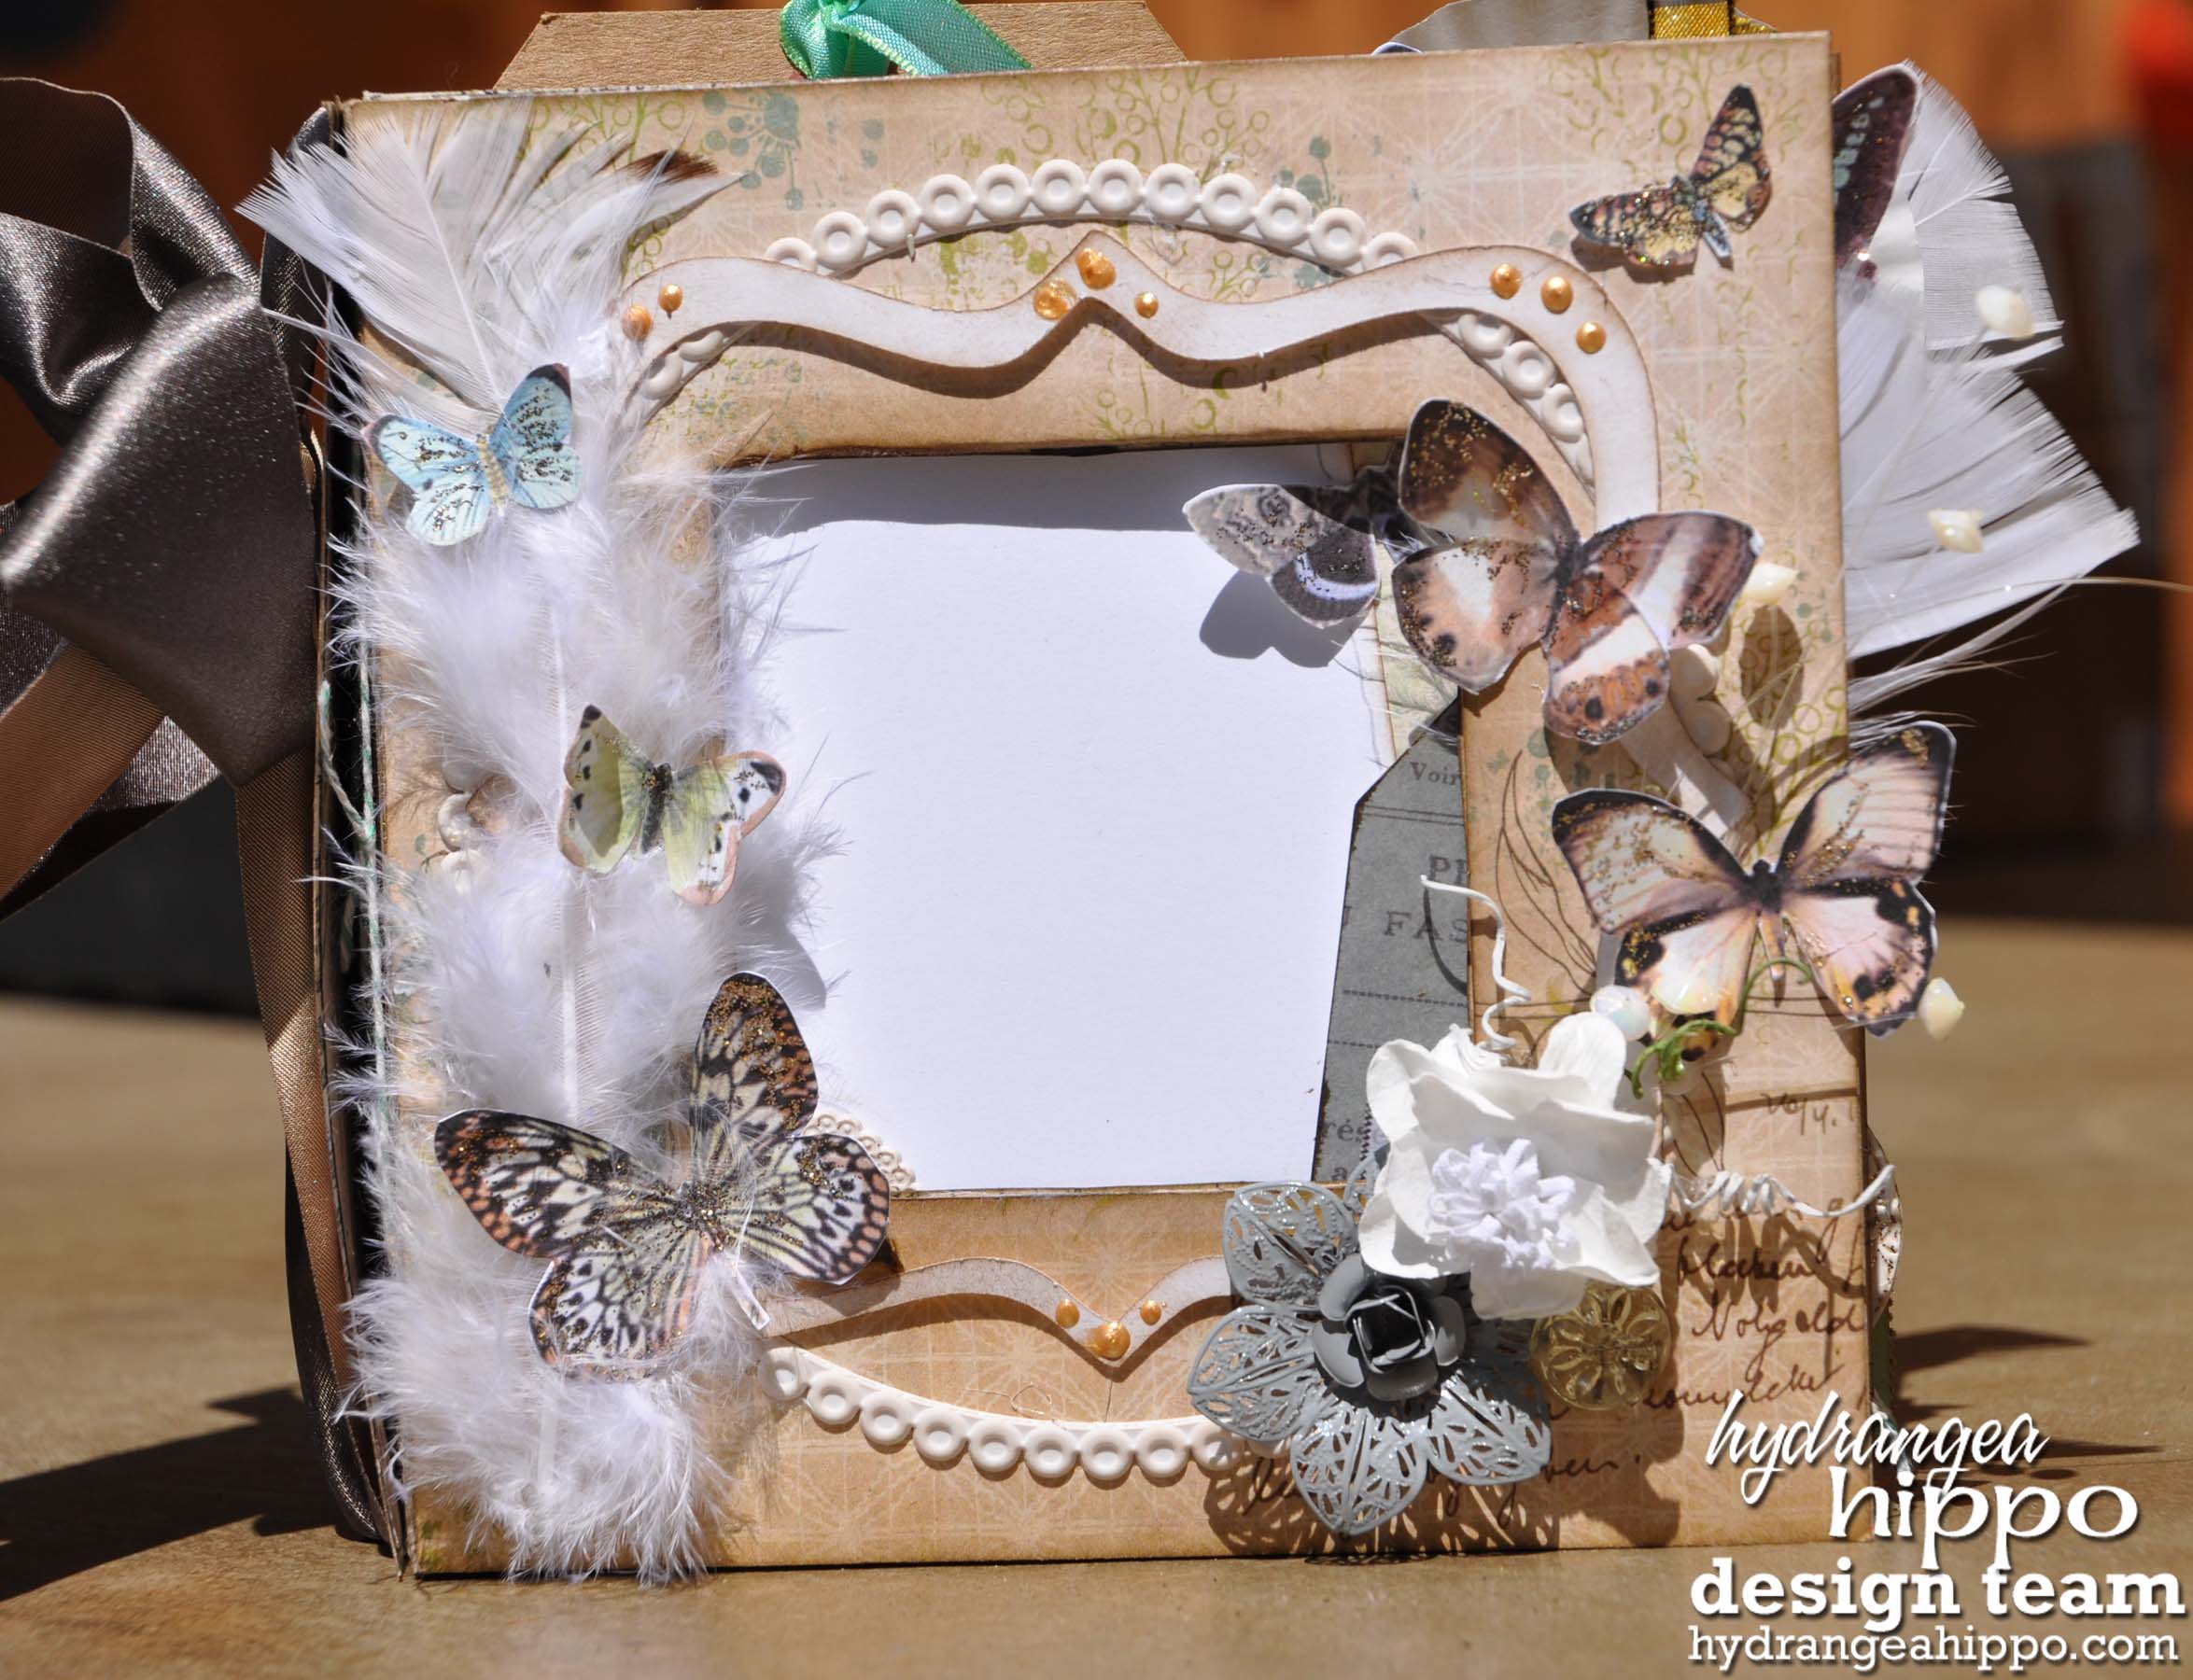
The Vintage Mint Creativity kit, is just full of so many beautiful items.  The gorgeous Pink Paislee papers, beautiful flowers, trims, buttons and doo dads….swoon.  I reallly do so love this book
nancykeslin_hydrangeahippo_vintagemint_min1
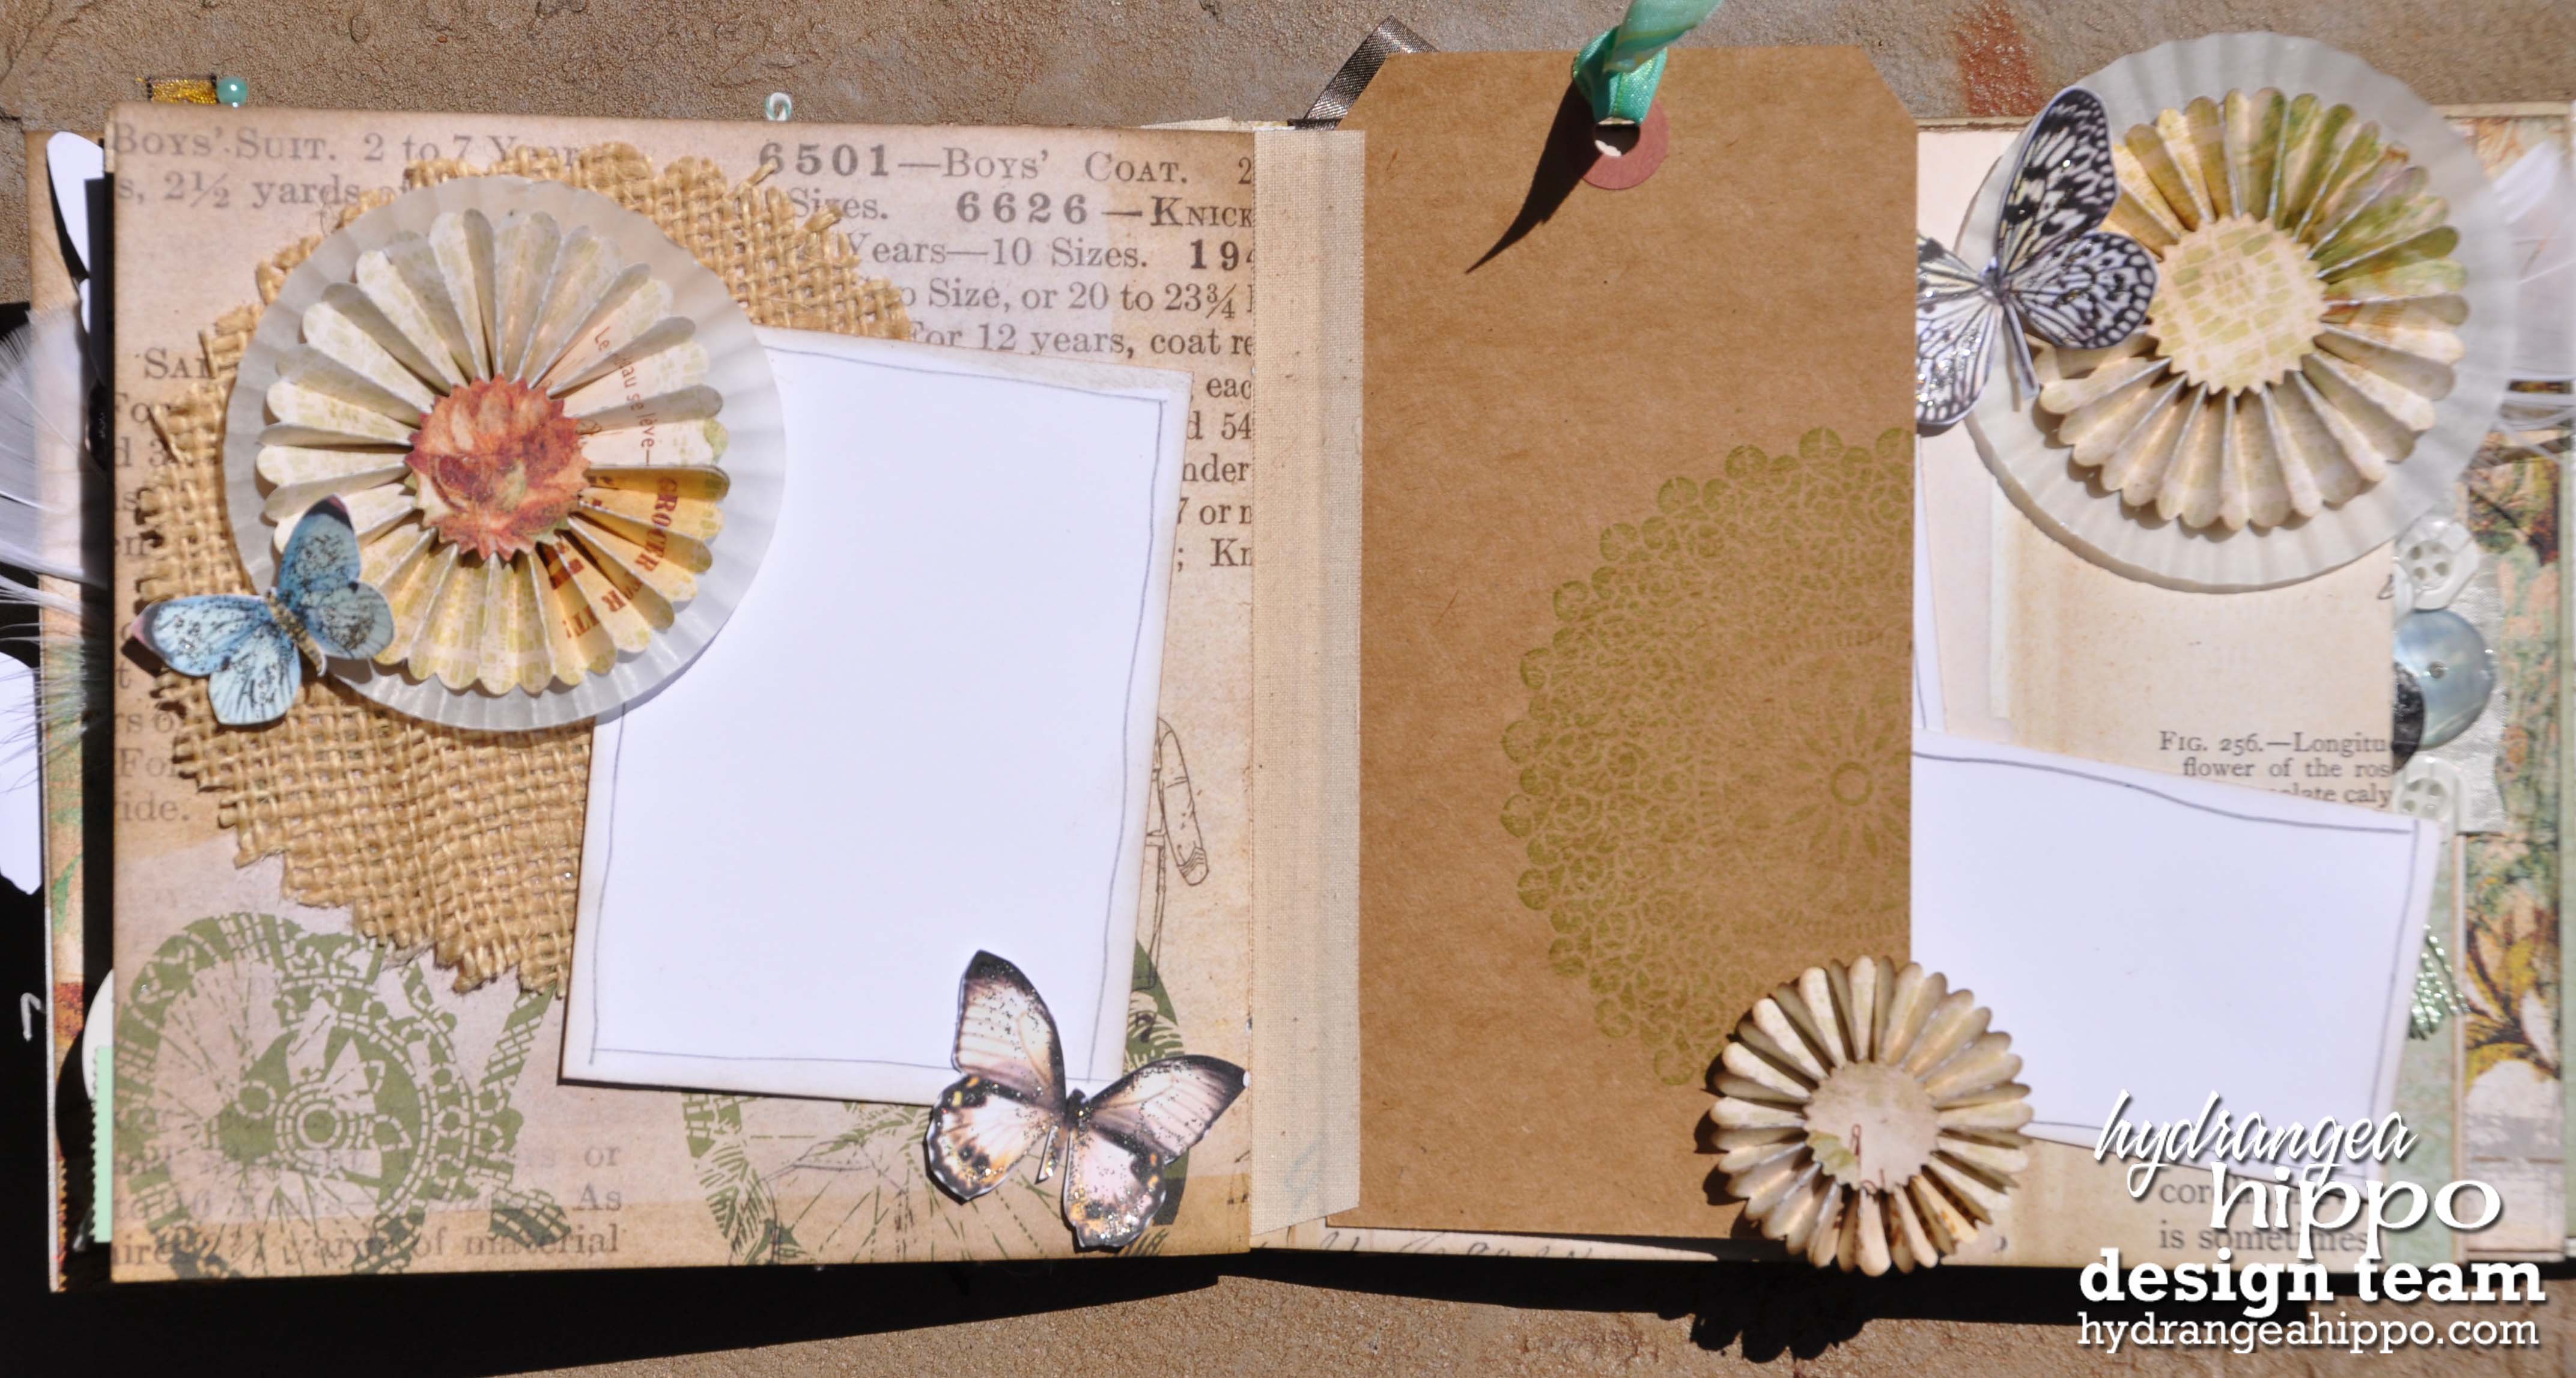
 I also printed and cut a number of butterflies from the internet.
nancykeslin_hydrangeahippo_vintagemint_mini6
 nancykeslin_hydrangeahippo_vintagemint_mini7
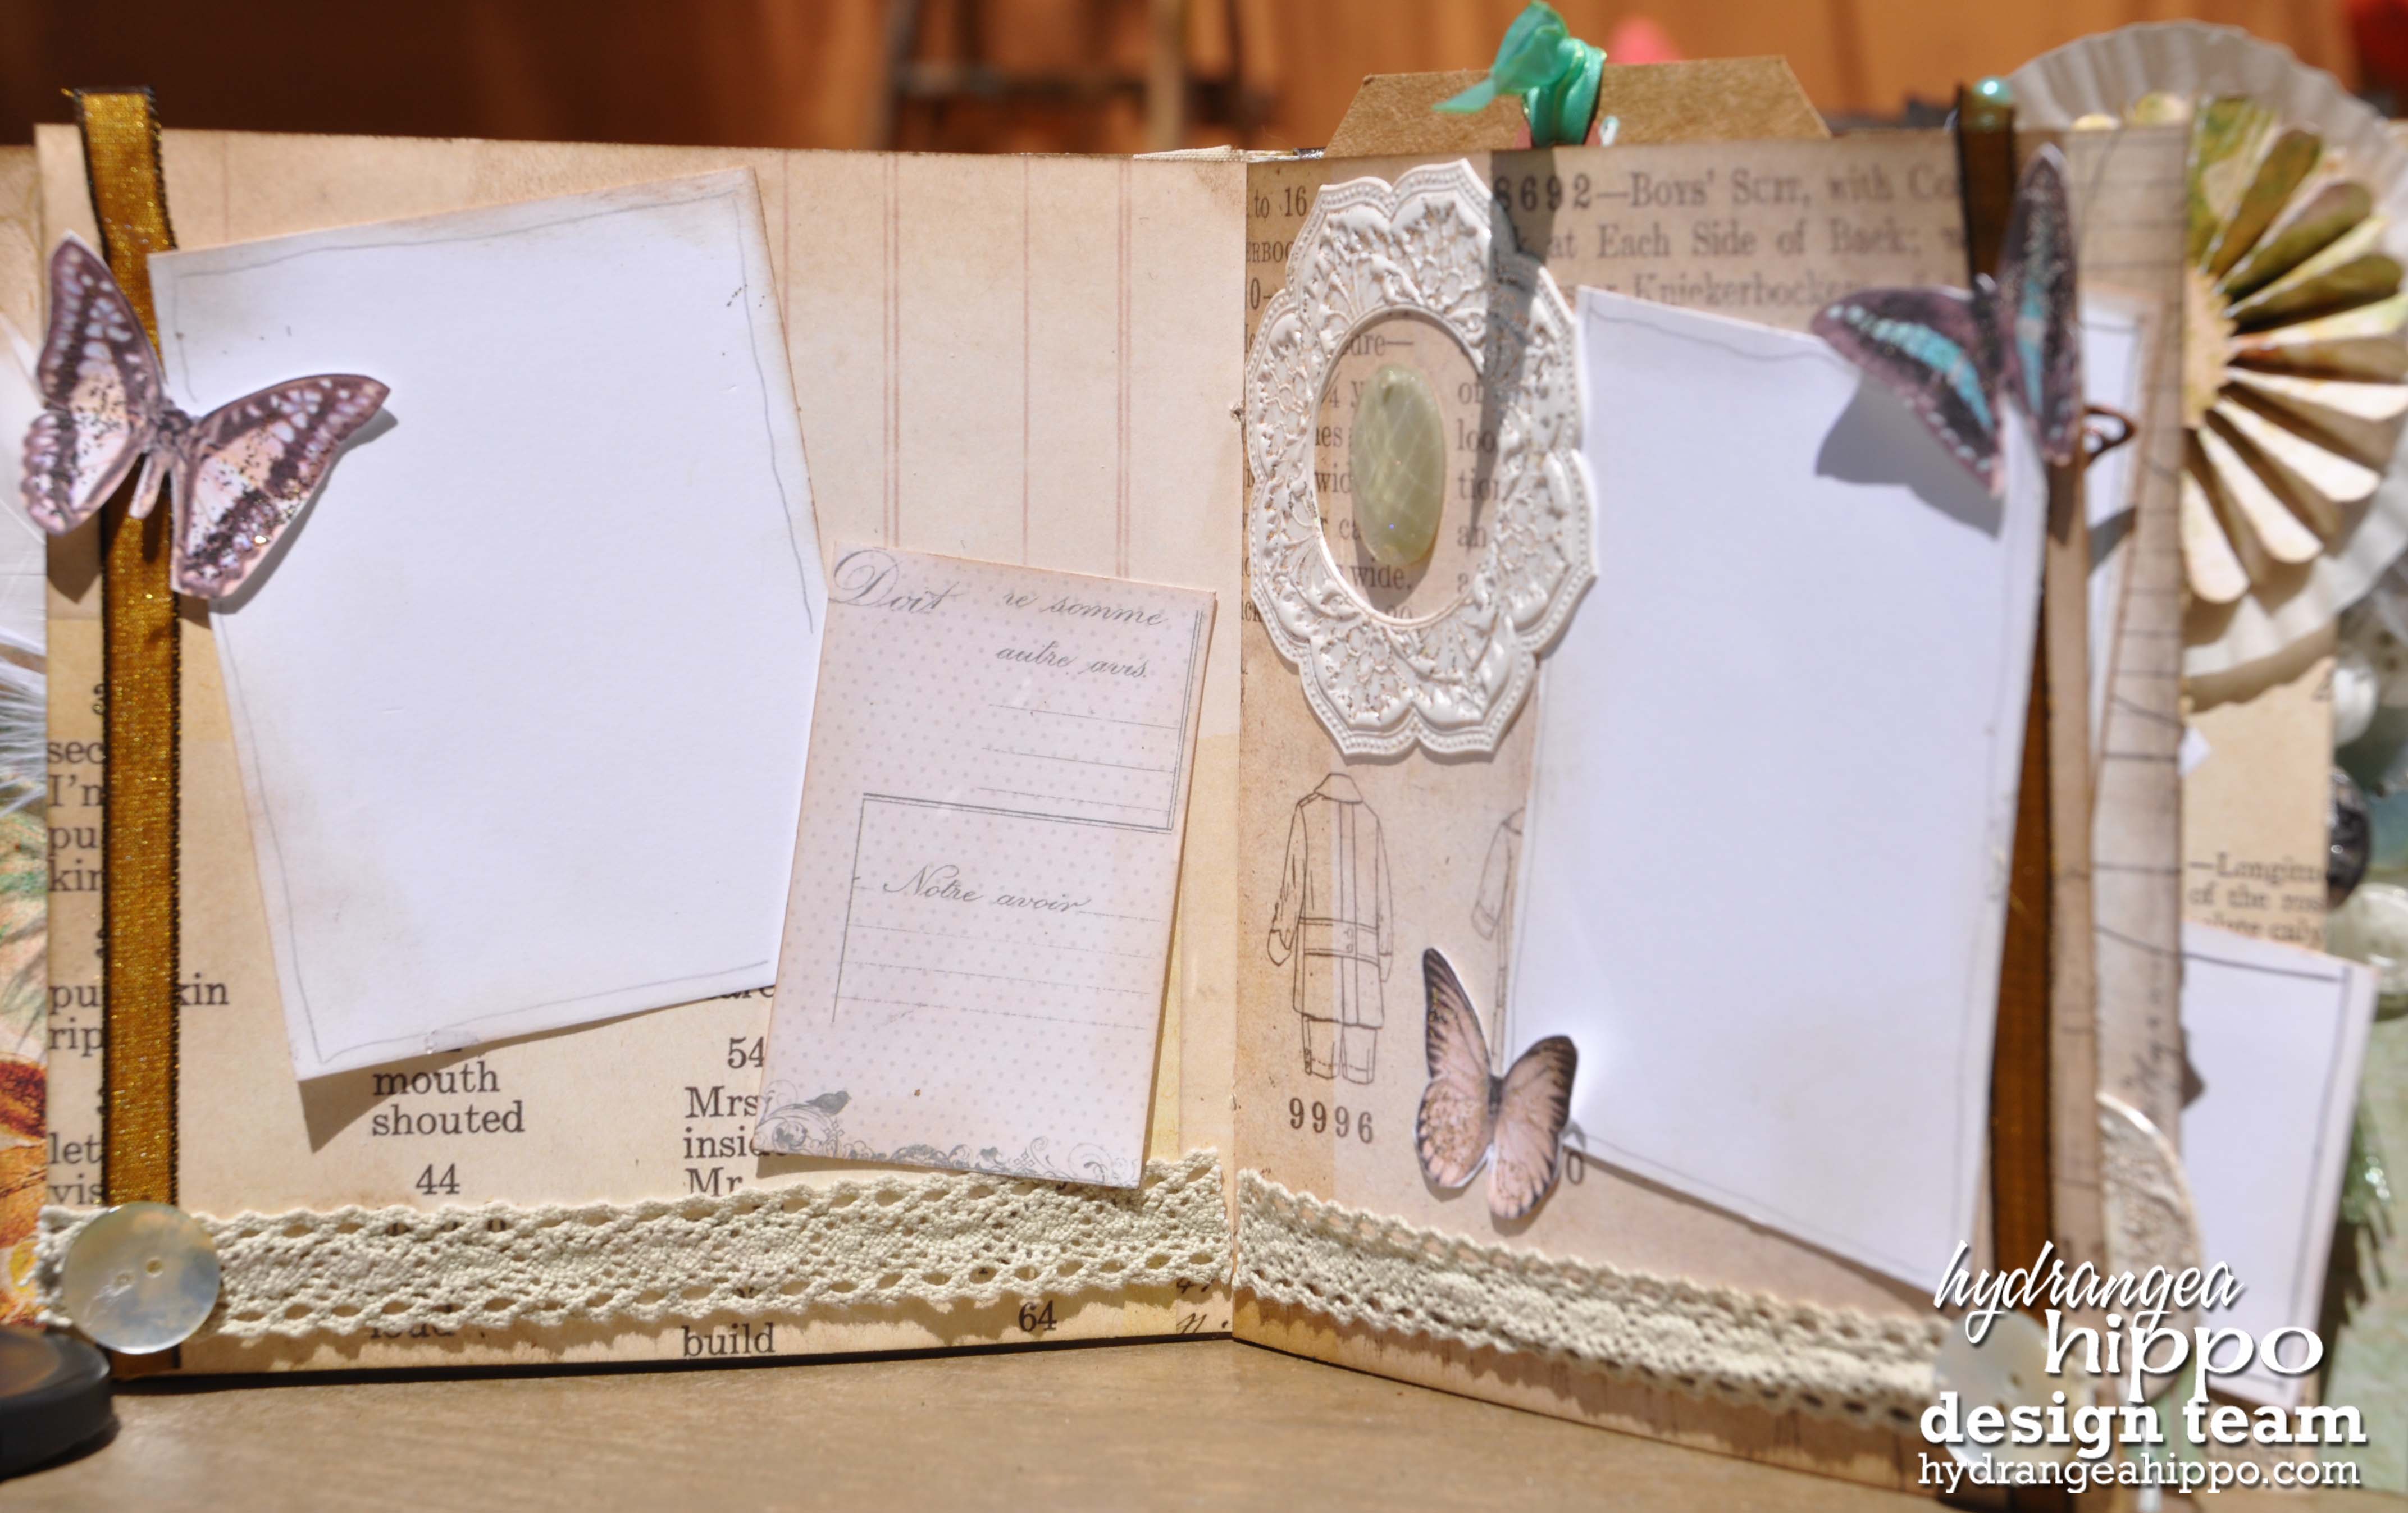
Super fun vinyl pieces mix beautifully with the gorgeous feathers and buttons….
nancykeslin_hydrangeahippo_vintagemint_min3
and of course the kit is full of some of the most gorgeous trims, tags and baubles.
nancykeslin_hydrangeahippo_vintagemint_min4
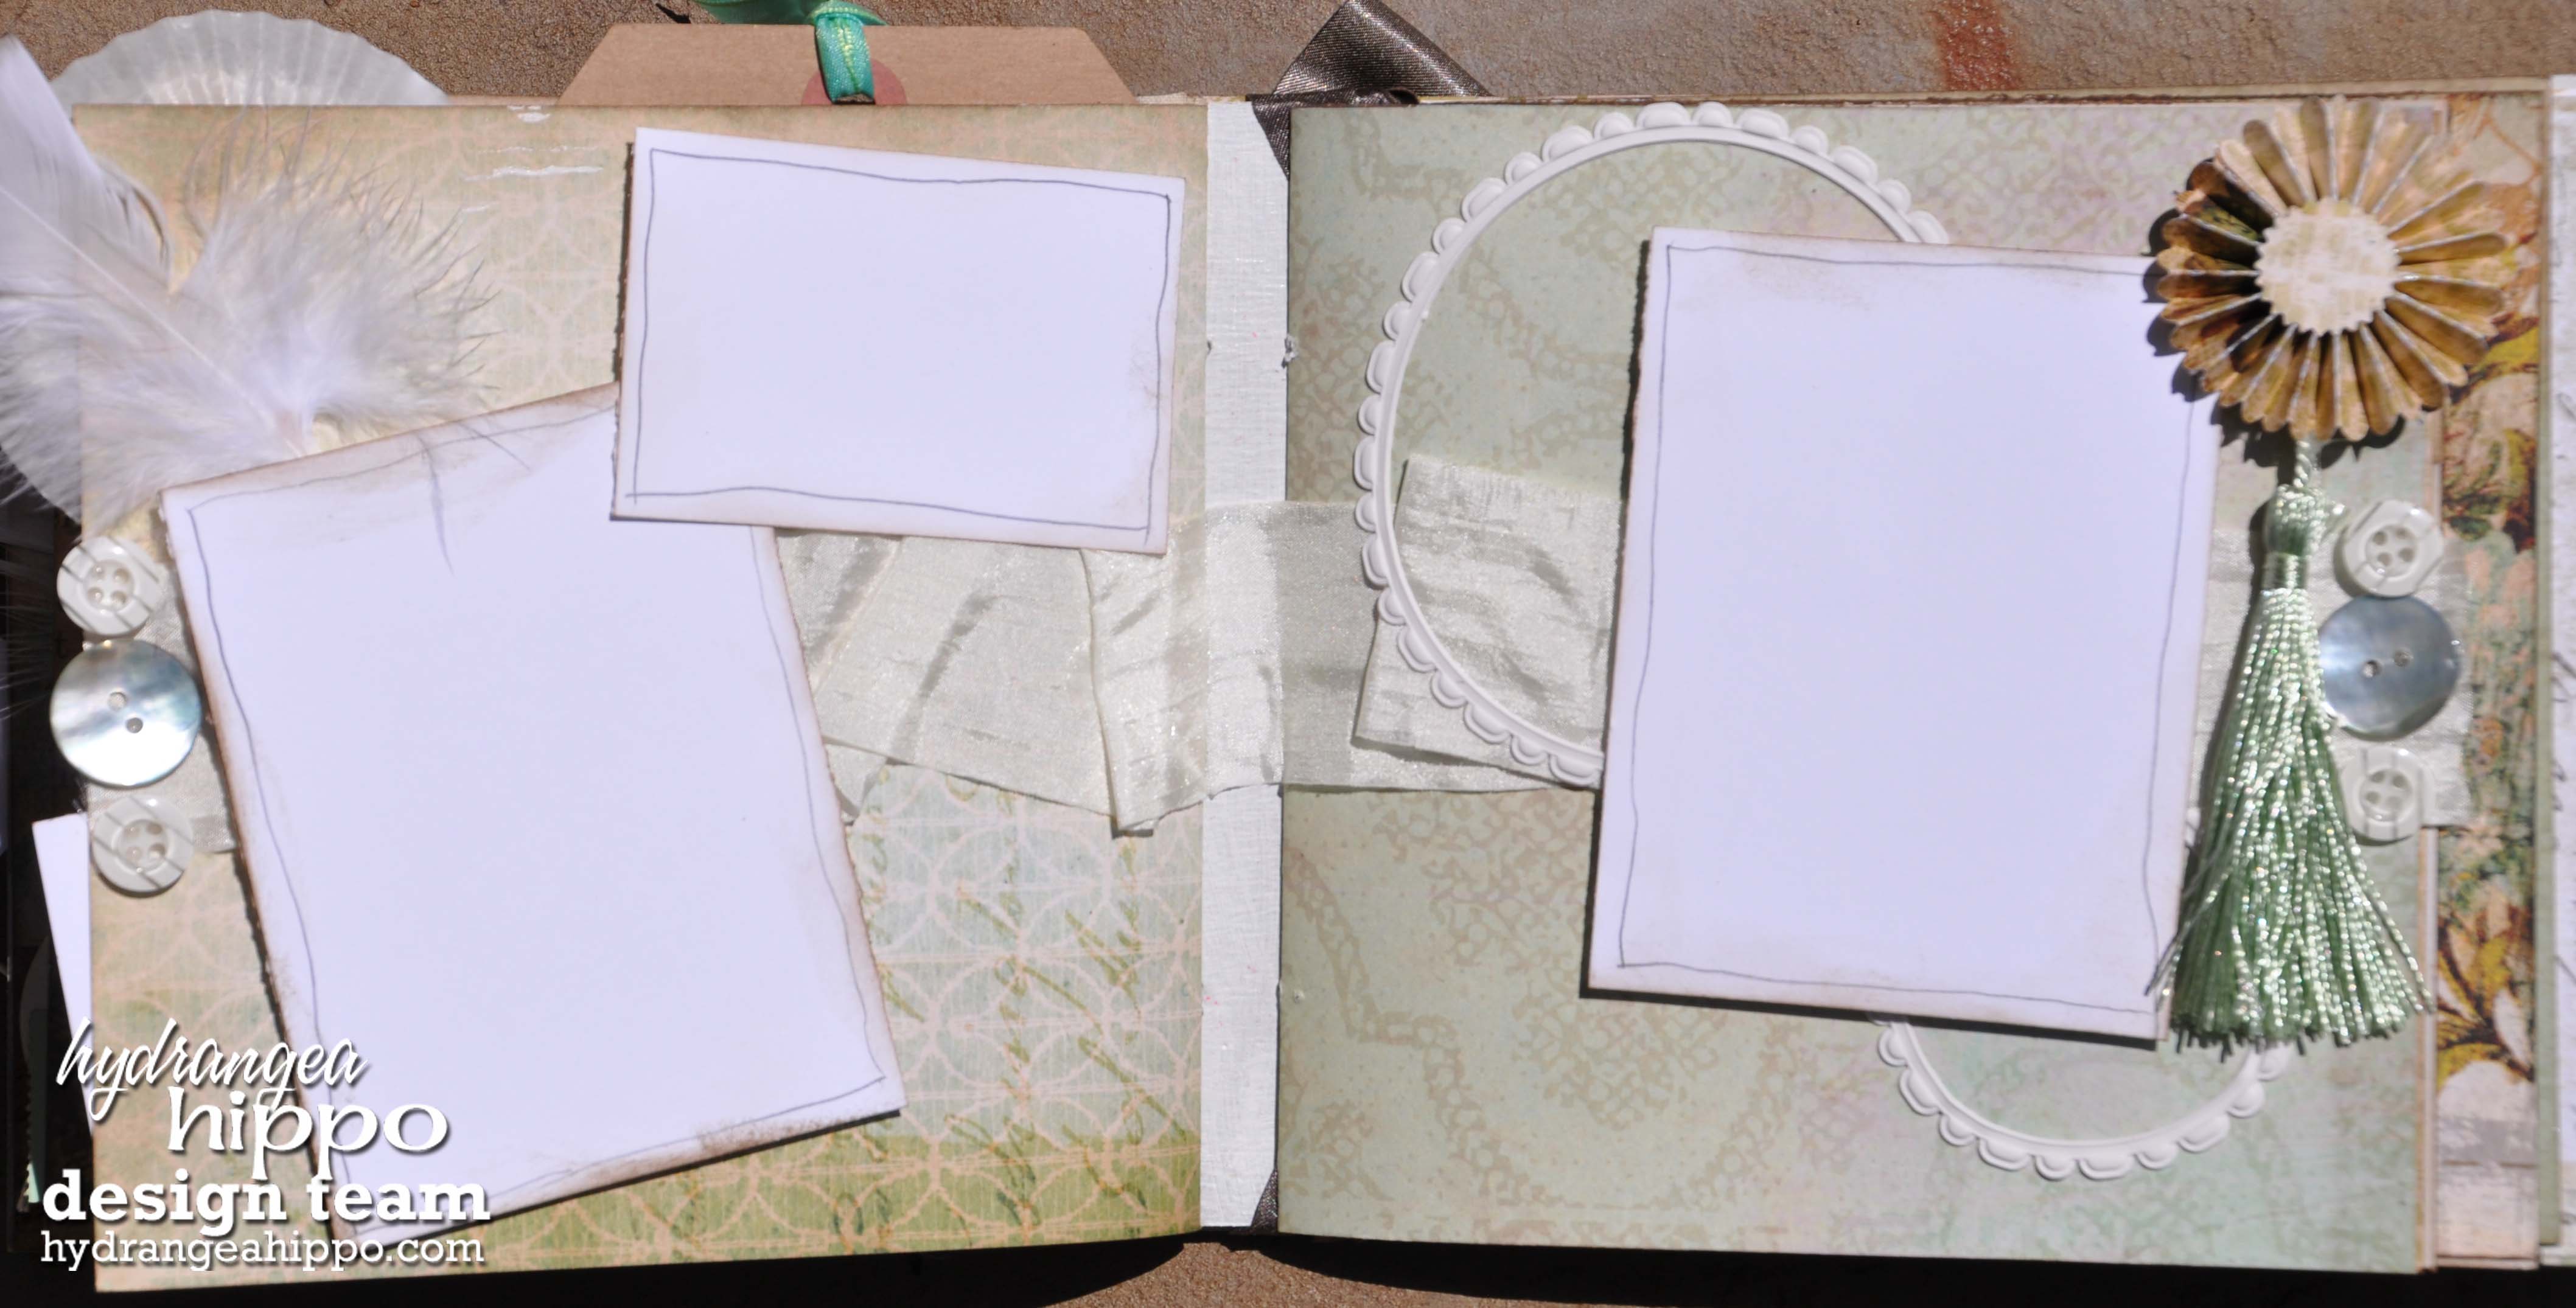
Cupcake wrappers make the perfect backdrop for my rosette flowers, and you know I couldn’t resist adding in a few banners.
nancykeslin_hydrangeahippo_vintagemint_min5
I love the little sparklers that Jennifer has added to this kit…they add just a bit of shine and add so much interest in contrast.
nancykeslin_hydrangeahippo_vintagemint_mini4
 Be sure and grab your Vintage Mint kit today.  Unfortunately, at this time, Jennifer has decided to close down her design team.   I have loved working with Jennifer and look forward to doing so again.  
Hugs.
Nancy

Tuesday, July 30, 2013

Vintage Mint Kit - Hydrangea Hippo


Hi everyone!  Today I want to share with you a mini album I made using the gorgeous Vintage Mint kit from Hydrangea Hippo featuring the Hope Chest collection from Pink Paislee.

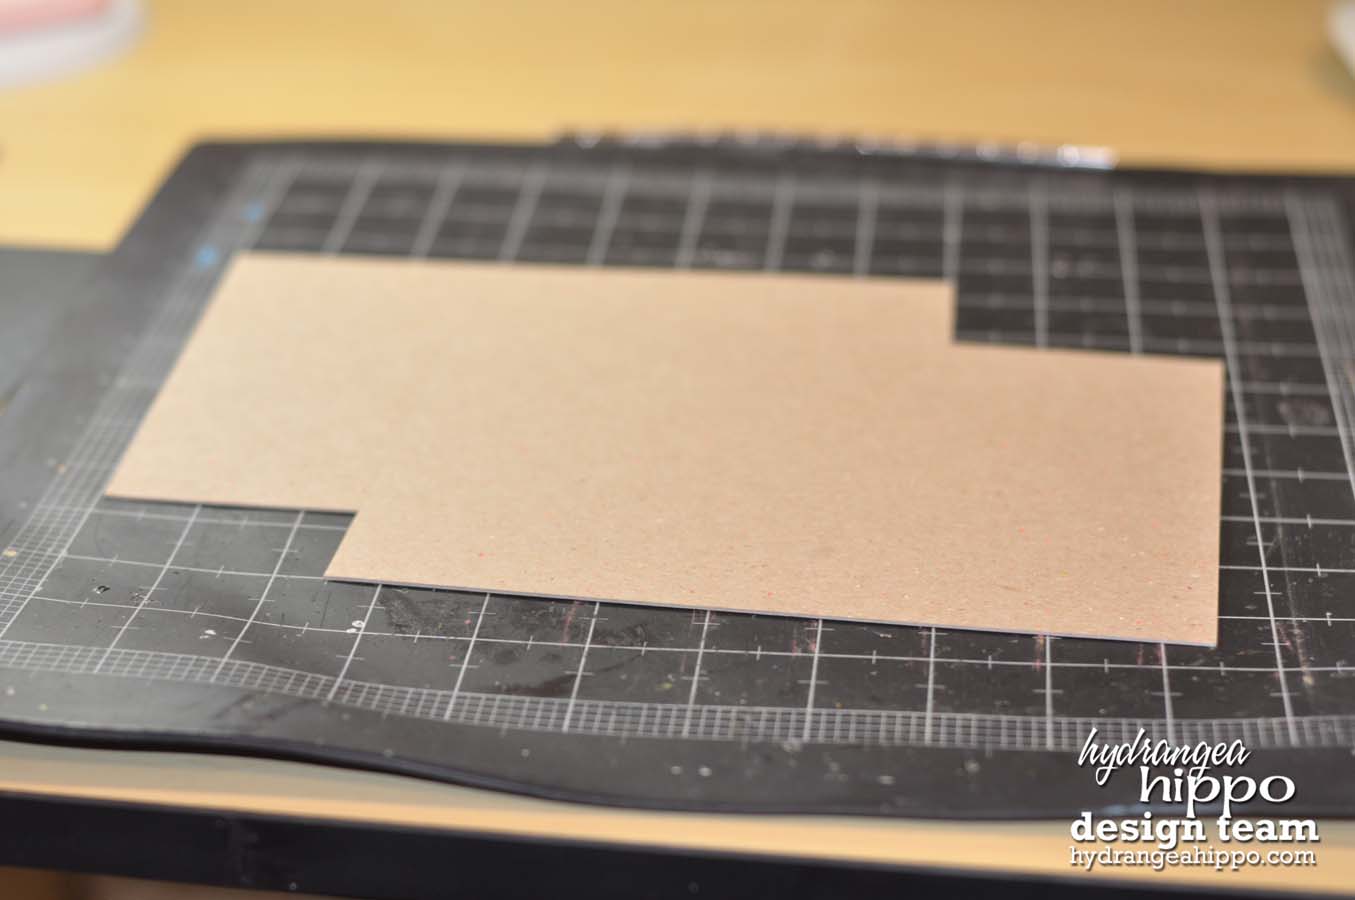
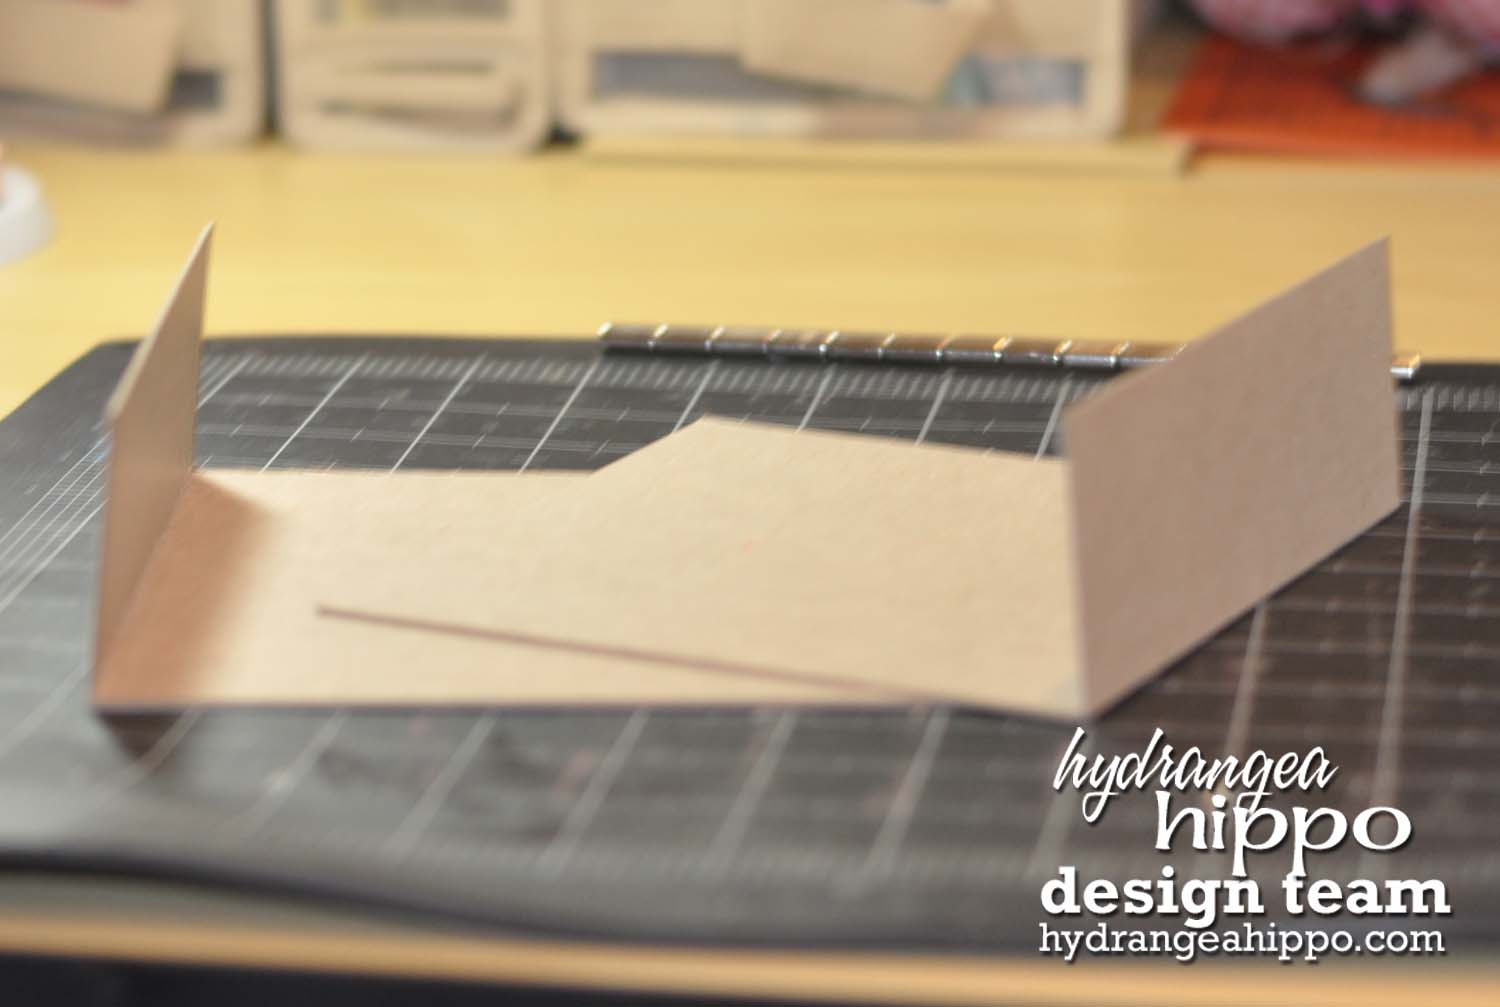
I have a lot of chipboard sheets lying around and thought it would be fun to create my own mini album.  I started with two sheets of 6×8 inch chipboard.
nancykeslin_hydrangea hippo_july kit_album tutorial1

I scored each at two inches along the long side.
nancykeslin_hydrangea hippo_july kit_album tutorial2
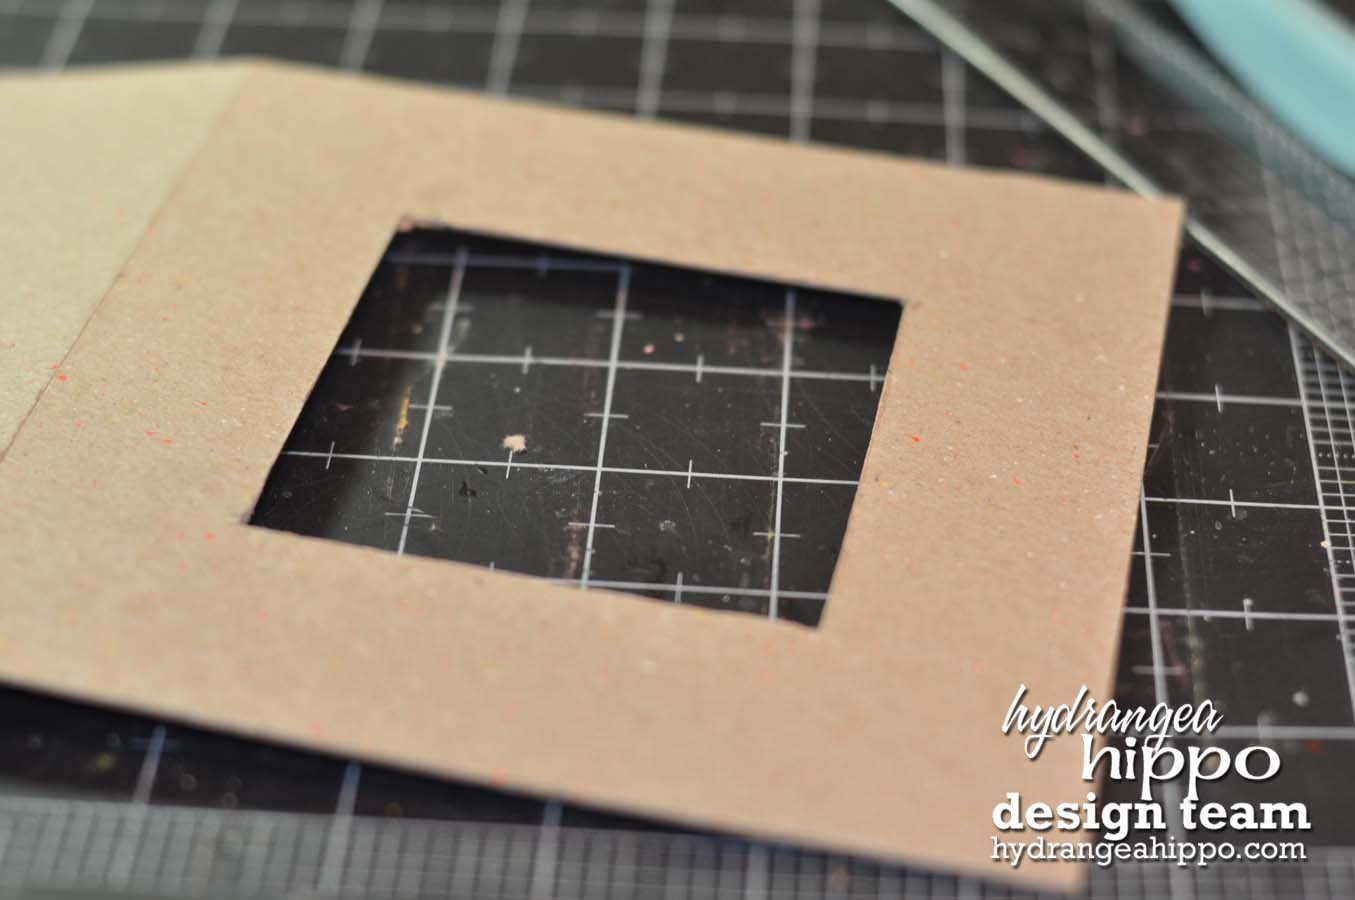
And then cut the center out of one of the sheets (approximately 4×4).
nancykeslin_hydrangea hippo_july kit_album tutorial3

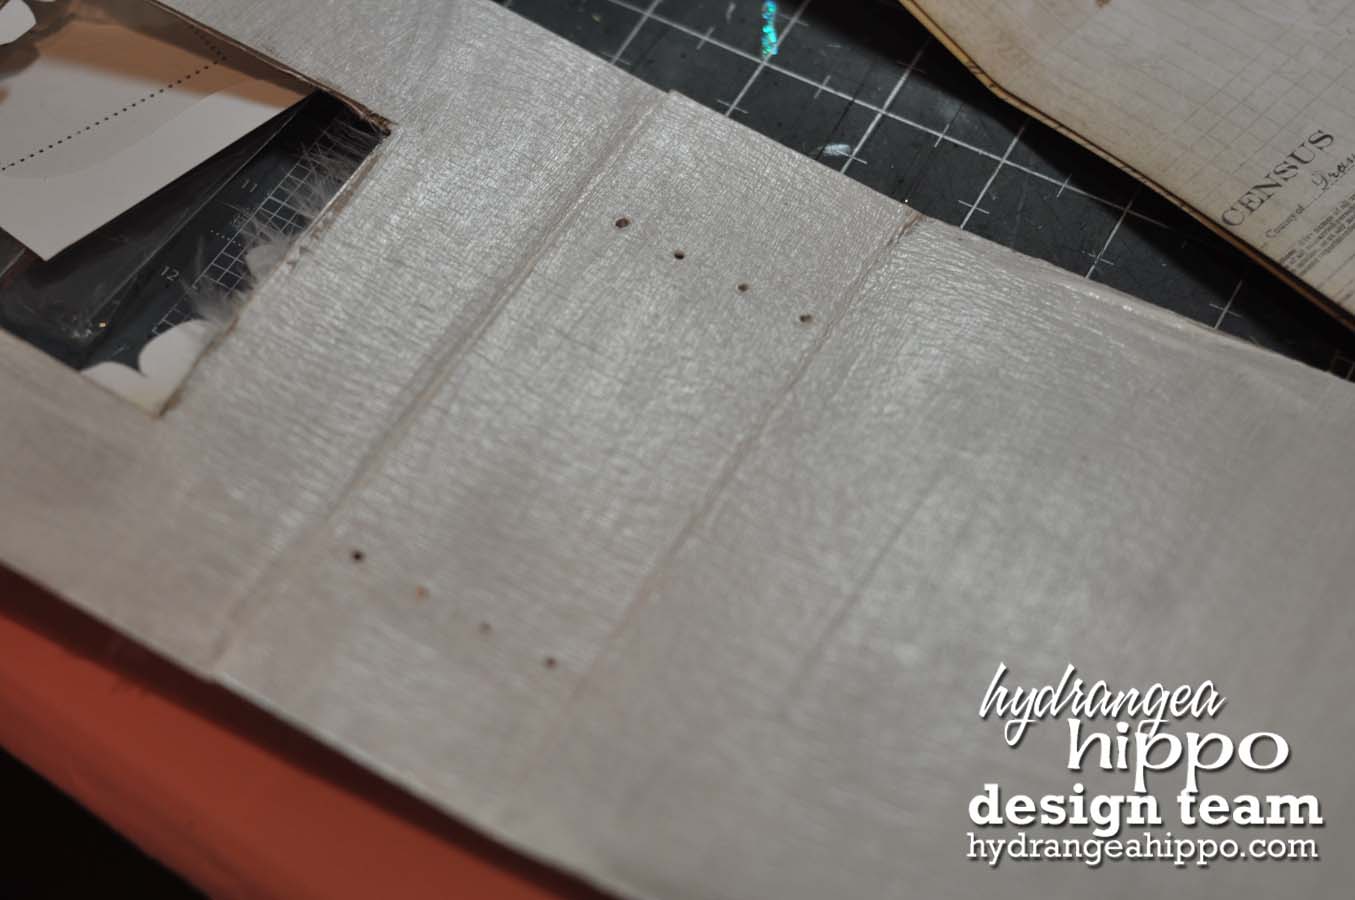
I glued the two inch pieces together to create the binding of my album.
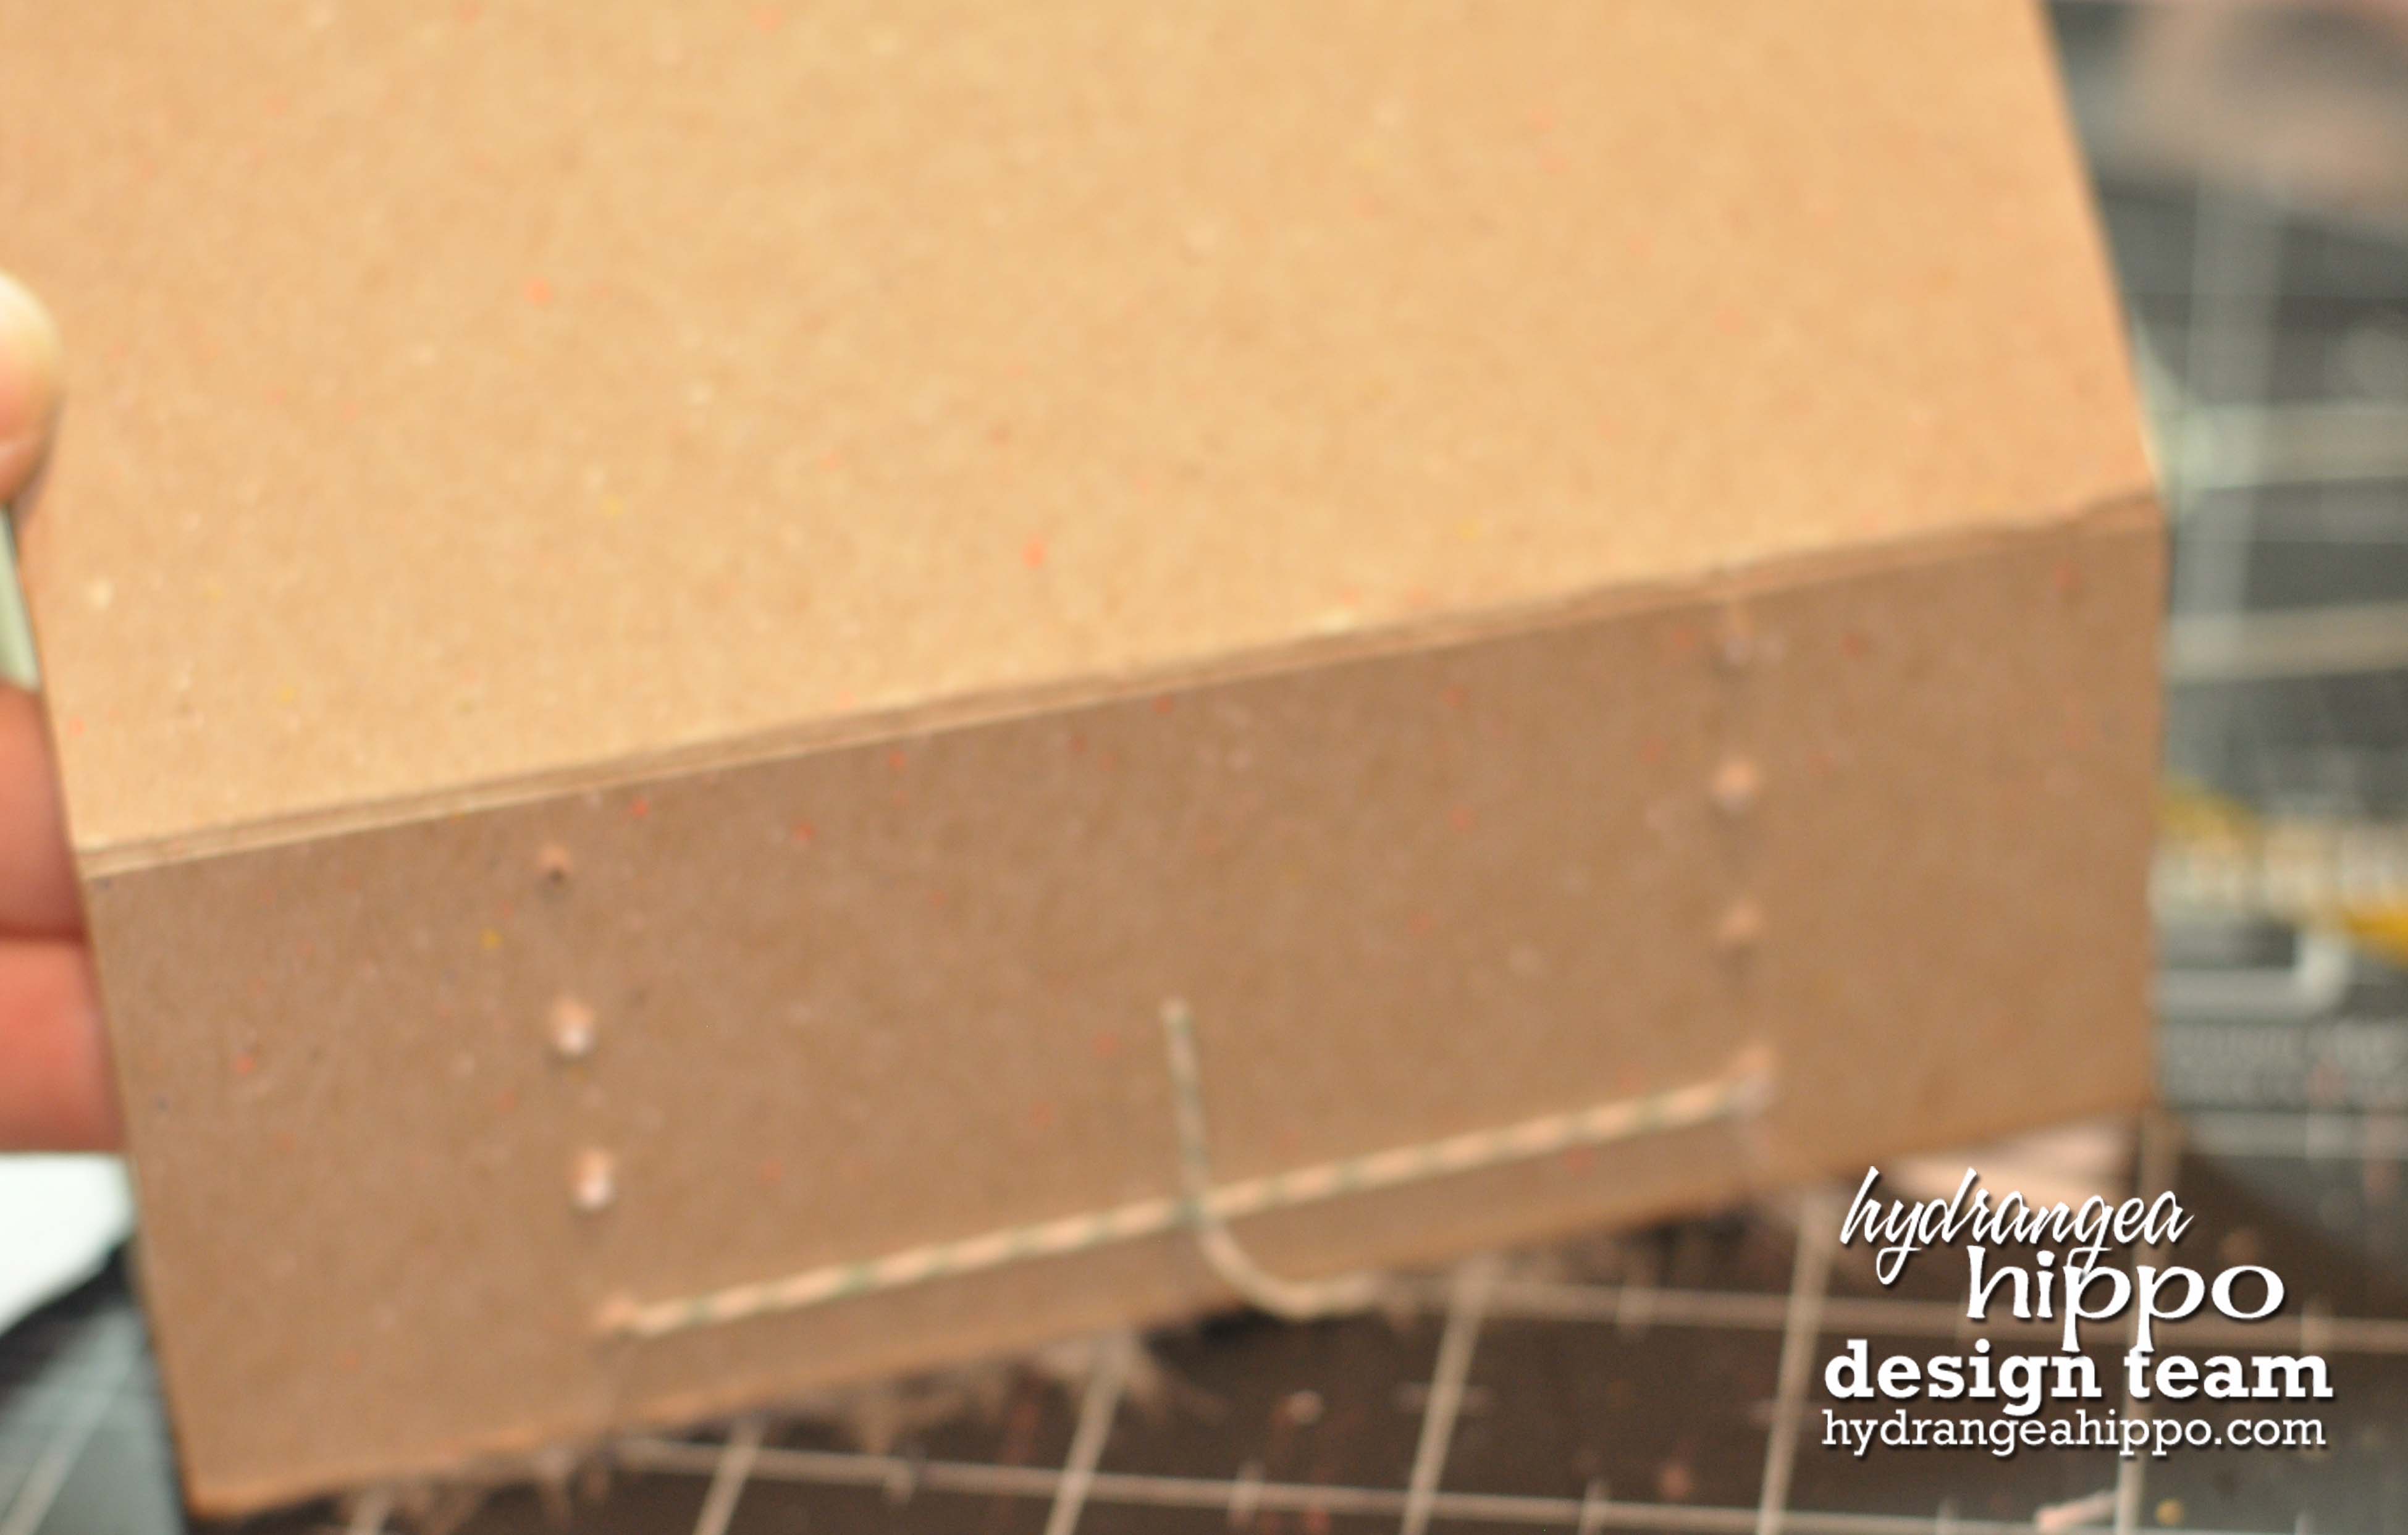
Then I poked holes with roughly a 1/2 inch spacing, one inch from the top and the bottom.
nancykeslin_hydrangea hippo_july kit_album tutorial4
and painted the chipboard.
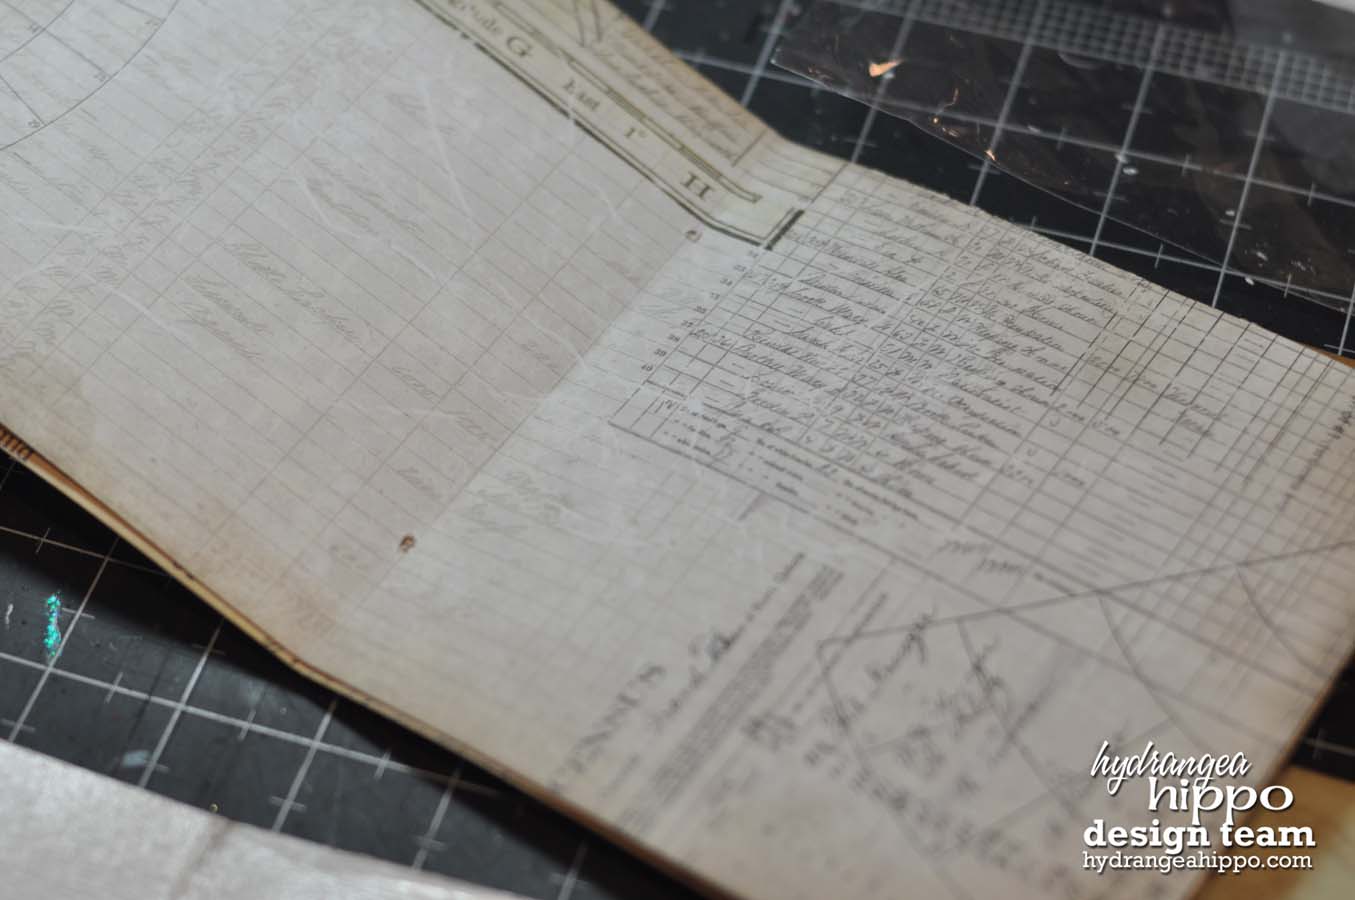
I then created the registers by folding a two pieces of 6×12 patterned paper in half, one inside the other, and poked a hole one inch from the top and bottom in the center fold.
nancykeslin_hydrangea hippo_july kit_album tutorial5
I created four of these registers.  I then ran baker’s twine , from the Hydrangea Hippo Etsy shop, from the back of the chipboard, through the registers and back through the chipboard.  I then tied the twine tightly.
nancykeslin_hydrangea hippo_july kit_album tutorial6nancykeslin_hydrangea hippo_july kit_album tutorial7
nancykeslin_hydrangea hippo_july kit_album tutorial9

Once I completed all four registers I covered the chipboard with patterned paper and embellished it heavily.
nancykeslin_hydrangea hippo_july kit_album cover
This kit is full of so many gorgeous goodies; flowers, vinyl pieces, and the most beautiful feathers, not to mention the incredible trims.  Finally I  added a few butterflies that I printed and cut from the Internet.

Wednesday, March 13, 2013

Home Decor - Chalkboard- Your Memories Here


Hi everyone!  Today I want to share a project I made using some of the goodies from my Your Memories Here store.

I found this sweet frame at Michaels for just a few dollars with my 40% off coupon and couldn't wait to make something for my daughter's room.  We have been in the process of redecorating and I thought this would be such a great addition for my soon to be teen.
I painted the frame with a crackle wash in white and then backed it in chalkboard contact paper over chipboard.
And then the fun began.  Bits of flowers, chipboard, bling and butterflies from my Prima grab bags brought out the girly factor of this little chalkboard.
I know that she loves using it in her room.

Hugs.

Nancy

Products Used from Your Memories Here


click links to find in store

Wednesday, December 5, 2012

A Little Gift - Your Memories Here

Hi everyone!  Today I had just a quick little project that I wanted to share with you.  I love all the opportunities purchasing a grab bag from Your Memories Here offers.  With just a few of the items from my box, some cardstock, and a scrap from last weeks project made with Glitz papers I was quickly able to come up with this.
Bits of gorgeous Prima lace, a few flowers, and just a bit of distressing make this the sweetest shabby chic post-it holder.  I love having pretty little things in my work space.

Well, that is it for me today....busy, busy.

Hugs.

Nancy


Projects Used: