Showing posts with label gift. Show all posts

Friday, September 25, 2015

Create a Canister with Sizzix and The Buckle Boutique

Hey everyone!  Hope you are having a great day.  The weekend!!!  It is upon us.  w00t w00t. Well, today I want to share with you this cute little box I made using a die from Sizzix and some fun rhinestones from The Buckle Boutique.
I have had so much fun with the XL Canister die from Eileen Hull for Sizzix.  Using the Sizzix Mat Board really makes the final project super sturdy and with the addition of a Rhinestone Sticker sheet from The Buckle Boutique, this one in Crystal Gold Rectangle.... Well, let me show you how I made it.

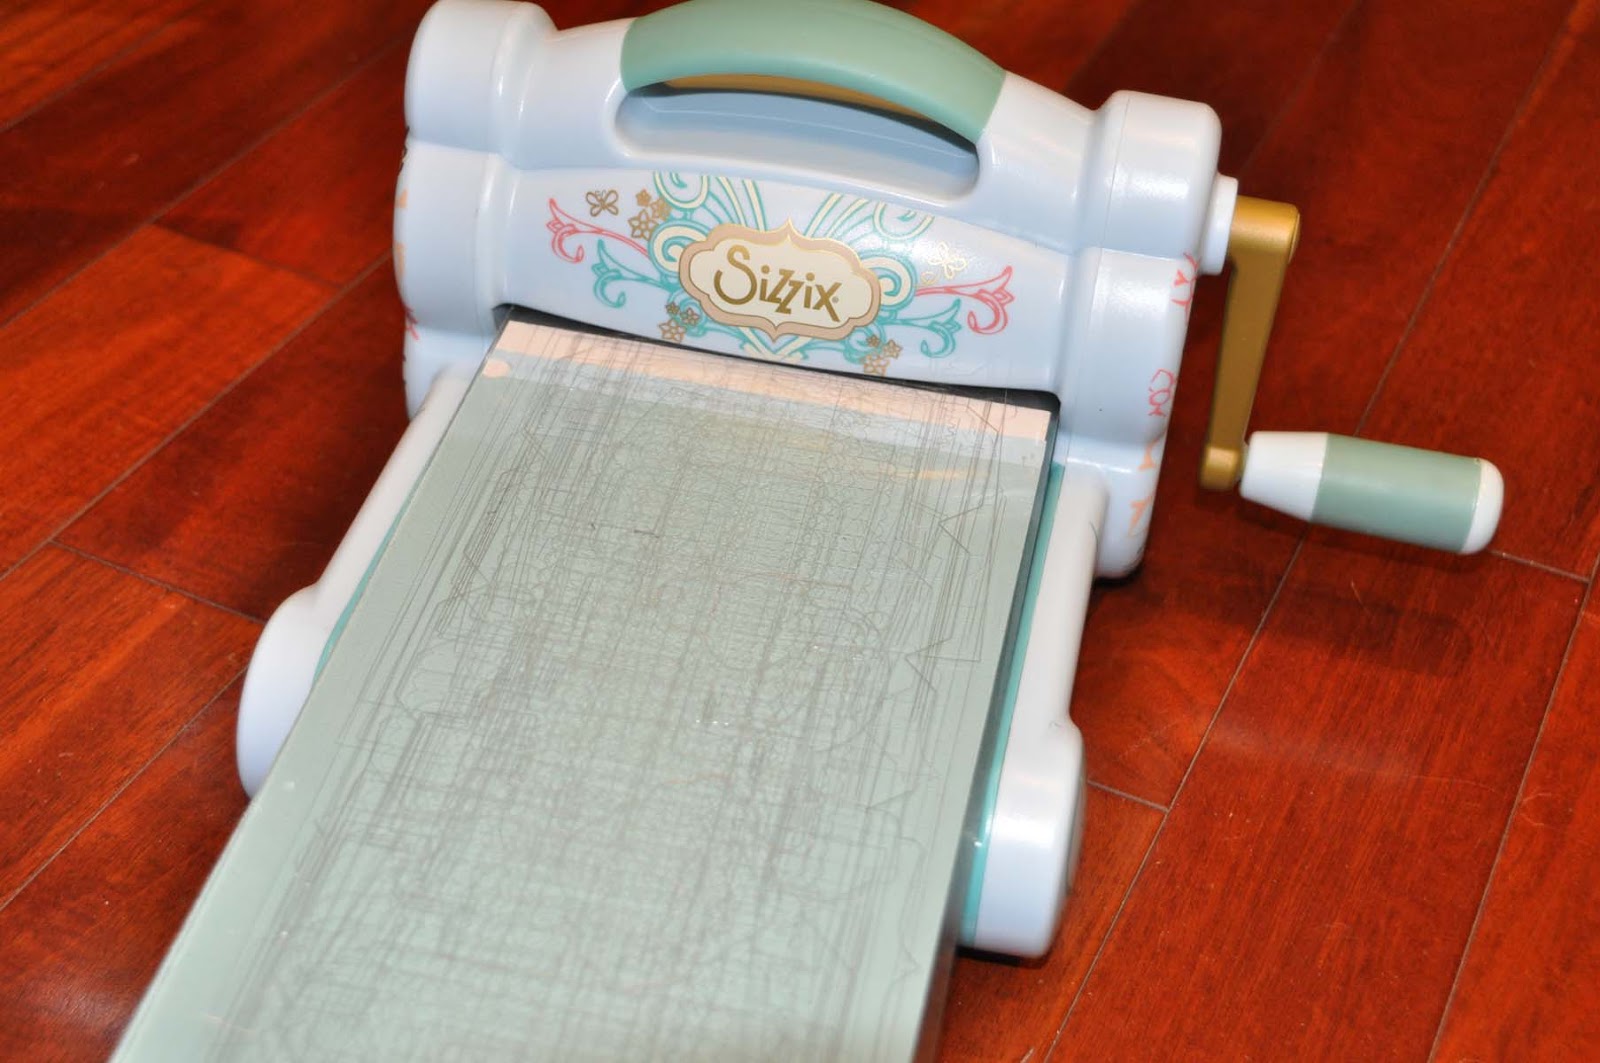
Begin by adhering your cardstock to the mat board and create your Sizzix Sandwich; cutting plate, Sizzix Bigz Die, mat board and second cutting plate; and run through the Big Shot machine.
You will need to cut two of the "canister sides" to complete the assembly.
Use the Sizzix die to cut the Rhinestone Sticker Sheet for the top of the box.  Save those extra pieces for embellishment later.
From there, simply assemble the canister and add the Rhinestone Sticker Sheet to the top of the box.
To embellish the canister I added a bow that I cut with the Sizzix French Bow XL die (which I embellished with one of the scraps of rhinestones I cut earlier)
and a simple rolled flower I made using the Tim Holtz Tiny Tattered Florals set.

Thanks for stopping by...Have a great weekend.

Hugs.

Monday, September 21, 2015

Light Up my Teacup Gift

Hey everyone!  Happy Monday!  Today I wanted to share with you a project I made using one of my favorite Brenda Walton for Sizzix dies, The Bigz 3-D Teacup, a sheet of older Prima paper, and of course some fun electronics from Chibitronics.

I began by creating the teacup shape.  Love this shape for creating a "grown up" goodie bag and lighting it up makes it just that more special.
After creating the cup I created my parallel circuit using the copper tape from Chibitronics as an additional embellishment.
From there, it was simply a matter of hiding my battery with a few embellishments and to continue embellishing with items from my stash, Prima flowers, bling, chipboard and even a little tassle.

I really love the way this little cup turned out.  Filled with a few beautiful chocolates it made such a lovely gift.
Thanks for stopping by.

Hugs.

Friday, August 21, 2015

Split Letter Monogram

Hi everyone!  Today I want to share with you another project I made using Clear Scraps, my electronic cutter and some vinyl. 
Split monogram_nancy keslin_clear scraps

I shared last week that I won a bunch of vinyl from Cricut.  Well, the vinyl bug has bitten and I have been cutting like crazy.  Wait till you see all the fun stuff I made.   If you know me tho, I can be a bit of a klutz, always in a hurry and maybe not taking enough time to get things done.   I have seen so many of these split letter monogram frames and people who have cut themselves trying to create them.  Clear Scraps to the rescue.

All I needed was a Clear Craft sheet, my vinyl, and an electronic cutter.  The Clear Craft sheet is perfectly clear and there is no chance I would put my hand through the glass.

Oh, did I mention that I am helping a friend of mine is making one for her son's upcoming wedding?  How fun is that?  These monograms make great wedding gifts.  I can't wait to make more.

I hope you enjoy this home decor project.

Hugs


Monday, July 13, 2015

Happy Birthday - Chibitronics & SVGCuts

Hi everyone!  Hope you had a great weekend.  Today I wanted to share with you a project I made with the fun LED lights from Chibitronics.  Recently, SVGCuts released the super cute collection Country Market.  Well, the minute I saw the easel box with the arrow...I knew I had to light that arrow up with my Chibitronics.

I used some older Crate Paper patterned papers, and Core'dinations cardstock, along with my Cricut Explore to create the little box (which just happens to hold a new cell phone).

Lighting up the box was so easy, especially since the SVGCuts file came with a hole in the arrow and gift box where I could run my foil tape to the battery.
Of course, even without the battery in place the box is super cute....but I really do love the way it lights up.
Hugs.

Monday, June 1, 2015

Red Hat Society Gift Bag

Hi everyone!  Happy Monday!  I hope your day is off to a great start and you had a wonderful weekend.  Mine was fabulous!  The start of cabana swim season and an outdoor music festival with the family.  Life is good.

Today I wanted to share with you a fun project I made using some of my favorite companies products.  You know how much I love bling, so I started out with a solid red rhinestone sticker sheet from The Buckle Boutique, a fun piece of patterned paper from Core'dinations (I love the simple patterns in their line) and a super cute Sizzix die that I have had forever.  Mine is no longer available, but this one is super cute.


This little Red Hat bag was super fun and easy to make.
Step 1:  Cut the entire purse shape twice from the Sizzix die using the Core'dinations Patterned paper.

Step 2:  Cut just the top portion of the purse using the Sizzix die and the Buckle Boutique Rhinestone Sticker Sheet.
Step 3:  Assemble box as per directions.
Step 4:  Attach Rhinestone sticker sheet to patterned paper to create the top of the bag.  The patterned paper is heavy enough to hold the rhinestones, and the rhinestone sticker sheet is so easy to use, ensuring every bit of the top has the bling you need.
Step 5:  You know I couldn't resist cutting a little "red hat" with some scraps of paper and a little flower.
Step 6:  And every purse needs a blingy clasp.  This Gold Waffle Rhinestone flat back was just perfect.
This little bag is the perfect holder for a gift card for a favorite friend.

Thanks for stopping by.

Hugs.

Monday, March 30, 2015

How to Make Your Spring Sparkle

Hi everyone!  Hope your Monday is starting out great and that you had a wonderful weekend.  Me...well, spring has definitely sprung, so we spent a good portion of the weekend working in the yard.  I love all the beautiful flowers at the garden supply these days and couldn't resist bringing some home.  Of course, I had to make the pots I was planting in extra special....


This is a super quick and easy project with the help of the Rhinestone Sticker Sheets from The Buckle Boutique.

To begin, I simply measured the depth of the rim on my clay pot....simple, right?
 
Then cut the Rhinestone sticker in strips to size.  I chose to use a craft knife and ruler, but you could easily cut these rhinestone sticker sheets with scissors.  

The last thing you need to do is stick the strips around the rim of your planter.  So simple, right?  It took a bit of burnishing to get the gaps out of my planter, but overall this was so simple
 This project is super easy and fun and would make a great alternative to cut flowers.
Hugs.

Monday, March 9, 2015

Get Better Soon - Core'dinations Gift Box

Do you have a friend, family member, or co-worker suffering from cold and flu season? Check out this project I made for Coredinations....a Get Well Soon box made from a few basic Core'dinations supplies and filled with goodies to have them feeling better in no time.
get well box
Get Well Box Supplies:
first aid_coredinations_nancy keslin_supplies

Step 1: Trace box template onto white Core'dinations cardstock.  The 110lb cardstock has a nice weight and will create a sturdy box.  If you want something a little more heavy duty, you can add a layer of thin chipboard or shirt board.  Score along inside lines.  I added a bit of washi tape to hold my template while I cut.  
first aid_coredinations_nancy keslin_cut and embossStep 2:  Cut strips of Roasted Pepper, Jillian Dot paper 1/2 x 1 1/2 wide.  You will need 4 strips to create the cross shapes for the front and back of the box.  Love the cute texture of this paper.
first aid_coredinations_nancy keslin_red cutsStep 3:  Assemble box and attach Medical Cross to the front and back.
first aid_coredinations_nancy keslin_assembleStep 4:  Fill your box with your recipeint's favorite things.  Some suggestions include magazines, puzzle books, cough drops, tissues, hand sanitizer, tea bags, lip balm...really, the sky is the limit.  Don't forget a cute, bright colored tag with well wishes written on it.
first-aid_coredinations_nancy-keslin_fillled

Around here we haven't suffered too terribly this season.  I hope you have been just as lucky.

Hugs.

Monday, February 23, 2015

Pillow Box Talk

Hi everyone!  Happy Monday.  I hope you had a great weekend.  Not too much going on here....Same ol' Same ol'.

Today I wanted to share with you this cute little box I made...I received the Martha Stewart Gift Box Tool at the Fave Crafts party back during CHA as well as the cute little Stripes, Dots and Hearts stamps from Ann Butler (I still have more fun quilt stamps to play with...HOORAY ME!) .  You know how they say "two great things that go great together?".  Yep...As soon as I unboxed and got organized I couldn't wait to make this sweet little box.

Of course I had to use some Core'dinations Cardstock for my box...the weight is just perfect.  Then I stamped with a combination of different diestress inks with the different paterns....Layered everything up, and added a little tag I had diecut a while back and a big flower....done!
And of course, I added the tag upside down....sigh.  Oh well...still super cute (IMHO).  lol 

Have a great day!

Hugs.

Items used: 
Martha Stewart Gift Box Tool
Coredinations Cardstock
Ann Butler Designs Stamps
Paper Trey Ink Dies
Ranger Tim Holtz Distress Inks
Prima Leaves
Unknown Flower

Wednesday, January 28, 2015

Love Notes - Core'dinations

Hi everyone!  Happy Wednesday.  Sorry I haven't been around much, it has been a crazy busy past few weeks.  With the holidays, which we spent two weeks in Hawaii, and then CHA, there just hasn't been much time for blogging.  Be sure and check out my other channels to see what's been going on....links are in the side bar ----------------------------------->


Anyway, wanted to stop by and let you know that I have a post up over on the Core'dinations blog today...one featuring this sweet little Valentine's mailbox...with a complete tutorial.  Come check it out.

Hugs.

Monday, December 15, 2014

Gift Bag Trio - Core'dinations

Hey everyone!  Hope you are had a great weekend.  Things here are crazy, between swim meets, the holidays, and getting ready for CHA.  Well, sorry if I haven't been around much.

But, I wanted to let you know that I have this trio of gift bags up on the Core'dinations blog today with complete tutorials.  So easy to make and they look totally adorable under the tree.


Hugs.

Monday, October 27, 2014

Vintage Kitchen - Eileen Hull Event

Hi everyone!  Sorry I am a bit late today, but things have been quite busy.  Brighton came home for the weekend, and to be honest, although I was working hard at getting assignments done, I just felt it more important to spend time with him than blog.  oppsies.  hee hee

A few weeks ago I shared with you that I went to an event at Cathe Holden's Inspired Barn to see Eileen Hull and create a few projects with her dies.  We were able to play with her new Vintage Collection, which hasn't been released yet!  How fun is that?

First I created these little boxes.  I loved the fun shapes and I planned on using them to hold all the little bits and pieces on my desk when I am done creating.  I didn't venture far from their intended use, but the little cookie box (the round one) it has a hinged top and I have lots of fun ideas in mind for it.

This little cream and sugar set was so sweet.  Everyone in the class created the same project, doodling the design and then coloring it with Eileen's inks from Clearsnap.  It was really fun and would make a super cute gift filled with tea bags, a gift card, whatever.  
Finally there was this little oven.  The front of the oven is a drawer, how cute is that...with the little clear window?  sigh.  Thinking of putting a little something in their as a gift....a bun in the oven?  hee hee

These new Vintage Kitchen dies are so fun, I really can't wait to add them to my collection.

Thanks for stopping by.