Showing posts with label bling. Show all posts

Friday, December 4, 2015

Santa Bling Candle Stand

Hi everyone!  Happy Friday.  Today I want to share with you another quick and simple project I made for Christmas.  As some of you may know, Phil and I often attend wine tastings, and when we do we often come home with extra wine glasses.  Well, that leaves lots of glasses for crafting.

This project was super simple and only used a few supplies.
I began by using mod podge and covering the bowl.  I was having a hard time getting the mod podge even, so spray adhesive to the rescue.  I sprayed the glass and then rolled it in glitter.  I know, I could have worked better with the mod podge but I had other projects and was in a bit of a hurry.  lol

Once dried I sprayed the stem and base and rolled that in glitter.

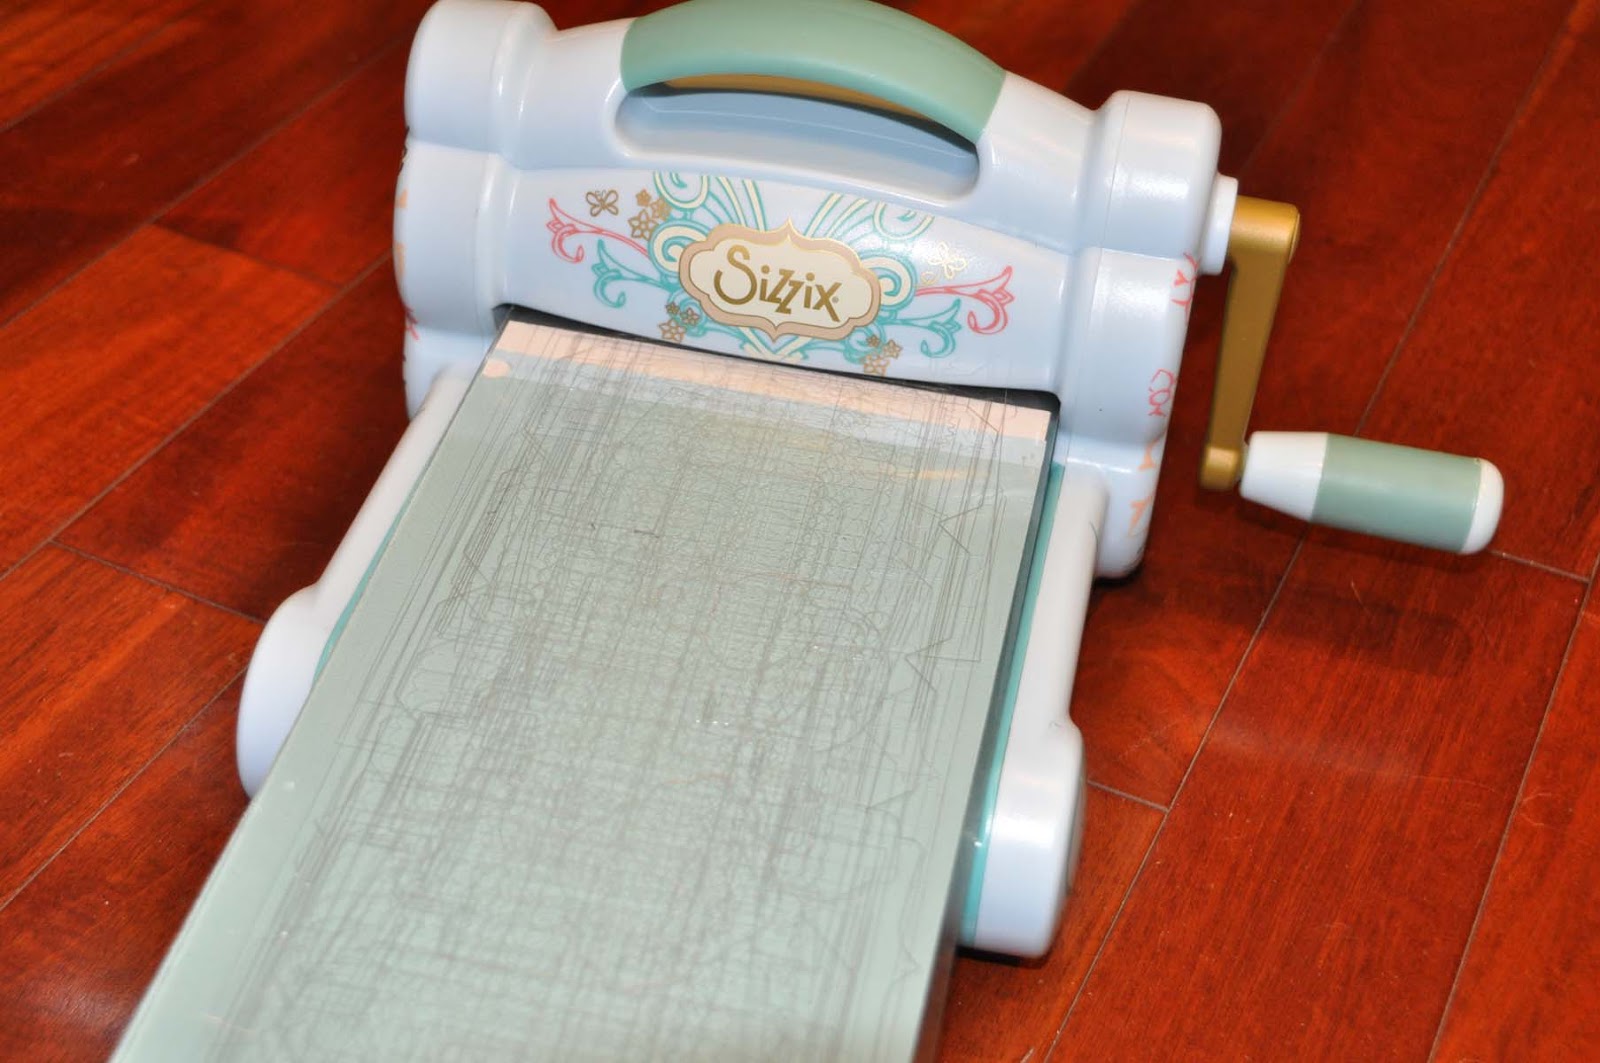
From there, a simple ribbon with a Buckle Boutique rhinestone slide hot glued around the bowl and a quick fabric collar cut with my Sizzx and my project was complete.  Don't forget to clean up those little hot glue strings.
So quick and easy.  I may make a few more.  I think we have a dozen or so more glasses lying around.  lol
Have a great weekend.  Hugs.

Friday, September 25, 2015

Create a Canister with Sizzix and The Buckle Boutique

Hey everyone!  Hope you are having a great day.  The weekend!!!  It is upon us.  w00t w00t. Well, today I want to share with you this cute little box I made using a die from Sizzix and some fun rhinestones from The Buckle Boutique.
I have had so much fun with the XL Canister die from Eileen Hull for Sizzix.  Using the Sizzix Mat Board really makes the final project super sturdy and with the addition of a Rhinestone Sticker sheet from The Buckle Boutique, this one in Crystal Gold Rectangle.... Well, let me show you how I made it.

Begin by adhering your cardstock to the mat board and create your Sizzix Sandwich; cutting plate, Sizzix Bigz Die, mat board and second cutting plate; and run through the Big Shot machine.
You will need to cut two of the "canister sides" to complete the assembly.
Use the Sizzix die to cut the Rhinestone Sticker Sheet for the top of the box.  Save those extra pieces for embellishment later.
From there, simply assemble the canister and add the Rhinestone Sticker Sheet to the top of the box.
To embellish the canister I added a bow that I cut with the Sizzix French Bow XL die (which I embellished with one of the scraps of rhinestones I cut earlier)
and a simple rolled flower I made using the Tim Holtz Tiny Tattered Florals set.

Thanks for stopping by...Have a great weekend.

Hugs.

Friday, September 18, 2015

Welcome to Our....Buckle Boutique

Hi everyone!  Hope you have great plans for the weekend.  We are back to the normal swim meet grind around here.  But, with swim team comes backyard get togethers and I just happen to have made another sign.

Once again I chose to use my Cricut, this time to cut a stencil which I used to paint the phrase onto some old wood.  After painting I went back over a few of the words with an alcohol pen.
 To create the flames I couldn't resist using a bit of my Rhinestone Sticker Sheets from The Buckle Boutique.  I used bits of a Red Classic Sticker Sheet and a bit of a Cheetah Sticker Sheet from the Modern Surrealist Collection.
I simply drew a flame shape on the paper side of the sticker sheet and cut with scissors.  The gel rhinestones cut so easily.
Don't you love the way the red and the cheetah blend together to make a sparkly flame.

Well, hope you have a great weekend.

Hugs.

Monday, August 24, 2015

Swim Bling

Hi everyone!  Happy Monday!  Well, for us it is back to school, back to swim, back to our normally somewhat overscheduled lives.  lol  Although, I have to say, for the first time in the 12 years my children have been swimming we have everyone practicing at the same time (OK shouldn't really count since technically Brighton isn't swimming anymore, but I am seriously excited) and to top it off, since Mackenzie drives....WOOP WOOP.  I don't even have to take anyone!!!!!!!

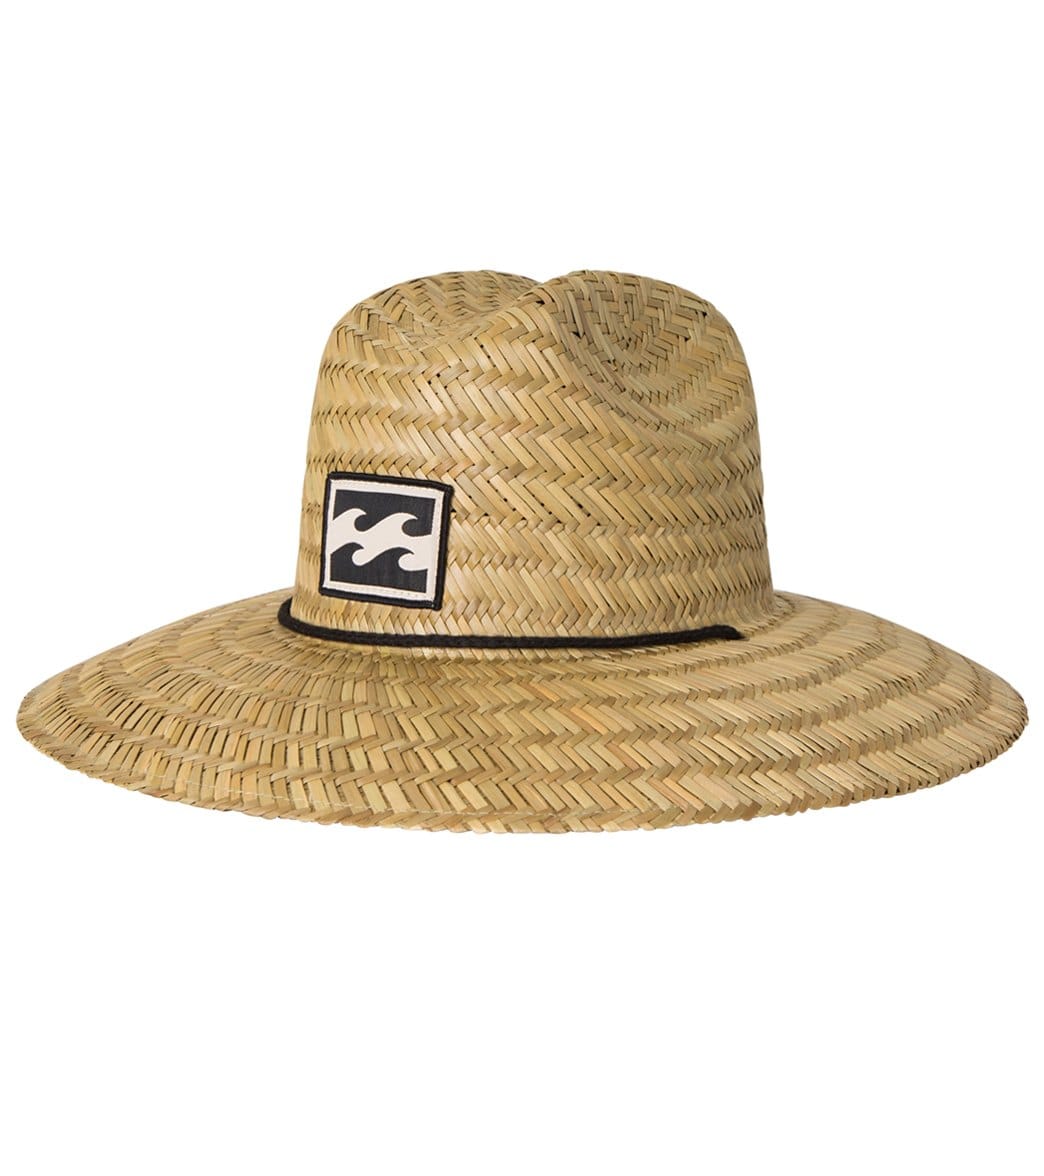
OK, well, speaking of swim, I wanted to share with you a little project I made using some scraps of Rhinestone Sticker Sheets I have from The Buckle Boutique.  Now, if you have been following me for any bit of time you probably know that Ainsley is my blingy, girly girl...Mackenzie not so much.  Which is why I was amazed when Mackenzie presented her swim meet hat to me to bling up.
We found this hat at swimoutlet.com, and since most everyone in her group has something similar we thought it needed something special.

I began by printing our team logo and cutting it out to create a template.
Then, turned it over and traced it onto a scrap of The Buckle Boutique Rhinestone Sticker sheet in our team color.
And then used my exacto knife to cut it out.  The rhinestones in the sticker sheets are made from a gel material which allows you to easily cut right through them to create curves and other shapes.
After cutting out our team logo I simply attached it to a rectangle of the black Rhinestone Sticker Sheet and attached that to the hat.
Many of Mackenzie's team mates love her hat and I have had requests to make a few more.

Hugs.

Friday, July 24, 2015

You Can Cut What with the Cricut?

Hey everyone!  Bad blogger here, but it is Friday!!!  Hooray!!!!   Anyway, today I have a super simple project that everyone has probably made before, something I have made here before...but today I have something new to share.

Yep, another composition book, but check out the bling!  Almost time for back to school and you know how much fun I have been having with the Buckle Boutique Rhinestone Sticker Sheets.  This time I figured out how to cut the sticker sheets with my Cricut Explore!  Woo hoo!!!!  OK, it took quite a bit of trial and error, but here is what I did.

Tape that Rhinestone Sticker Sheet down, you can see I stuck it down on my heavy duty mat and then added tape...and don't skimp on the size of the sheet you are using.  Trying to use a tiny scrap will not work (don't ask how I know that, LOL).
I created a custom setting "Buckle Boutique" on my dashboard and set the pressure to 146 and cut 2x. With those settings I was able to cut the above circle and all the circles on my composition book.

From there, it was really quite simple.  I covered the book with a bit of paper from Dena Designs for Darice and a bit of scrap ribbon I had lying around.
Added my circles and Ainsley's name that I cut using my Sizzix (you have seen me cut Rhinestone Sticker Sheets with the Sizzix before....definitely my fave way).
And I was done.  This project really came together in  no time.  I think I am still going to play around with the settings a bit more.  While I was able to consistently cut a circle, I haven't tried anything more complicated and that may take a bit of work.

Hugs.
Friday, July 10, 2015

Get Into the Beat with The Buckle Boutique

Hey everyone!  Happy Friday.  Hope you have great plans for the weekend.

Today I wanted to share with you a fun way to personalize your headphones.  I have been told time and time again by my teens, that all the "cool kids" where headphones and not earbuds, so I thought maybe I would personalize some headphones with a bit of bling to make them even more cool.

This was a super quick and easy project...and my daughter's old Beats definitely have a second life.
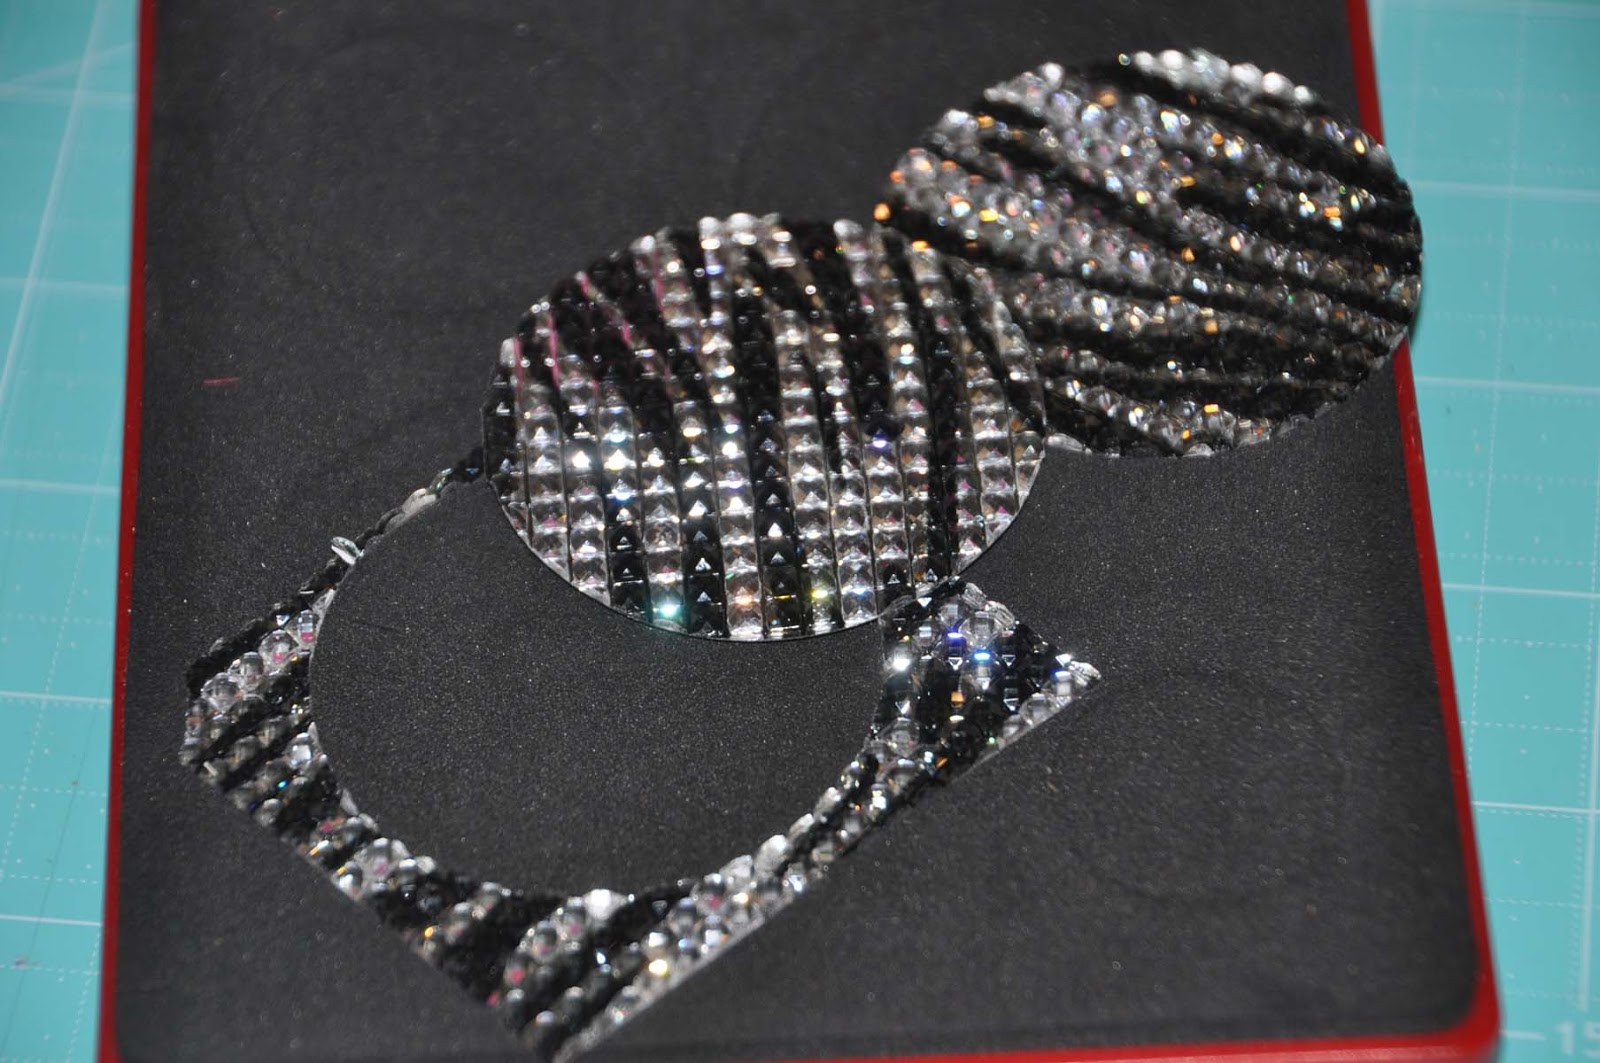
 To begin create a template for your Buckle Boutique Rhinestone Sticker Sheet.  You need to know how big to cut the rhinestones afterall.  I chose the Black Zebra Stripe because they looked so cute with the fuschia headphones.  (oh, and did I mention that pattern is currently on sale?)
 If, you aren't good with scissors and a template; or if like me, you just happen to own a Sizzix circle die in the correct size.....well, cut your rhinestone sticker sheet.  Either way, scissors or Sizzix, these rhinestones are simple and easy to cut.
From here, simply peel the backing off your rhinestones and adhere.  How quick and easy is that?
Hugs.

Monday, June 29, 2015

Make your Subway Art Sparkle

Hi everyone, Hope you are having a great day.  Well, if you know me...follow me on Facebook and Instagram, you may know that we drink quite a bit of wine around here....well, maybe not drink, but we do buy a lot.  lol  I decided to make this lovely Subway Wall Art for our home.  With just a few supplies, your home will be sparkling in no time.
wine_art_coredinations_nancy-keslin_final-1024x839
Sparkly Wine Subway Art Supplies:
Step 1:  Adhere Core'dinations 12x24 Glitter paper to chipboard or cardboard sheets to form a sturdy backing.  You can even use cereal boxes if you like.  Just be sure to place them right next to each other to form a solid backing.  A little extra tape along the seams will make everything sturdy.
wine_art_coredinations_nancy keslin_background_glitterStep 2:  Use electronic cutter to design your Subway Art.  I used a pre designed peice from Cricut.  But with a mixture of fonts and words, you can create your own piece in a short period of time.  Cut design using sheets of the Tim Holtz Kraft Core Nostalic Collection.   My design created a 12x24 piece so I used two sheets of the same color.
wine_art_coredinations_nancy keslin_cutStep 3:  Adhere cut letters to the glitter paper.
wine_art_coredinations_nancy keslin_stickStep 4:  Having a hard time determining the spacing of your letters?  Try using the negative of your letters as a template.
wine_art_coredinations_nancy keslin_templateThis was a super quick and easy project to make.  With the Core'dinations Glitter Paper and the wide varitey of cardstock available, the sky is the limit to what you can create.  How fun to have a baby room art with names of nursery rhymes?  A child's favorite sport with all the terms listed out, song lyrics....let your imagination run wild.
wine_art_coredinations_nancy-keslin_side-1024x680

Friday, June 12, 2015

Make Your Drink Tray Sparkle

Hi everyone!  Are you ready for the weekend?  I am.

Last week I was at Michaels where I found the cutest little tray onsale for only $6.00....The tray came in many different sizes and colors.  Swoon.....Well, since I don't really "need" a tray I decided on a lovely teal one (yes, just one).  I couldn't wait to get it home and have some fun.

I started out by cutting the letters DRINK from my Buckle Boutique Rhinestone Sticker Sheet and my Sizzix machine.  Please, be smarter than I and put the rhinestones down....otherwise the letters come out backwards.  oopsies.
 From there, I simply stuck my letters onto the tray.
How easy was that?  Now I have this adorable tray for serving drinks on the patio.  So....what should I put in the glasses?


Hugs.

Monday, June 1, 2015

Red Hat Society Gift Bag

Hi everyone!  Happy Monday!  I hope your day is off to a great start and you had a wonderful weekend.  Mine was fabulous!  The start of cabana swim season and an outdoor music festival with the family.  Life is good.

Today I wanted to share with you a fun project I made using some of my favorite companies products.  You know how much I love bling, so I started out with a solid red rhinestone sticker sheet from The Buckle Boutique, a fun piece of patterned paper from Core'dinations (I love the simple patterns in their line) and a super cute Sizzix die that I have had forever.  Mine is no longer available, but this one is super cute.


This little Red Hat bag was super fun and easy to make.
Step 1:  Cut the entire purse shape twice from the Sizzix die using the Core'dinations Patterned paper.

Step 2:  Cut just the top portion of the purse using the Sizzix die and the Buckle Boutique Rhinestone Sticker Sheet.
Step 3:  Assemble box as per directions.
Step 4:  Attach Rhinestone sticker sheet to patterned paper to create the top of the bag.  The patterned paper is heavy enough to hold the rhinestones, and the rhinestone sticker sheet is so easy to use, ensuring every bit of the top has the bling you need.
Step 5:  You know I couldn't resist cutting a little "red hat" with some scraps of paper and a little flower.
Step 6:  And every purse needs a blingy clasp.  This Gold Waffle Rhinestone flat back was just perfect.
This little bag is the perfect holder for a gift card for a favorite friend.

Thanks for stopping by.

Hugs.