Hi everyone! I hope you are having a great day! I can't believe how fast time is flying these days. School is almost over and I am planning our summer vacation. What? I haven't even come close to scrapping all of last years summer vacation. lol Like that will ever happen.
Anyway.....Today I wanted to share with you a layout I did using the April kit from The Sampler. I know, I keep going on about how much I love this kit, and I do. It has been so versatile. A Book of Me page, pictures of Ainsley and Lili playing in the yard, and today....
The view of Ketchikan, Alaska from aboard the Disney Wonder. It was quite an overcast day, but the town was beautiful none the less. And these papers from the April Sampler kit worked just perfectly. Lots of different textures and soft colors.....sigh. And you know how much I love the resins and trinkets.
This Friday The Sampler is hosting a blog hop...a little sampler of The Sampler. So be sure to check in here. I will have a great prize to give away (as will all the designer's on the hop). So, be sure to check us out at our new blog.
Well, back to work...
Hugs.
Nancy
Showing posts with label handmade flowers. Show all posts
Tuesday, April 24, 2012
Wednesday, April 4, 2012
Tuesdays with The Sampler.....
and a tutorial.
Hi everyone! I hope you are having a great day! I know I am. I am totally in love with this month's kit from The Sampler. When I first got my kit I was so happy to see it contained two sheets of the Creative Imaginations polka dot felt. I knew I wanted to make lots of yummy flowers.
First, here is my project...
Sorry about the color/lighting...but it has been raining for a while and I just can't seem to get good photos.
Here is how I made the fun flower.
You will need, a fabric glue, a chipboard circle, your felt, a flower center (I used the flair that came in the kit), and four circles of the same size. I used a die to cut my circles, but I am sure you could use scissors as well.
You can see here I have cut four circles of the same size and folded each in half. Don't worry if they don't stay folded...they will.
For the first circle, fold in half and place glue only on one quarter.
Glue to your chipboard circle with the fold in the middle.
Place glue on the second half circle and place perpendicular to the first, again with the fold in the middle.
Then following the same technique place the third circle
The fourth circle is a little tricky. You will need to place half of it on top of one quarter of the third circle and the other half under the first circle. (this is a little like how you may fold and seal a box if you don't have tape.)
Finally add your center.
And here is the final flower on my layout. So fun and such great dimension. I hope you have fun with your felt. And be sure and pop over to The Sampler blog for more great ideas, the sketch and card challenges and your chance to win an extra bonus prize!
Hugs.
Nancy
Hi everyone! I hope you are having a great day! I know I am. I am totally in love with this month's kit from The Sampler. When I first got my kit I was so happy to see it contained two sheets of the Creative Imaginations polka dot felt. I knew I wanted to make lots of yummy flowers.
First, here is my project...
Sorry about the color/lighting...but it has been raining for a while and I just can't seem to get good photos.
Here is how I made the fun flower.
You will need, a fabric glue, a chipboard circle, your felt, a flower center (I used the flair that came in the kit), and four circles of the same size. I used a die to cut my circles, but I am sure you could use scissors as well.
You can see here I have cut four circles of the same size and folded each in half. Don't worry if they don't stay folded...they will.
For the first circle, fold in half and place glue only on one quarter.
Place glue on the second half circle and place perpendicular to the first, again with the fold in the middle.
Then following the same technique place the third circle
The fourth circle is a little tricky. You will need to place half of it on top of one quarter of the third circle and the other half under the first circle. (this is a little like how you may fold and seal a box if you don't have tape.)
Finally add your center.
And here is the final flower on my layout. So fun and such great dimension. I hope you have fun with your felt. And be sure and pop over to The Sampler blog for more great ideas, the sketch and card challenges and your chance to win an extra bonus prize!
Hugs.
Nancy
Monday, June 20, 2011
Sewing Patterns
Recently, my girls got the idea into their head to do some sewing. Well, that has left us with a bit of sewing pattern paper. I thought it would be fun to use this to make some flowers. I started with some old dress pattern paper and a die for a simple flower (you can also use a punch but be sure to punch quite a few layers at a time. Circles or scallops would also work.
I cut a bunch of these out. You will need about 20 shapes for each flower. I found that if you use too many you just end up with a big ball of paper.
Poke a hole in the center of the flowers.
Add a brad to hold the layers together.
And scrunch and play with the layers until you get the desired look.
You may remember these from last week?
Thanks for dropping in. I have some projects on my desk, so keep your fingers crossed.
Hugs.
Nancy
I cut a bunch of these out. You will need about 20 shapes for each flower. I found that if you use too many you just end up with a big ball of paper.
Poke a hole in the center of the flowers.
Add a brad to hold the layers together.
And scrunch and play with the layers until you get the desired look.
You may remember these from last week?
Thanks for dropping in. I have some projects on my desk, so keep your fingers crossed.
Hugs.
Nancy
Sunday, October 17, 2010
Menu Monday
Well, Menu Sunday this week because tomorrow Ideas For Scrapbooker's is celebrating it's 1 year anniversary with a blog hop.
But before I get to the menu, I wanted to share this tag I made. This tag is for the Cricut Circle weekly challenge. We were to use the colors orange, tan, burgundy, and grey. Of course we needed to make at least 2 cuts as well. I cut the flowers and flourishes from my Serenade cartridge and the title from Lyrical Letters. Lots of inking and a fun distress technique that I will put up soon.
This week, much better than last. I would say that no meals were a flop! Horray me!!!!
Monday - Cheese Enchiladas.
Tuesday - Tacos. I wasn't home, so Phil cooked...and that means no photos. sigh
Wednesday - Tortilla Soup - Delicious! Love the contrast of flavors
Thursday - Chicken Pot Pie - I cheated a bit and bought frozen puff pastry...no one cared. lol Ainsley didn't just love it. I guess the pearl onions just weren't for her. Next time I will probably leave them out. I made them individual so that they would stay fresh.
Pulled Braised Beef Sandwiches
3 ounces tomato paste
1/4 cup brown sugar
2 tbs cider vinegar
1/2 tsp Worcestershire sauce
1/2 tsp dry mustard
3 cloves garlic, smashed
2 lb. chuck roast
Salt & Pepper to taste
1 tbs olive oil
2 onions diced.
In a small bowl, stir together tomato paste, brown sugar, vinegar Worcestershire, mustard, and garlic.
Season meat with salt and pepper.
In large skillet heat oil over high heat. When hot, brown the beef, 3-5 minutes per side. Transfer to plate. Add onions to pan and cook, stirring a few times, till nicely browned. Add a bit of red wine if you like to deglaze the pan, making sure to scrape all the browned bits off the bottom of the pan.
Put half the onions in the cooker. Place the beef over the onions. Smear the tomato mixture on top. Pour any meat juices from the plate over the roast. Cover and cook on LOW 5-7 hours.
Serve on hamburger buns or french rolls. Top with coleslaw and bar-b-que sauce if desired.
Yum!!!!
Well, thanks for dropping by. Be sure and come back tomorrow for the blog hop!
Hugs.
Nancy
But before I get to the menu, I wanted to share this tag I made. This tag is for the Cricut Circle weekly challenge. We were to use the colors orange, tan, burgundy, and grey. Of course we needed to make at least 2 cuts as well. I cut the flowers and flourishes from my Serenade cartridge and the title from Lyrical Letters. Lots of inking and a fun distress technique that I will put up soon.
Monday - Cheese Enchiladas.
Tuesday - Tacos. I wasn't home, so Phil cooked...and that means no photos. sigh
Wednesday - Tortilla Soup - Delicious! Love the contrast of flavors
Thursday - Chicken Pot Pie - I cheated a bit and bought frozen puff pastry...no one cared. lol Ainsley didn't just love it. I guess the pearl onions just weren't for her. Next time I will probably leave them out. I made them individual so that they would stay fresh.
Friday - BBQ Beef Sandwiches...yum!!! These were a fave this week. So this is the recipe I will share.
Pulled Braised Beef Sandwiches
3 ounces tomato paste
1/4 cup brown sugar
2 tbs cider vinegar
1/2 tsp Worcestershire sauce
1/2 tsp dry mustard
3 cloves garlic, smashed
2 lb. chuck roast
Salt & Pepper to taste
1 tbs olive oil
2 onions diced.
In a small bowl, stir together tomato paste, brown sugar, vinegar Worcestershire, mustard, and garlic.
Season meat with salt and pepper.
In large skillet heat oil over high heat. When hot, brown the beef, 3-5 minutes per side. Transfer to plate. Add onions to pan and cook, stirring a few times, till nicely browned. Add a bit of red wine if you like to deglaze the pan, making sure to scrape all the browned bits off the bottom of the pan.
Put half the onions in the cooker. Place the beef over the onions. Smear the tomato mixture on top. Pour any meat juices from the plate over the roast. Cover and cook on LOW 5-7 hours.
Serve on hamburger buns or french rolls. Top with coleslaw and bar-b-que sauce if desired.
Yum!!!!
Well, thanks for dropping by. Be sure and come back tomorrow for the blog hop!
Hugs.
Nancy
Tuesday, June 8, 2010
Guest DT for June
I was so thrilled to be asked to be the June guest designer over at Your Memories Here. They have a great shop with fabulous prices and many of my favorite products. If you haven't ever checked them out, you should!
I will be blogging on Tuesdays for the rest of the month there, so you are guaranteed to see some scrappy goodness from me each Tuesday this month. Gotta love commitment, it forces me to produce. lol
My first project was this.....Based on a Sketchy Thursdays Sketch.
Yep, that's Ainsley again....being her sassy self. That photo was too cute not to scrap. hee hee. Lots of fun goodies from the YMH store including the papers, Glimmer mist (did I mention they have great prices), the fun little stamp, some Prima roses, and a new fave of mine....tear drops.
I used a few favorite techniques; making my own flowers, this one just a simple circle cut like pie and crumpled with a rose in the middle; using packaging, gotta reduce, reuse, recycle; lol and some flourishes and a font cut on the Cricut. Oh, and can't forget a spritz of Glimmer Mist on the background.
Well, I have a few other scrappy goodies this week, but nothing yet to share. Busy, busy, busy with swim and settling into our summer routine. Did I mention I hate mornings. ugggghhhh
Don't forget to check out the Your Memories Here store and blog.
Hugs.
Nancy
I will be blogging on Tuesdays for the rest of the month there, so you are guaranteed to see some scrappy goodness from me each Tuesday this month. Gotta love commitment, it forces me to produce. lol
My first project was this.....Based on a Sketchy Thursdays Sketch.
Yep, that's Ainsley again....being her sassy self. That photo was too cute not to scrap. hee hee. Lots of fun goodies from the YMH store including the papers, Glimmer mist (did I mention they have great prices), the fun little stamp, some Prima roses, and a new fave of mine....tear drops.
I used a few favorite techniques; making my own flowers, this one just a simple circle cut like pie and crumpled with a rose in the middle; using packaging, gotta reduce, reuse, recycle; lol and some flourishes and a font cut on the Cricut. Oh, and can't forget a spritz of Glimmer Mist on the background.
Well, I have a few other scrappy goodies this week, but nothing yet to share. Busy, busy, busy with swim and settling into our summer routine. Did I mention I hate mornings. ugggghhhh
Don't forget to check out the Your Memories Here store and blog.
Hugs.
Nancy
Thursday, May 27, 2010
It is Easy Being Green
While I am actually a transplant to Northern California, I think at heart I have always been a California girl. Years of being a vegetarian, PETA member, recycling, environmentalist. lol
I made this for one of Ainsley's ballet instructors. She is always amazed at the little projects and cards Ainsley and I make so I thought what a great end of year, Teacher's gift. A little mini album. I really love making little projects for friends and family. I can only fit so much in my house. lol
So, how thrilled am I to find that many of my favorite scrapbooking companies are going green as well.
I posted a few projects today over on the Ideas for Scrapbookers blog on how to use packaging.
I did want to share this with you all tho.
I made this for one of Ainsley's ballet instructors. She is always amazed at the little projects and cards Ainsley and I make so I thought what a great end of year, Teacher's gift. A little mini album. I really love making little projects for friends and family. I can only fit so much in my house. lol
I made it totally out of scraps and packaging. The flower on the front is a rolled flower I made from tulle, with some gems glued in the center.
There is even a little pocket in the back, where Ainsley put a note she wrote. Needless to say, her teacher loved it. And it will be a great reminder of Ainsley's time in her class.
Well, the in laws will be here soon. So, I may not be around much the next few days. My desktop computer sits in the guest room/office/scrap space, and we have tons of things planned for the weekend with ballet, swim meet, and Memorial Day.
Don't forget to become a follower for a chance to win an altered frame kit.
Hope you have a fabulous long weekend.
Hugs.
Nancy
Sunday, May 16, 2010
Holding Out
If you are looking for the post about my RAK, please look here.
My good friend Heather thinks I have been holding out on her, not teaching her some favorite tricks....so I did this layout and tutorial for her. She is such a sweetie for posting my blog candy over on her blog, how could I deny her. hee hee It didn't turn out quite as I had envisioned but.....
I have been doing a lot of these flowers lately. The are so cute, so fun, use up scraps and work on both masculine and feminine pages. And my favorite part...they are super simple to make.
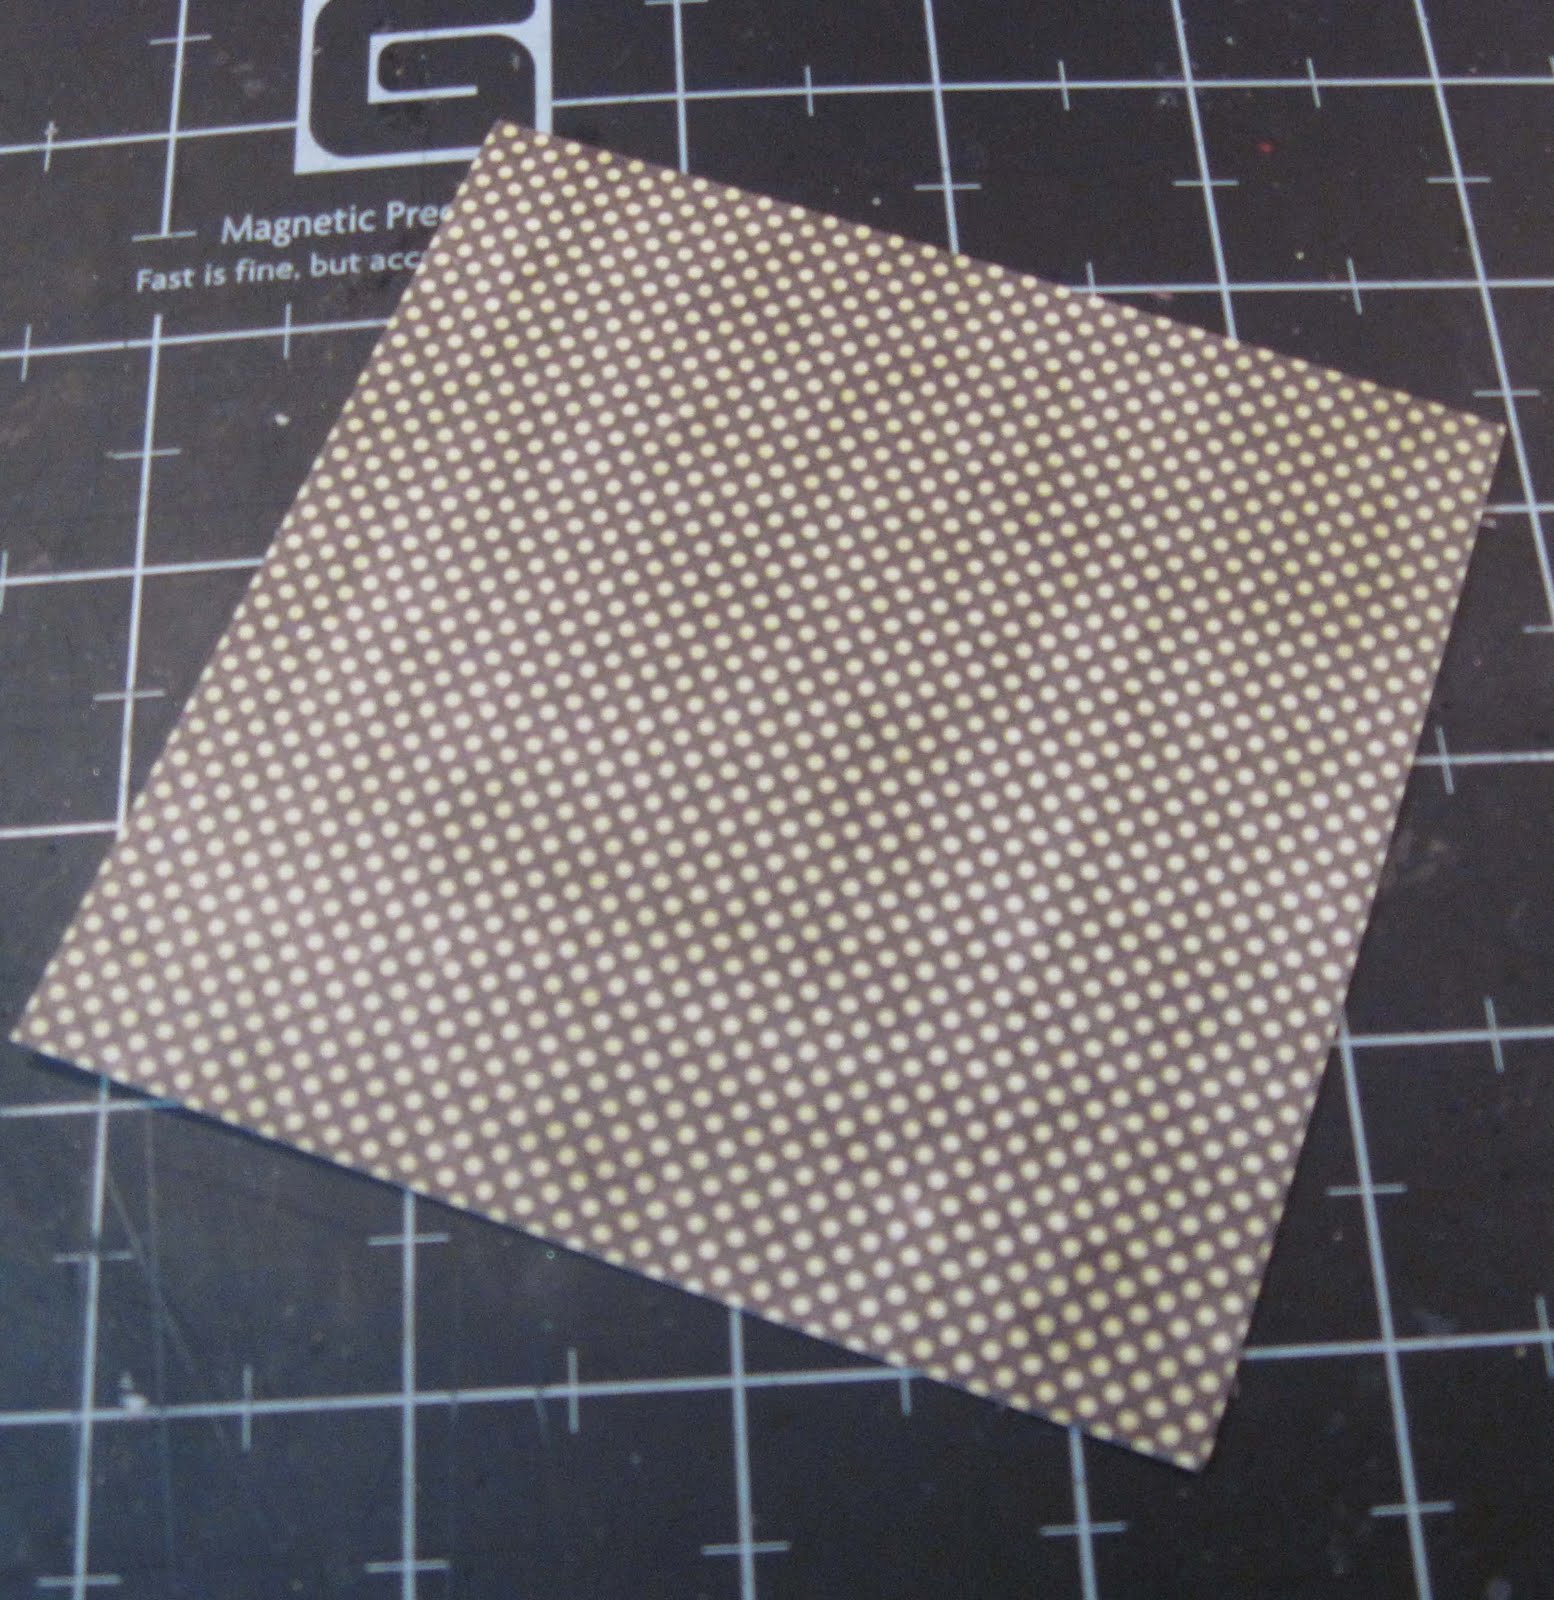
I start with a square piece of paper. A six inch square will make about a two and one-half inch flower. Smaller squares make smaller flowers.
I start by cutting my paper into a spiral.
I make the spiral about 1/4 inch thick.
Begin by rolling from the outside of the spiral.
When you get to the center of the spiral, apply adhesive to the circle.
Hold for a few minutes while you wait for the glue to set. (I like to use zip dry or fabri-tac as they hold nicely and spread evenly).
If you like, you can use a sanding block to distress the top of the flower or dry brush some paint.
So, Heather...there ya go. And for everyone else...have fun! lol
Hugs.
Nancy
My good friend Heather thinks I have been holding out on her, not teaching her some favorite tricks....so I did this layout and tutorial for her. She is such a sweetie for posting my blog candy over on her blog, how could I deny her. hee hee It didn't turn out quite as I had envisioned but.....
I have been doing a lot of these flowers lately. The are so cute, so fun, use up scraps and work on both masculine and feminine pages. And my favorite part...they are super simple to make.
I start with a square piece of paper. A six inch square will make about a two and one-half inch flower. Smaller squares make smaller flowers.
I start by cutting my paper into a spiral.
I make the spiral about 1/4 inch thick.
Begin by rolling from the outside of the spiral.
Continue rolling until you get almost to the center of the spiral.
Hold for a few minutes while you wait for the glue to set. (I like to use zip dry or fabri-tac as they hold nicely and spread evenly).
If you like, you can use a sanding block to distress the top of the flower or dry brush some paint.
So, Heather...there ya go. And for everyone else...have fun! lol
Hugs.
Nancy
Subscribe to:
Posts (Atom)


