Friday, March 6, 2015

Chore Chart - Cricut

Hi everyone!  just wanted to stop by and share a few little magnets I made for my sister.  She wanted to make a chore chart for Lili and asked if I could help.  How could I say no.  With the help of my Cricut and some Core'dinations cardstock (and a few scraps of patterned papers) I was able to whip up these little magnets in no time.

As with many five, almost six year olds, Lili's favorite color is purple, thus the purple shoes, dress and backpack.  And you know I couldn't resist adding just the tiniest bit of stickles.  There are two toothbrush and two sinks...because, well, we must brush and wash at least twice a day.

I am sure Lili is doing a great job keeping up with her chores.

Hugs.

Wednesday, March 4, 2015

Together - Crate Paper

Hi everyone!  Wanted to stop by and share a layout I had made for the Layout-a-Week blog a bit ago...realized I never shared it here.  I am not designing over there anymore as I have some other exciting things in the works...nothing done quite yet....but working on it.

 
Using the Crate Paper Open Book range with a bit of Core'dinations cardstock.  You know how I love it.  lol  I also added a bit of machine stitching for added interest.

Thanks for stopping by.

Hugs.

Monday, March 2, 2015

Take Note - Clear Scraps

Good Morning everyone, hope you had a great weekend.  Every year when we turn the calendar pages I get the itch to clean and organize.  This is going to be the year that it happens...you know the feeling.

One of the spaces that is always out of control for me is near my desktop computer.  I have school notes, dt notes, calendars, to dos....So, I decided to create this little "dashboard" to help keep the area tidy and clean.
Take note_dashboard_clear scraps_nancy keslin
This was a quick and simple project to make.  I simply stamped my little gnome (recollections rubber stamp) image onto a 5x7 Desk Page frame using Stazon Ink, and colored the image with some Lindy's Stamp Gang Magicals paint I mixed up.  A few Thickers foam letters, a package of sticky notes I recieved from Little  B, a Prima flower, and a pen,  completed the project.

On the "inside" of the frame I am able to add a notepad and small calendar.  I love the ease and portabiltiy of this little project (I can also pick it up and carry it to another space if I am working from my laptop or iPad).  This has been sitting next to my machine for just over a month now and I just feel so much more organized.  I haven't lost my notepad or calendar once.  Although I am thinking of giving my little gnome a friend......

How do you stay organized?

Friday, February 27, 2015

Minted Stationery

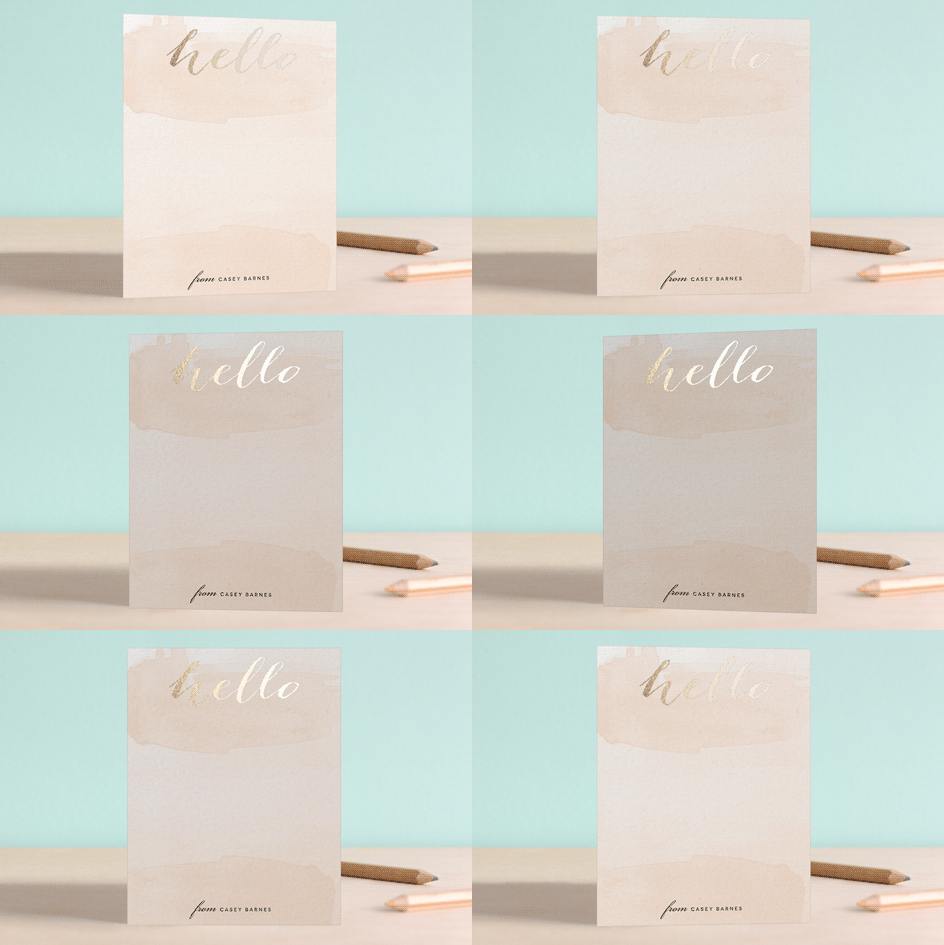
Hi everyone!  So, I was asked my Minted to review their products for you all and it came at the perfect time.  I have been looking for some new stationery.  Yes, I know I could make my own cards and such, but sometimes it is nice to have a little stash of things ready to go.....So....

I love the Minted's stationery is so on trend this season.  So many gorgeous watercolors and of course lots of foil!  I truly can't decide.
So, I popped over to their blog, did you know they had a blog? hoping for a bit of inspiration...and oh did I find it.  The blog is filled with simple and fun DIY projects I am dying to try, so off I was distracted with pinning.  (don't forget to check out my pinterest boards).

Well, I think I am going to go with the above staionery...and I am totally going to have to get busy with my pin boards.  lol  That little popcorn box filled with all those goodies would be perfect for Ainsley's birthday party.

Be sure and check out all the goodies over on the Minted site, as well as their blog.  Oh, and if you are in the market for wedding invitations....goodness...have they got the most amazing selection.  Maybe once I figure out my new stationery, I should start on a vow renewal.  Only a few more years until our 25th...and at the rate I am moving.  lol

Hugs.


Disclosure: I was contacted by Minted and asked to review their site and products in return for a site credit. All opinions are my own honest thoughts and are not in any way influenced by my acceptance of the site credit.

Wednesday, February 25, 2015

A Little Birdhouse - Sizzix

Hi everyone!  Hope you are having a great day.  Today I wanted to share with you a little house I made with a few Sizzix dies that I was sent from Sizzix after CHA.  
I made this house out the ScoreBoards XL Canister die and the Scoreboards XL Cupcake Stand.  I began by die cutting the necessary pieces from the Little Sizzles 6x13" white MatBoard.  The MatBoard gives the final project a great weight and is sturdy enough to stand up to quite a bit of abuse. You need two of the box sides and two of the stands to complete the project.  I did not use the canister top nor the banners.
After cutting the matboard I die cut the same pieces from my patterened paper.  I needed to make four of the cupcake stand pieces to cover all the sides, front and back.  I placed once cutting pad under my die, then my die, my paper and finally the additional cutting pad.  This allowed me to ensure that I was cutting exactly the pieces I needed in the colors I wanted.
I adhered the papers to the MatBoard with a strong adhesive.
To assemble my canister I began by creating the folds needed and applied a strong adhesive on the edges.
To add the stand to the canister I placed more adhesive along the top of the stand...
And simply added the canister on top.
To embellish my little house I used diecuts from the Kitchen Labels set that I embellished with a bit of glitter.
Finally I added a few flowers from my stash as well as a drawer knob that I had left from another project.
I am very pleased with this sweet little house and look forward to adding it to my collection.

Hugs.

Nancy

Items Used:
Sizzix Big Shot Machine Powder Blue and Teal
Sizzix Scoreboards XL Die Canister
Sizzix Scoreboards XL Die Cupcake Stand & Pennant
Sizzix Framelits Die Set 7 PK Labels, Kitchen
Sizzix Little Sizzles Mat Board Pack
Sizzix Cutting Pads, Extended
Standard Magnetic Platform for Wafer- Thin Dies
Patterened Papers - Crate Paper Random
Flowers -

Monday, February 23, 2015

Pillow Box Talk

Hi everyone!  Happy Monday.  I hope you had a great weekend.  Not too much going on here....Same ol' Same ol'.

Today I wanted to share with you this cute little box I made...I received the Martha Stewart Gift Box Tool at the Fave Crafts party back during CHA as well as the cute little Stripes, Dots and Hearts stamps from Ann Butler (I still have more fun quilt stamps to play with...HOORAY ME!) .  You know how they say "two great things that go great together?".  Yep...As soon as I unboxed and got organized I couldn't wait to make this sweet little box.

Of course I had to use some Core'dinations Cardstock for my box...the weight is just perfect.  Then I stamped with a combination of different diestress inks with the different paterns....Layered everything up, and added a little tag I had diecut a while back and a big flower....done!
And of course, I added the tag upside down....sigh.  Oh well...still super cute (IMHO).  lol 

Have a great day!

Hugs.

Items used: 
Martha Stewart Gift Box Tool
Coredinations Cardstock
Ann Butler Designs Stamps
Paper Trey Ink Dies
Ranger Tim Holtz Distress Inks
Prima Leaves
Unknown Flower

Friday, February 20, 2015

Pinterest Plan Key Rack

Hi eveyrone!  Happy Friday!   I hope you have something fun planned for the weekend.  Me?  Not much.

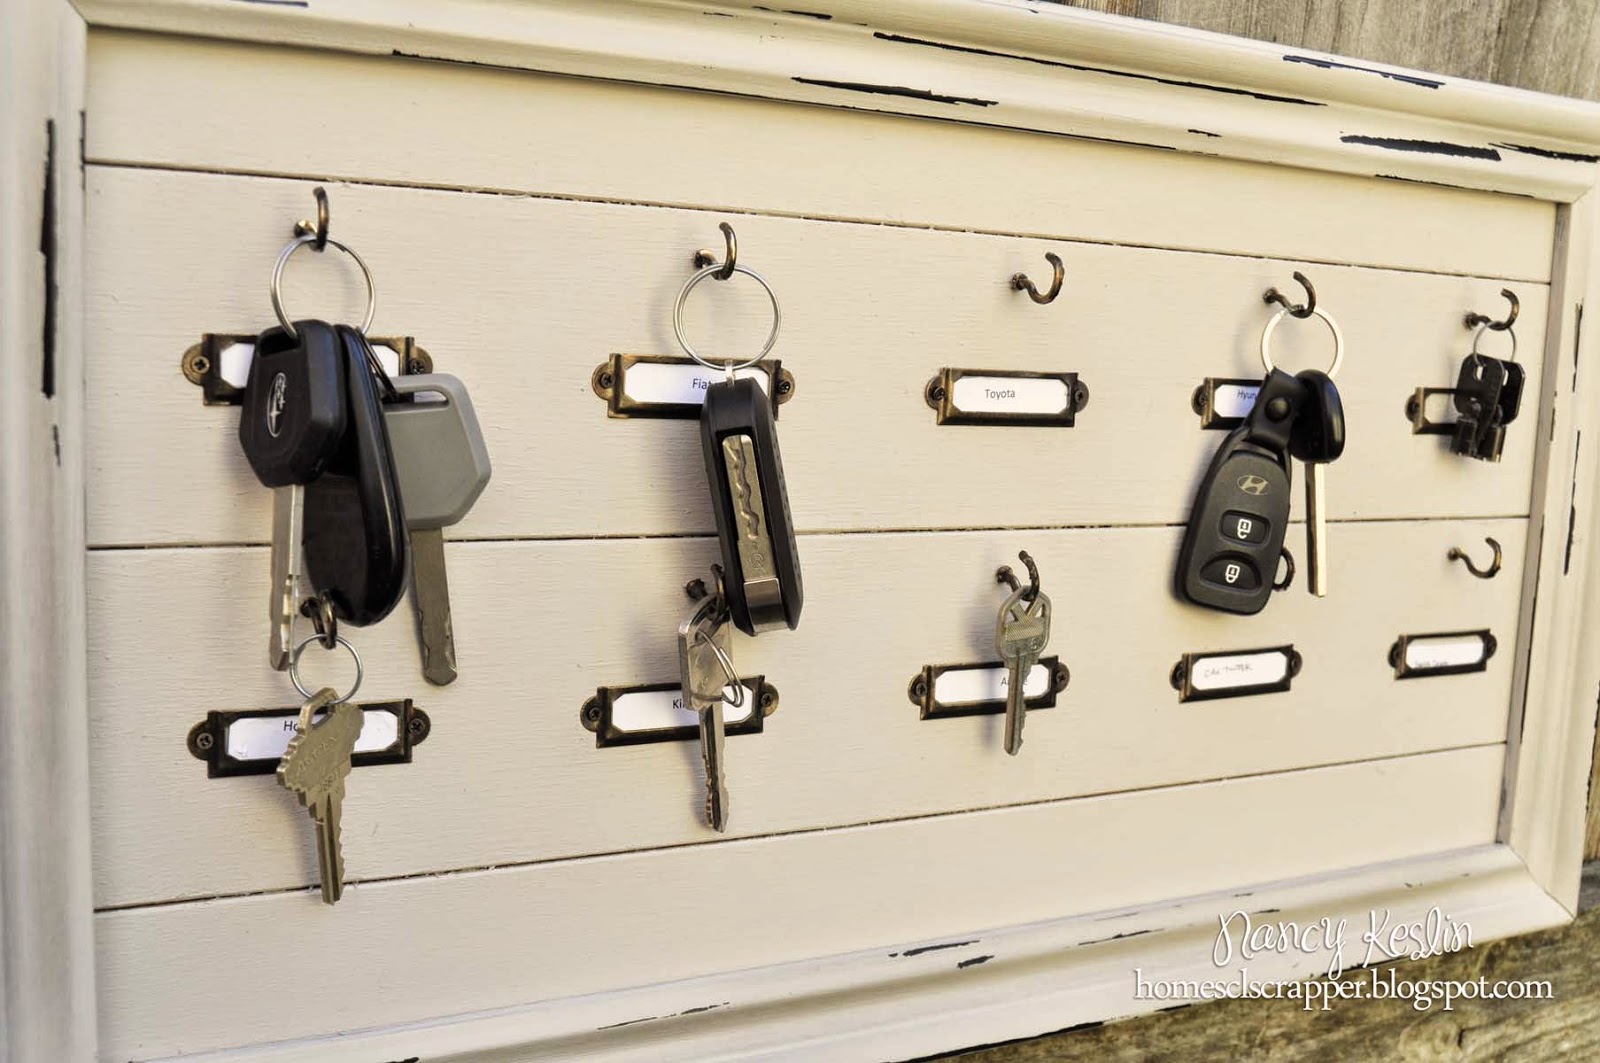
Well, back in January I told you that I was planning on tackling my Pinterest boards...trying to actually create some of the things I have pinned.  Well, I don't know about you, but in my house we are forever losing keys...or finding keys and not knowing what they go to?  Anyway, please tell me I am not alone.

Well, I have had this "Hotel Key Rack" on my pinterest boards for a while and thought I would tackle it.

Well, looking at this now, mine isn't quite as cute...I probably should have gone back and looked where they placed the hooks...oh well....wonder how hard it would be to move them?  hee hee

Was this project successful?  Yeah, I guess so...I may try and move things around a bit to get them to fit a little better...planning better for the key placement and all.  The Key Rack was pretty easy to make.  I was able to find most of the supplies around the house.  

Thanks for stopping by.  And come see me on Pinterest...you can see the link over there ------->

Hugs.