Monday, March 16, 2015

Shabby Little Clipboard

Hi everyone!   Are you ready for the weekend?  I sure am.  But before I rush off I wanted to share with you how I decorated one of the fabulous new Clipboards from Clear Scraps
Clipboard_clearscraps_nancy keslin_final
Step 1:  Stamp the backside of  clipboard with a music staff and white Staz-on ink.  I used a stamp from Prima Marketing that I have had in my stash for quite some time.
Clipboard_clearscraps_nancy keslin_stamp back
Step 2:  Collage back of clipboard with papers (I chose some scraps of Prima Almanac).  Stamp front of clipboard with Butterfly stamp, this one from Stampers Annonymous and Tim Holtz, and black Staz-on.  Because the papers are on the backside, and the stamping is all done in a solvent based ink, the final project won't just be beautiful, but functional as well.  
Clipboard_clearscraps_nancy keslin_stamp front
Step 3:  Create bead dangle by threading beads onto a head pin and forming loop.  I love adding that extra bit of sparkle from beads and crystals to my projects.  They just make everything shine.  
Clipboard_clearscraps_nancy keslin_headpin
Step 4:  Feed headpin through fibers and tie the fibers to clip of the clipboard.  Embellish with flowers. 
Clipboard_clearscraps_nancy keslin_angle
Finally I wrapped more fibers and a small word band (again, Tim Holtz)  around the bottom section of the clipboard and glued.  I would love to see how you chose to embellish your next clipboard.

Friday, March 13, 2015

Pretty Little Jar

Hi everyone!  Happy Friday.  I hope you have fun plans for the weekend.   Today I wanted to stop by and share with you a project I made for the Lindy's Stamp Gang Color Challenge.
I really loved the colors this month...and how adorable is that photo.

I used a jar that some Crate Paper embellishments came in as the base of my project.  I love that the jar is plastic, so I don't need to worry about breakage...and it can hold all those little bits and pieces that are left on my desk after a project.

I used some of the Marion Smith Color Lab colors in Vintage Rose and Coral Shine, mixed with Mod Podge to paint the jar.  Then the fun began.  I sprayed the tag with some Bonjour Butter and Cape Cod Coral Starburst then embossed with C'est La Vie Cerise embossing powder.

I used more of the sprays to color my flowers, and finished with a seam binding bow colored with Clam Bake Beige and a few stick pins.

This little lovely is already perched on my desktop filled with bits and baubles...and it makes me happy every day.

Wednesday, March 11, 2015

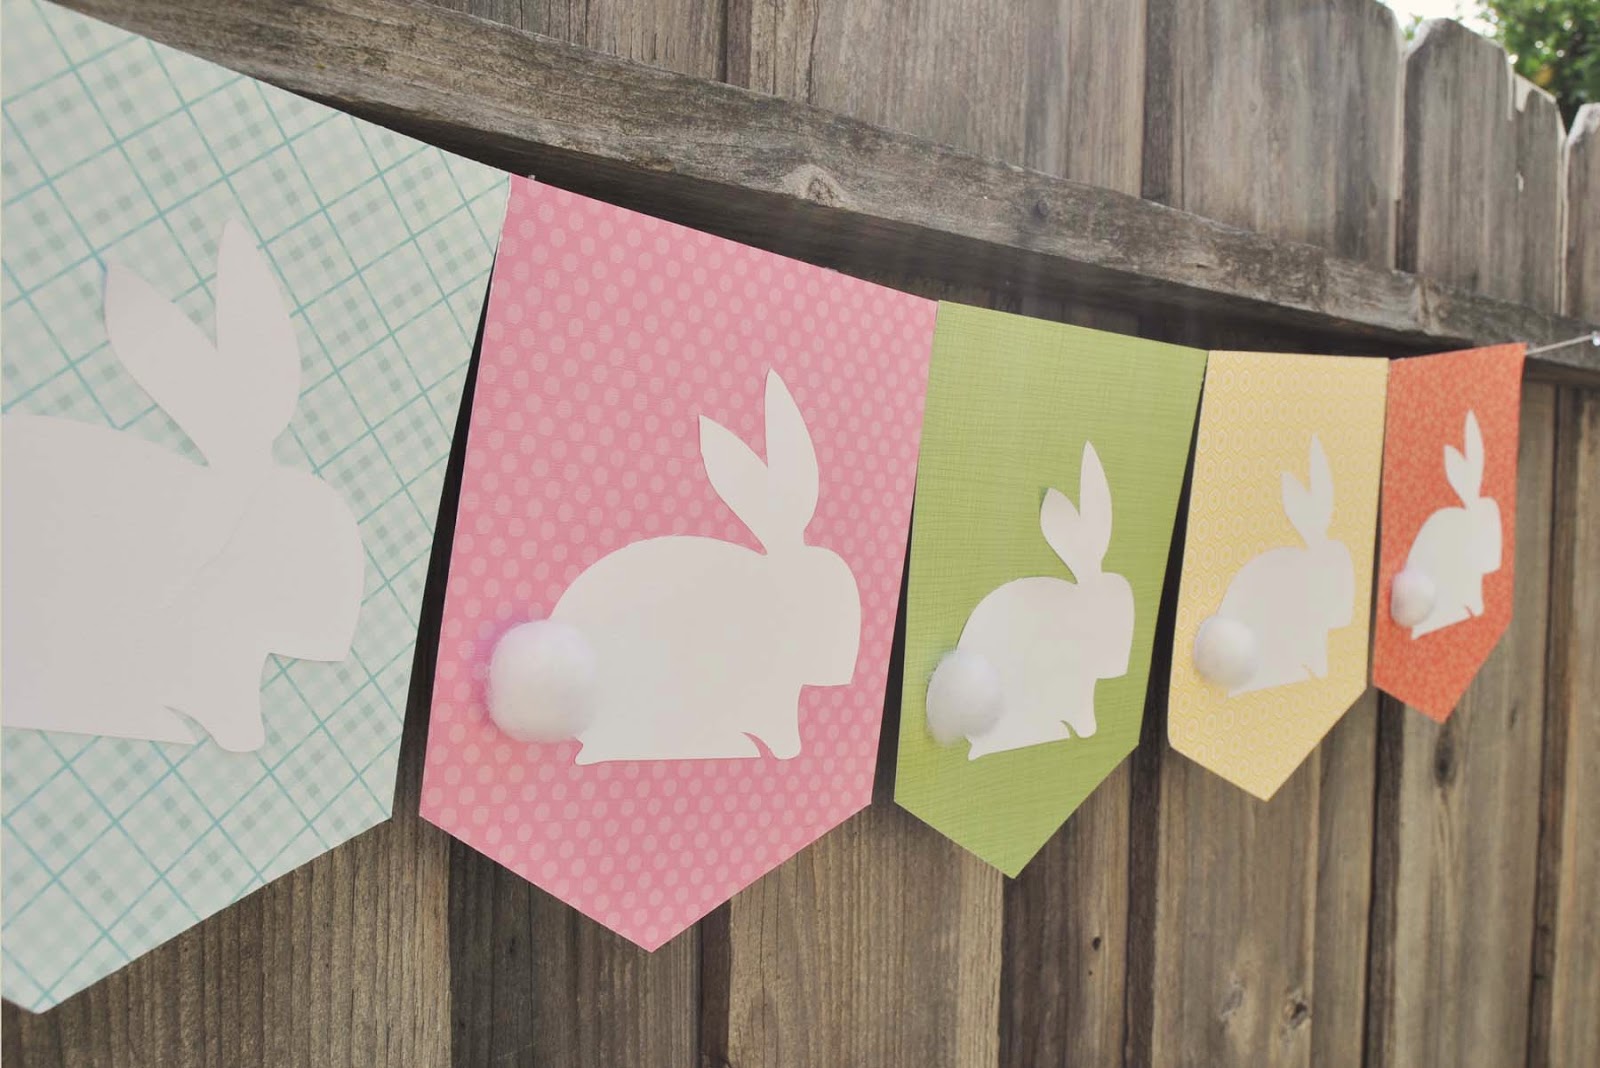
Here Comes Peter Cottontail.....

Hi everyone!  Hope you are having a great day.  Here we are getting ready for Easter.  So looking forward to it this year.  It will be so nice having Brighton home, and I love decorating for the holiday....maybe we will even do an egg hunt?  Well, I don't know if the children are up for that....maybe if I put money in the eggs.  lol

OK, anyway....wanted to let you know I have a post up over at Core'dinations featuring this Bunny Banner.....with a complete tutorial of course.


Go check it out.

Hugs.

Monday, March 9, 2015

Get Better Soon - Core'dinations Gift Box

Do you have a friend, family member, or co-worker suffering from cold and flu season? Check out this project I made for Coredinations....a Get Well Soon box made from a few basic Core'dinations supplies and filled with goodies to have them feeling better in no time.
get well box
Get Well Box Supplies:
first aid_coredinations_nancy keslin_supplies

Step 1: Trace box template onto white Core'dinations cardstock.  The 110lb cardstock has a nice weight and will create a sturdy box.  If you want something a little more heavy duty, you can add a layer of thin chipboard or shirt board.  Score along inside lines.  I added a bit of washi tape to hold my template while I cut.  
first aid_coredinations_nancy keslin_cut and embossStep 2:  Cut strips of Roasted Pepper, Jillian Dot paper 1/2 x 1 1/2 wide.  You will need 4 strips to create the cross shapes for the front and back of the box.  Love the cute texture of this paper.
first aid_coredinations_nancy keslin_red cutsStep 3:  Assemble box and attach Medical Cross to the front and back.
first aid_coredinations_nancy keslin_assembleStep 4:  Fill your box with your recipeint's favorite things.  Some suggestions include magazines, puzzle books, cough drops, tissues, hand sanitizer, tea bags, lip balm...really, the sky is the limit.  Don't forget a cute, bright colored tag with well wishes written on it.
first-aid_coredinations_nancy-keslin_fillled

Around here we haven't suffered too terribly this season.  I hope you have been just as lucky.

Hugs.

Friday, March 6, 2015

Chore Chart - Cricut

Hi everyone!  just wanted to stop by and share a few little magnets I made for my sister.  She wanted to make a chore chart for Lili and asked if I could help.  How could I say no.  With the help of my Cricut and some Core'dinations cardstock (and a few scraps of patterned papers) I was able to whip up these little magnets in no time.

As with many five, almost six year olds, Lili's favorite color is purple, thus the purple shoes, dress and backpack.  And you know I couldn't resist adding just the tiniest bit of stickles.  There are two toothbrush and two sinks...because, well, we must brush and wash at least twice a day.

I am sure Lili is doing a great job keeping up with her chores.

Hugs.

Wednesday, March 4, 2015

Together - Crate Paper

Hi everyone!  Wanted to stop by and share a layout I had made for the Layout-a-Week blog a bit ago...realized I never shared it here.  I am not designing over there anymore as I have some other exciting things in the works...nothing done quite yet....but working on it.

 
Using the Crate Paper Open Book range with a bit of Core'dinations cardstock.  You know how I love it.  lol  I also added a bit of machine stitching for added interest.

Thanks for stopping by.

Hugs.

Monday, March 2, 2015

Take Note - Clear Scraps

Good Morning everyone, hope you had a great weekend.  Every year when we turn the calendar pages I get the itch to clean and organize.  This is going to be the year that it happens...you know the feeling.

One of the spaces that is always out of control for me is near my desktop computer.  I have school notes, dt notes, calendars, to dos....So, I decided to create this little "dashboard" to help keep the area tidy and clean.
Take note_dashboard_clear scraps_nancy keslin
This was a quick and simple project to make.  I simply stamped my little gnome (recollections rubber stamp) image onto a 5x7 Desk Page frame using Stazon Ink, and colored the image with some Lindy's Stamp Gang Magicals paint I mixed up.  A few Thickers foam letters, a package of sticky notes I recieved from Little  B, a Prima flower, and a pen,  completed the project.

On the "inside" of the frame I am able to add a notepad and small calendar.  I love the ease and portabiltiy of this little project (I can also pick it up and carry it to another space if I am working from my laptop or iPad).  This has been sitting next to my machine for just over a month now and I just feel so much more organized.  I haven't lost my notepad or calendar once.  Although I am thinking of giving my little gnome a friend......

How do you stay organized?