Showing posts with label bunny. Show all posts

Monday, March 7, 2016

Bunny Banner

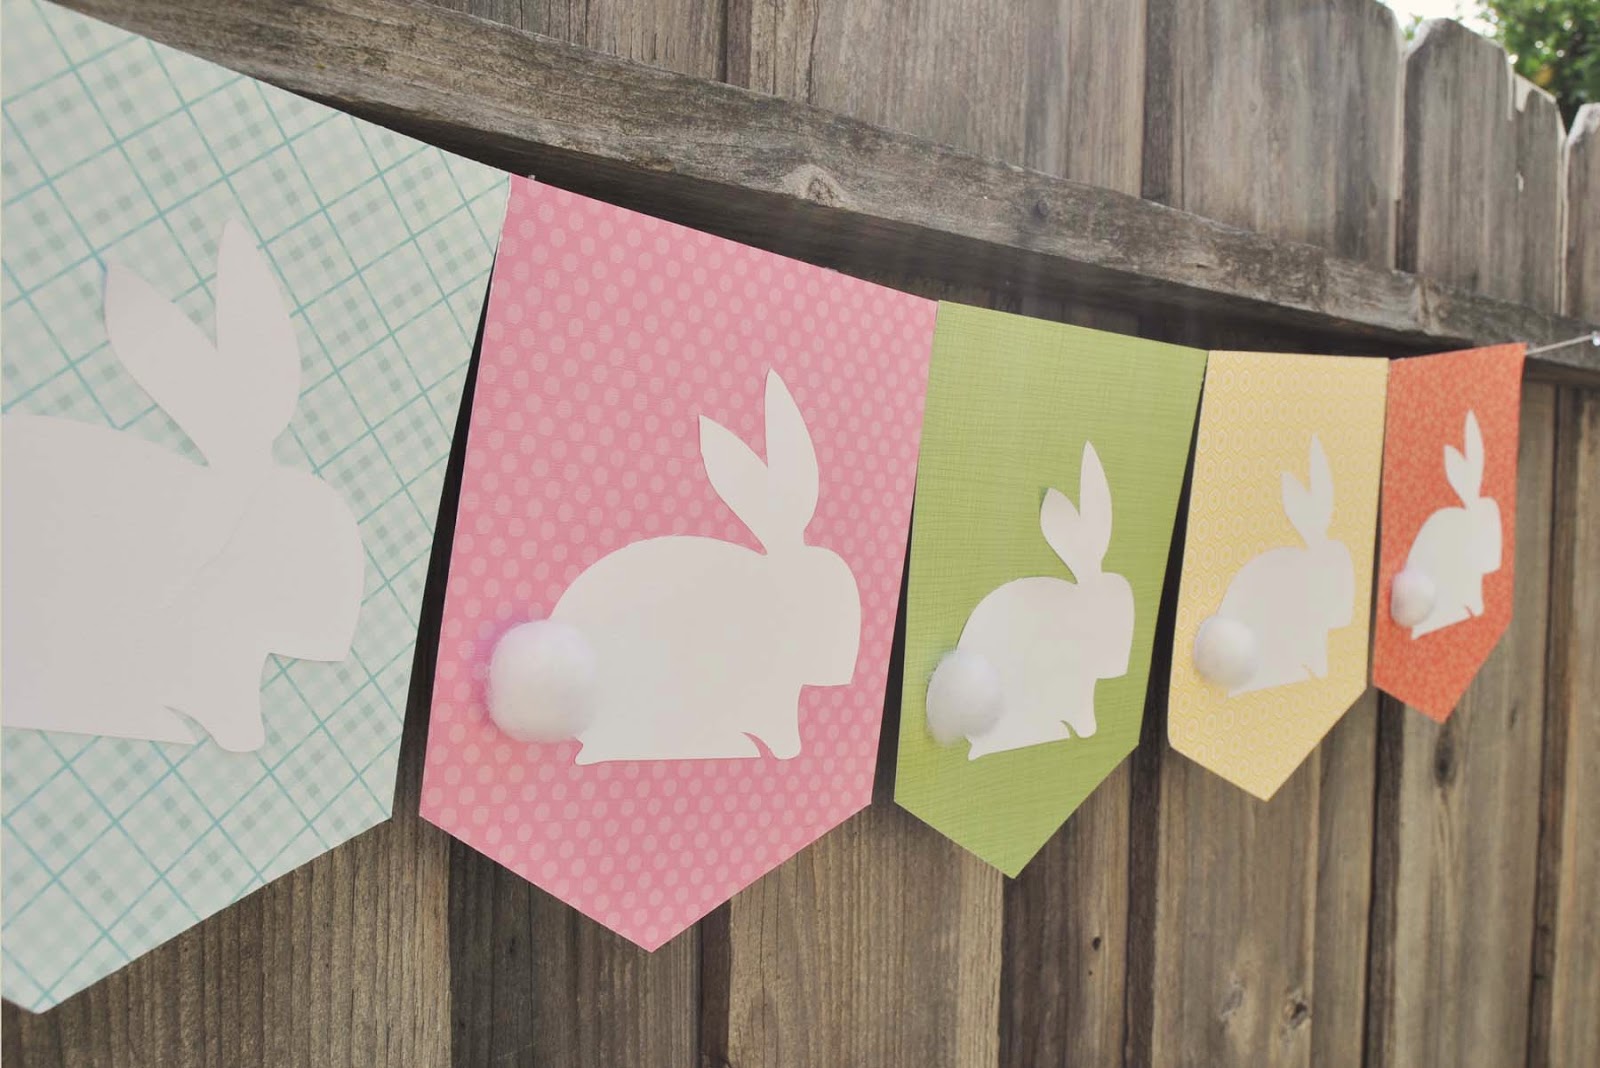
Hey everyone!  Hope you are having a great day.  Well, it is that time of year...time to pull out the Easter decorations and start decorating the house.  I can't believe I made this banner a year ago now for Core'dinations.  I still love their line of patterned papers....sometimes the simple is just perfect.  This banner was inspired by a table runner I saw in a local shop.  So cute....and this was so quick and easy.
bunny-banner_coredinations_nancy-keslin
Bunny Banner Supplies:
  • Core Basics Patterned Paper  Yellow Hexagon
  • Core Basics Patterned Paper  Orange Flower
  • Core Basics Patterned Paper Light Green Crosshatch
  • Core Basics Patterned Paper Teal Plaid
  • Core Basics Patterned Paper Light Pink Large Dot
  • 2 sheets Core Basics White 80lb 12x12 Cardstock
  • Darice Hemp Twine
  • Cotton Balls
  • Electronic Cutting Machine or Template
bunny banner_coredinations_nancy keslin_supplies
Step 1:  Cut each sheet of patterned paper to 8x10 inches.  I chose to make my banner 5 sheets wide, but you can make more or less according to your needs.
bunny banner_coredinations_nancy keslin_step 1
Step 2:  To create the pennant shape; on the 8 inch side make a mark at 4 inches.  This is the middle of the paper.  On both edges, make a mark at 2 inches from the bottom.  Connect the dots to create your shape and cut out.  Do this for each of your papers.
bunny banner_coredinations_nancy keslin_banner shape
Step 3:  Cut bunny image using an electronic cutter, or a quick search on Google will find many "Easter Bunny Templates" that you can print and cut.  I cut my bunnies to 6 inches on the Core'dinations White Cardstock.  I was easily able to cut all 5 with two pieces of paper.  Attach one bunny to each of the pennant shapes.
bunny banner_coredinations_nancy keslin_bunny
Step 4:  Arrange your pennants in the order you would like and hot glue twine to the back to create the hanger.  I chose to place mine very close together so the banner wouldn't dip quite so much.
bunny banner_coredinations_nancy keslin_twine
Step 5:  Attach cotton balls to tails of bunnies and hang.   hint:  You don't want to attach the tails before you glue the pennants together as the extra dimension makes it harder to place the glue.
bunny-banner_coredinations_nancy-keslin_side-1024x683
I hope you make this fun banner this spring for your family and friends to enjoy.

~Nancy


Friday, March 20, 2015

Sparkle Bunny - The Buckle Boutique

Hi everyone!  Hope you are having a great day.  I am soooo ready for the weekend.  Just Ainsley and I as Mackenzie and Phil have headed to Junior Olympics for some swimming.  Anyway....

I am so excited to share with you my first project for The Buckle Boutique.  This cute Sparkle Bunny.

Sparkle Bunny Supplies:


You can find all the instructions to cut and create the bunny on the SvgCuts site.  To embellish my little bunny I used the cut files for the bib, ears, nose, and feet as a template to cut my Buckle Boutique Rhinestone Sticker Sheets.  Although my machine will cut the sheets, I just feel more comfortable sometimes cutting those pieces by hand.

To do so, simply trace your template onto the back of the Rhinestone Sticker Sheet
 And Cut shapes with scissors.  The Buckle Boutique Rhinestone Sticker Sheets cut very easily with scissors.
 Then simply remove the sticker backing and set in place.

How cute is this little Sparkle Rabbit.  I am sure my family and friends will be enjoying hiim for years to come


Wednesday, March 11, 2015

Here Comes Peter Cottontail.....

Hi everyone!  Hope you are having a great day.  Here we are getting ready for Easter.  So looking forward to it this year.  It will be so nice having Brighton home, and I love decorating for the holiday....maybe we will even do an egg hunt?  Well, I don't know if the children are up for that....maybe if I put money in the eggs.  lol

OK, anyway....wanted to let you know I have a post up over at Core'dinations featuring this Bunny Banner.....with a complete tutorial of course.


Go check it out.

Hugs.