Showing posts with label easter. Show all posts

Wednesday, March 16, 2016

Pin the Tail on the

Wow...I can't believe I made this Pin the Tail on the Bunny game for my niece a year ago.  It was the perfect accent to their home decor for the Easter Holiday, and doubled as a party game for their Easter Egg Hunt.  This game is super simple to make and is an all time classic hit.  Over the years I have created many "pin the" games...from Flames on Charizard to handles on a teapot....this game never dissapoints.
pinthetailonbunny
Pin the Tail on the Bunny Supplies:
pin the tail_coredinations_nancy keslin_supplies
Step 1: Cut out your bunny shape. I used the rabbit from Cricut's Pet Shop, but there is a similar Rabbit here in the Silhouette Store. To create a large shape simply place two 12x12 sheets right next to one another and cut.  When done, use a piece of scrap paper to adhere the two halves together.
pin the tail_coredinations_nancy keslin_paper placementStep 2:  Repeat for each of the layers in your image.  My bunny had four layers, but you can use more or less depending on your cut file.  I used a mixture of light brown and black neutrals, but you can use whatever colors you choose.
pin the tail_coredinations_nancy keslin_layers
Step 3:  Adhere your layers to form the large bunny design.
pin the tail_coredinations_nancy keslin_layers assembled
Step 4:  Cut bow design from your favorite Glitter Silk color.  I love the Glitter silk, it cuts beautifully, and gives that extra bit of sparkle without leaving glitter everywhere.  Adhere to neck of bunny.
pin the tail_coredinations_nancy keslin_bow
Step 5:  Cut tails for your bunny from white Glitter Silk papers.  I used a large flower shape, but you could use a circle or scalloped circle, and number each.  You will need one tail for each of your games participants.
pin the tail_coredinations_nancy keslin_tails
Step 6:  Hang bunny on vertical surface at eye level for your players.
pin the tail_coredinations_nancy keslin_assembled
Step 7:  Give each player one of the tails that has a little adhesive stuck on the back side.  Blind fold the player and have them place the tail where they think it should be.  The player who is the closest wins.
pin-the-tail_coredinations_nancy-keslin_final-1024x680
I hope you have fun creating this game for the little ones in your life.

Monday, March 7, 2016

Bunny Banner

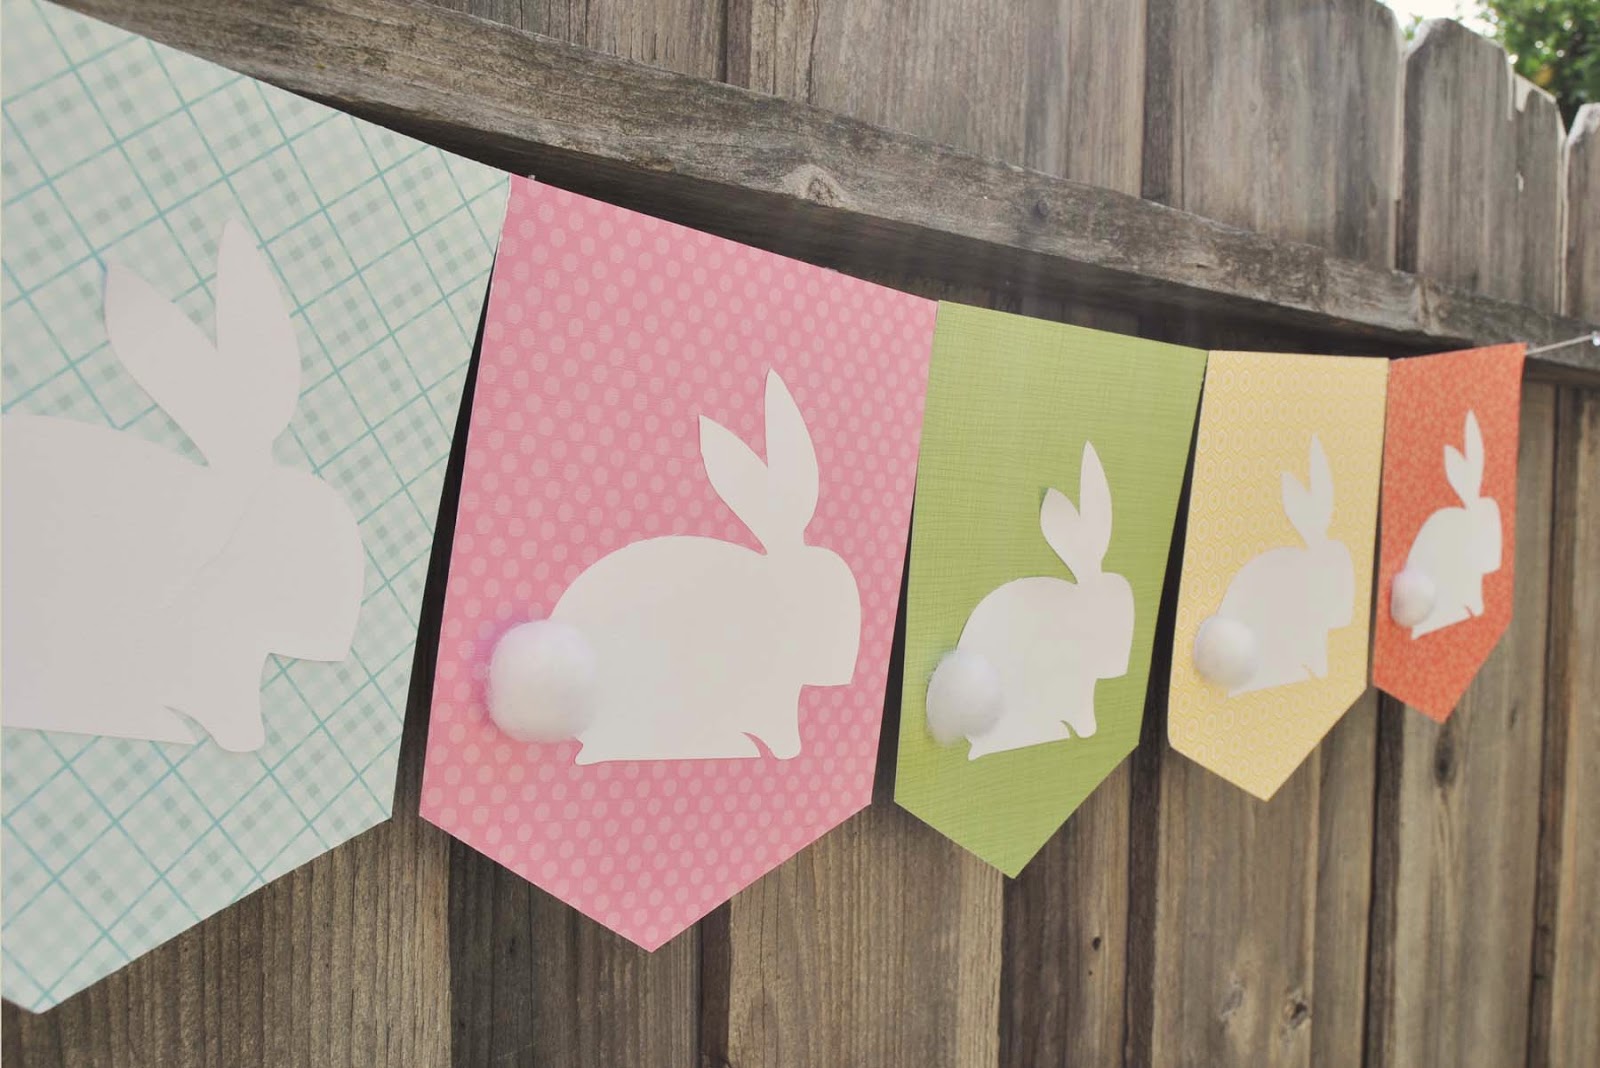
Hey everyone!  Hope you are having a great day.  Well, it is that time of year...time to pull out the Easter decorations and start decorating the house.  I can't believe I made this banner a year ago now for Core'dinations.  I still love their line of patterned papers....sometimes the simple is just perfect.  This banner was inspired by a table runner I saw in a local shop.  So cute....and this was so quick and easy.
bunny-banner_coredinations_nancy-keslin
Bunny Banner Supplies:
  • Core Basics Patterned Paper  Yellow Hexagon
  • Core Basics Patterned Paper  Orange Flower
  • Core Basics Patterned Paper Light Green Crosshatch
  • Core Basics Patterned Paper Teal Plaid
  • Core Basics Patterned Paper Light Pink Large Dot
  • 2 sheets Core Basics White 80lb 12x12 Cardstock
  • Darice Hemp Twine
  • Cotton Balls
  • Electronic Cutting Machine or Template
bunny banner_coredinations_nancy keslin_supplies
Step 1:  Cut each sheet of patterned paper to 8x10 inches.  I chose to make my banner 5 sheets wide, but you can make more or less according to your needs.
bunny banner_coredinations_nancy keslin_step 1
Step 2:  To create the pennant shape; on the 8 inch side make a mark at 4 inches.  This is the middle of the paper.  On both edges, make a mark at 2 inches from the bottom.  Connect the dots to create your shape and cut out.  Do this for each of your papers.
bunny banner_coredinations_nancy keslin_banner shape
Step 3:  Cut bunny image using an electronic cutter, or a quick search on Google will find many "Easter Bunny Templates" that you can print and cut.  I cut my bunnies to 6 inches on the Core'dinations White Cardstock.  I was easily able to cut all 5 with two pieces of paper.  Attach one bunny to each of the pennant shapes.
bunny banner_coredinations_nancy keslin_bunny
Step 4:  Arrange your pennants in the order you would like and hot glue twine to the back to create the hanger.  I chose to place mine very close together so the banner wouldn't dip quite so much.
bunny banner_coredinations_nancy keslin_twine
Step 5:  Attach cotton balls to tails of bunnies and hang.   hint:  You don't want to attach the tails before you glue the pennants together as the extra dimension makes it harder to place the glue.
bunny-banner_coredinations_nancy-keslin_side-1024x683
I hope you make this fun banner this spring for your family and friends to enjoy.

~Nancy


Friday, March 20, 2015

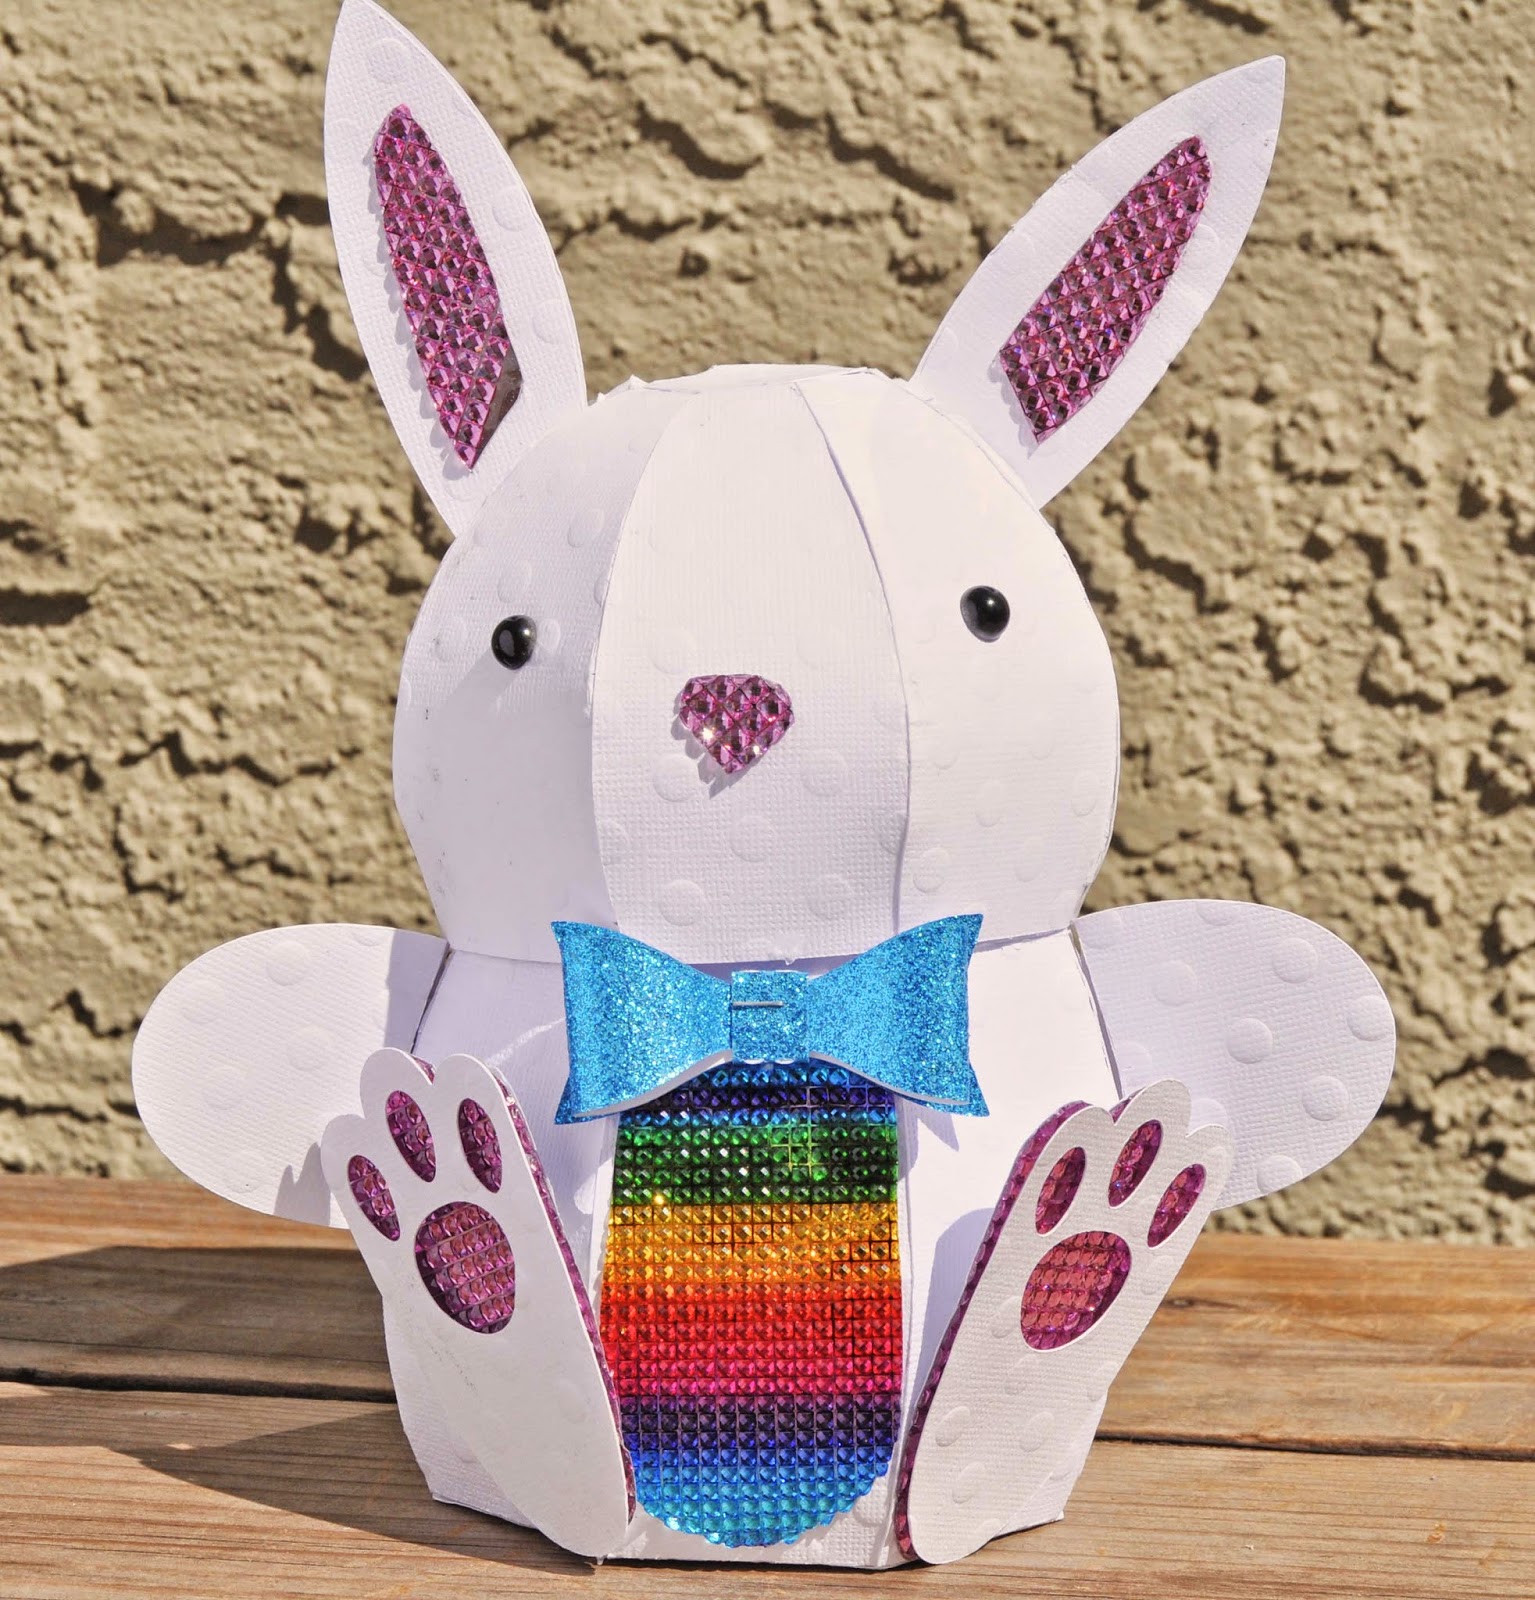
Sparkle Bunny - The Buckle Boutique

Hi everyone!  Hope you are having a great day.  I am soooo ready for the weekend.  Just Ainsley and I as Mackenzie and Phil have headed to Junior Olympics for some swimming.  Anyway....

I am so excited to share with you my first project for The Buckle Boutique.  This cute Sparkle Bunny.

Sparkle Bunny Supplies:


You can find all the instructions to cut and create the bunny on the SvgCuts site.  To embellish my little bunny I used the cut files for the bib, ears, nose, and feet as a template to cut my Buckle Boutique Rhinestone Sticker Sheets.  Although my machine will cut the sheets, I just feel more comfortable sometimes cutting those pieces by hand.

To do so, simply trace your template onto the back of the Rhinestone Sticker Sheet
 And Cut shapes with scissors.  The Buckle Boutique Rhinestone Sticker Sheets cut very easily with scissors.
 Then simply remove the sticker backing and set in place.

How cute is this little Sparkle Rabbit.  I am sure my family and friends will be enjoying hiim for years to come


Wednesday, March 11, 2015

Here Comes Peter Cottontail.....

Hi everyone!  Hope you are having a great day.  Here we are getting ready for Easter.  So looking forward to it this year.  It will be so nice having Brighton home, and I love decorating for the holiday....maybe we will even do an egg hunt?  Well, I don't know if the children are up for that....maybe if I put money in the eggs.  lol

OK, anyway....wanted to let you know I have a post up over at Core'dinations featuring this Bunny Banner.....with a complete tutorial of course.


Go check it out.

Hugs.

Wednesday, June 6, 2012

Your Memories Here - Songbird

Hi everyone!  I hope you are having a great day.  Me... More of the same.  Lots of swim practice, housework, driving and hopefully a bit of time to play with paper.

Today I wanted to share with you a layout I made using some gorgeous papers from the Songbird collection by Prima and a sketch I found from Sketch Savvy.
I love the soft beautiful colors in this paper collection (I bet you didn't guess that from the number of projects I have been posting.  hee hee)  I mixed in a few embellishments from the Almanac collection as well.  That is the great thing about a Prima grab bag from Your Memories Here....You get so many yummy goodies to mix and match.
 You know I had to distress all my papers with my Comfort Craft Distress Tool and some Distress Ink.
Well, I hope you are having a great day.  Back to work for me.

Hugs.

Nancy

Thursday, May 24, 2012

Oops.....

I did it again.  And now that song is going to be stuck in my head.  I guess it is payback for not stopping in earlier today.  I don't know why, but I was just so tired that I slept in till 9:00.  Well, kinda.  I woke up at 6:00 and then at 7:00 and then at 8:00...but I got up at 9:00, so I guess I slept in till then.  lol

Maybe I was procrastinating on sharing this project because I knew I was going to have to blur the photos? They were taken Easter Sunday and Mackenzie was still fairly swollen from having her wisdom teeth pulled.  Needless to say she was not happy with me and I told her I wouldn't post the photos of her swollen on the blog.  I am going with blurring her out makes it ok...shhhh.

I used lots of the American Crafts Dear Lizzy, Neapolitan line for these Easter photos.  The papers, some of the trims, the crepe paper,chipboard and pinwheels.  And of course I could resist mixing in a bit of Prima.
 The colors in the Dear Lizzy line are so full of spring.
 Oh, and that little bit of green Prima lace?  sigh...I think I need a whole spool.
OK, I think I hear Mackenzie home from the pool.  Better get this done before she sees what I am doing.

Hugs.

Nancy

Tuesday, May 15, 2012

The Sampler - Dye It

Hi everyone!  Sorry I missed you yesterday, but it was crazy around here.  We got my scrap room painted on Mother's Day, but that meant yesterday I spent the day putting everything back in its place.  I think I may make too many things.  lol  Well, more about my scrap room in a bit.....
Today I wanted to share with you a project I made using this month's kit from the Sampler, Two Scoops.  I love, love, love the colors in this kit.  So bright and springy.  
The Hambly transparency was just perfect to add a bit of depth and texture to my layout.  And I used a bit of baker's twine left over from my April kit.
Wood buttons, gorgeous colors and cute decorated brads were just perfect for the sketch I received from my good friend Heather.  There is still time to enter the April sketch and card challenges at the Sampler.  And later this week we will have the May challenges up.

OK, so onto my scraproom and our winner.....

Last Thursday, I stopped at the Ace Hardware next to the pool because they carry my favorite Benjamin Moore Paint; and found a lovely, bright summery yellow called Sundance.  Well, the Ace next to my house has a different display unit, so I couldn't find the color I was looking for.  I picked up the phone and called Phil, who unfortunately remembered the name of the color as Sunburst.  Well, needless to say, the Sunburst was just a bit too bright, almost like a yellow highlighter....so we had to start over.  At least we had only painted one wall.  lol

So, now the room is a bright, but not too bright, sunny yellow and everything is back in place.  I think I need to open an etsy shop or something to share all the goodies (mini books and off the page projects) I have been making.

So, our winner of the 52 Challenges book is....

Heather.  So, Heather....send me your mailing information and I will get your book out to you.

Hugs.

Nancy


Thursday, April 26, 2012

Ugggh

Let's just say that this day has not started well. sigh  But, we are going to try and turn it around and share a two page layout I did for just myself!  What a change...huh!  lol

Ainsley on Easter...hunting and playing with eggs.  Using some of my older Prima goodies and a sketch from Pagemaps as well as some fabulous Pink Paislee wood alphas.
 I tore apart a single vine and added a few additional flowers.
And you know I can't resist a bit of paint splatter on my craft background.  hee hee

The trims came from the Hydrangea Hippo etsy shop.

Ok, well...would love to stay and chat, but....

Don't forget about the Sampler Blog Hop tomorrow!  Lots of great prizes to be won.

Hugs.

Nancy