- Coredinations Glitter Silk
- Coredinations Chalk Core Colors
- Coredinations Spotted Collection
- Coredinations Polka Dot Pop
- Coredinations Sand it Set
- Darice Scalloped Heart Dies
- Heart Punch
- Circle Cutter
- Circle Punch
- Scallop Circle Punch
- Darice 8" Wooden Embroidery Hoop
- Darice Doily Tape
- Darice Hemp Twine
- Darice Craft Wire
- Sticky Rhinestone Heart Seals
- Assorted Beads and Gems
- Jolee's Boutique Cupids

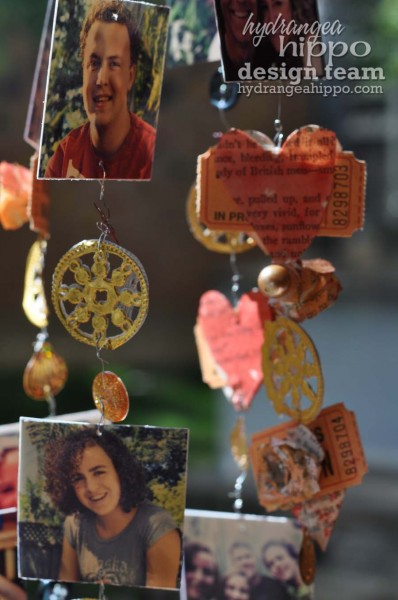
Step 1: Begin by cutting a variety of shapes in different sizes from the papers. Remember that this project is multidimensional, so you will need fronts and backs. Hearts, scalloped circles and regular circles work best for me as I can easily layer them. I also embosssed the chalk core and spotted papers for added dimension and interest.

Step 2: Sand the embossed shapes to reveal the shapes and add interest.

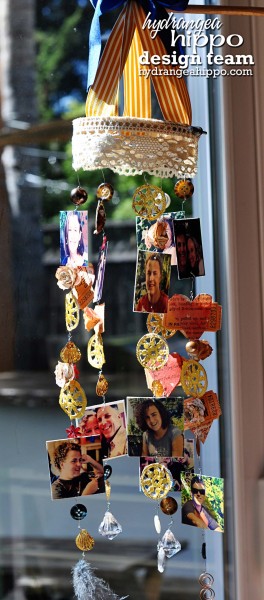
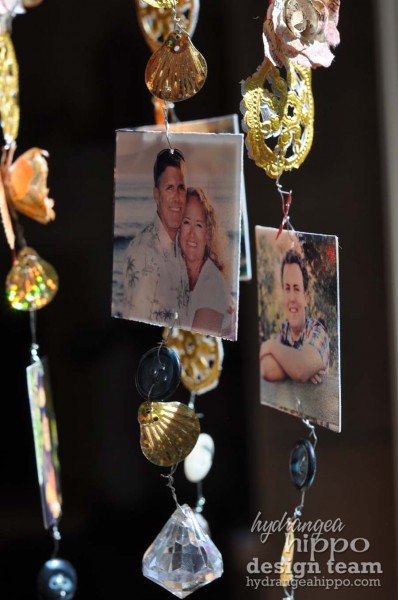
Step 3: Layer shapes and embellishments to create mobile items. Create strands of these embellishments mixing them with the photos. I used a total of 7 strands for my 8 inch embroidery hoop and used photos cut into to inch squares. Remember that your mobile doesn't have a front and back, so you will want to have your photos glued back to back. I used 2 of these photo groupings and 3 of the layered embellishments for a total of 28 photos and 42 layered shapes. I also chose to create the large flying heart shape to hang in the middle of the mobile.

Step 4: To assemble strands you can sandwich wire between the shapes. Be sure to leave enough wire at the top of the strand to wrap around the embroidery hoop.

Step 5: Or you can poke holes in your shapes and photos and wrap the wires around and through to create a loop. Add beads, pearls, and gems between the photos and embellishments for extra interest and sparkle. Sequins are also fun to use.

Step 6: To assemble the mobile simply wrap the wire at the top of each strand around the embroidery hoop. Be sure to space your strands evenly.

Step 7: I used twine, evenly spaced around the hoop, to create the hanger. Simply tie a small knot in the twine and gather at the top.

Step 8: Finally wrap the embroiderry hoop with lace.

See, that wasn't so hard. Hope you have a great day.
Hugs