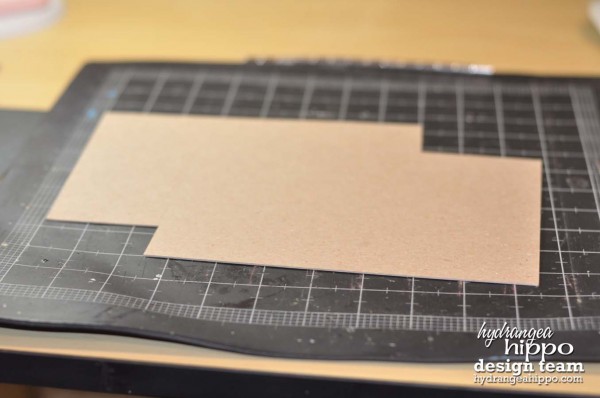
I have a lot of chipboard sheets lying around and thought it would be fun to create my own mini album. I started with two sheets of 6×8 inch chipboard.
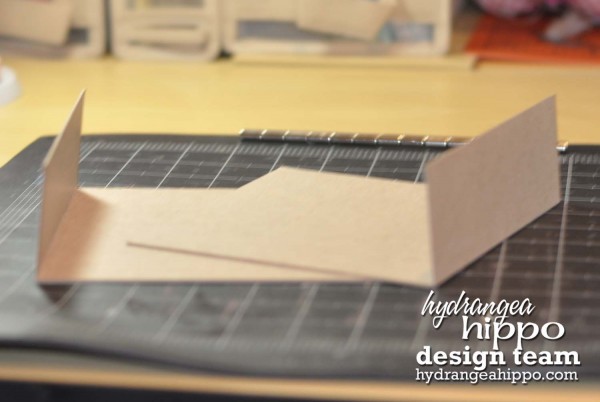
I scored each at two inches along the long side.
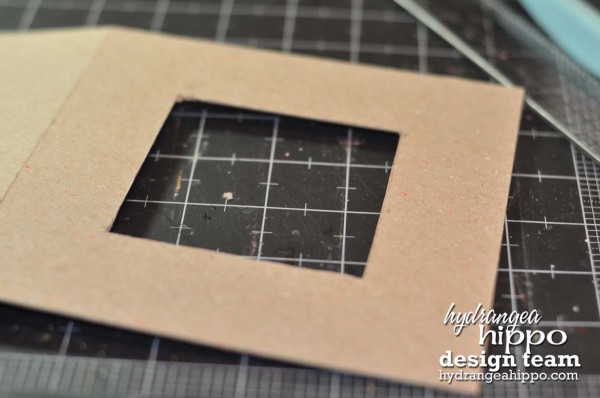
And then cut the center out of one of the sheets (approximately 4×4).
I glued the two inch pieces together to create the binding of my album.
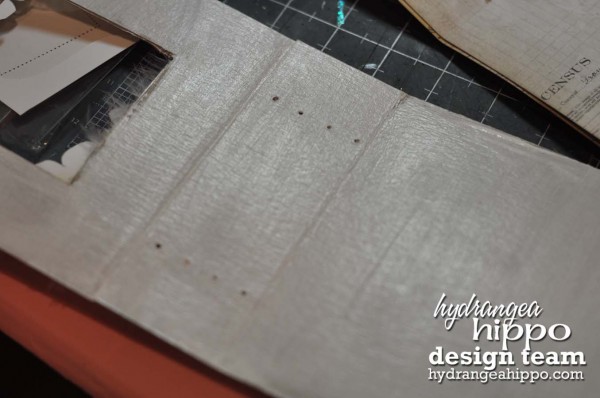
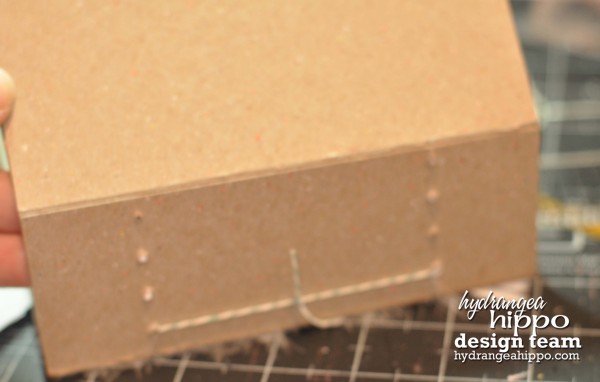
Then I poked holes with roughly a 1/2 inch spacing, one inch from the top and the bottom.
and painted the chipboard.
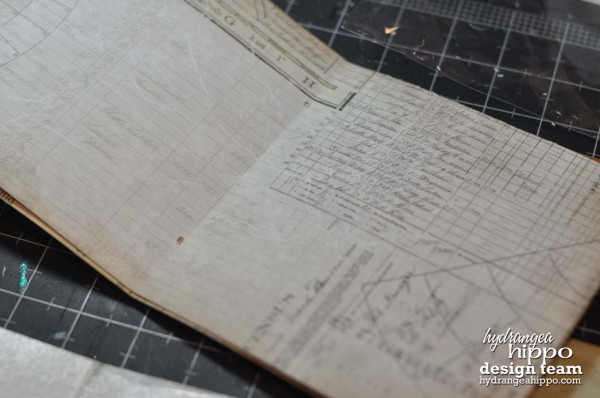
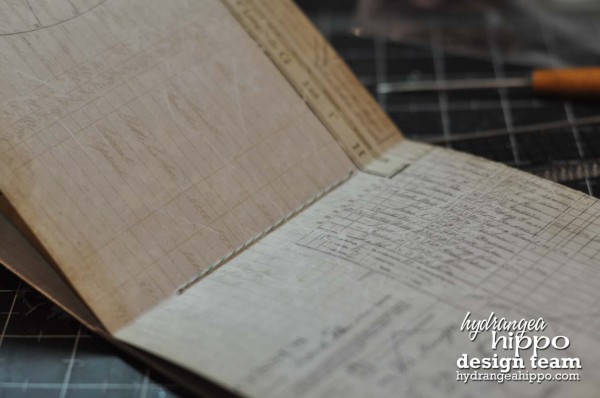
I then created the registers by folding a two pieces of 6×12 patterned paper in half, one inside the other, and poked a hole one inch from the top and bottom in the center fold.
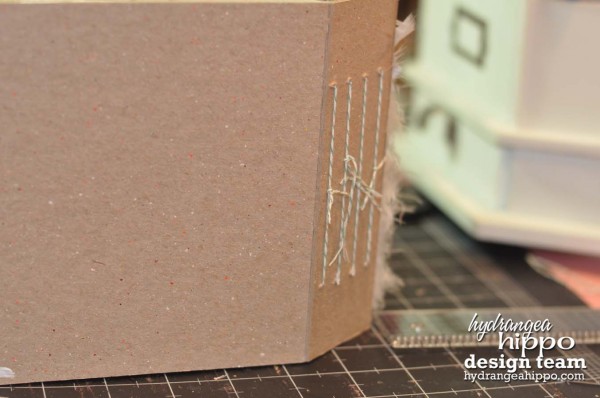
I created four of these registers. I then ran baker’s twine , from the Hydrangea Hippo Etsy shop, from the back of the chipboard, through the registers and back through the chipboard. I then tied the twine tightly.
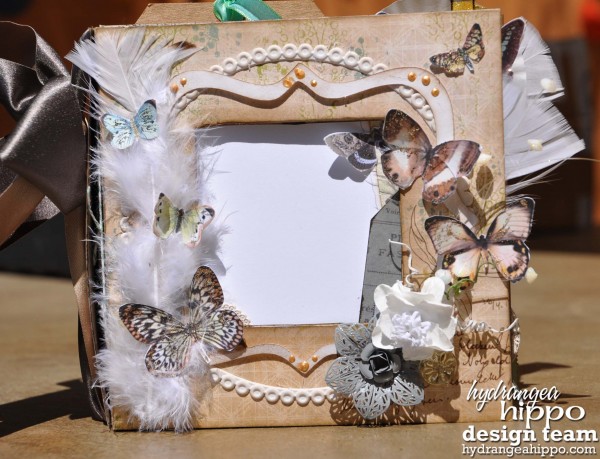
Once I completed all four registers I covered the chipboard with patterned paper and embellished it heavily.
This kit is full of so many gorgeous goodies; flowers, vinyl pieces, and the most beautiful feathers, not to mention the incredible trims. Finally I added a few butterflies that I printed and cut from the Internet.

Oh my, Michelle. This is simply BEAUTIFUL. I wonder what you will use it for!
ReplyDeleteWOW, WOW!!! This is absolutely beautiful in every single way. And thanks for showing us how you made it, too!
ReplyDeleteAbsolutely gorgeous and so creative. It looks really sturdy and awesome! I love the embellishments you chose.
ReplyDelete